Archive for the 'Uncategorized' Category

Braided Banana Bread

January 16, 2014

DSC_0397

I spend a lot of my time looking at recipes.  Not necessarily looking for recipes, but looking at recipes.  You know, just to check things out, plan out a future dinner party, perhaps make a last minute dessert, and because I just really, really like to.  Sigh, my life is not that sad, I promise.

DSC_0370

Because I spend so much time looking at recipes, I feel like I have a good grasp of everything that is out there.  I know the recipes that are trending on all of the food blogs (pie in the form of other desserts were all the rage last year), I know the new ways people are approaching food (hello, cake pops!), and I know that the classics are always well…classic.

DSC_0376

Well, there I was, on a Sunday night, doing my usual Sunday night activity, looking at food blogs, and poring through my cookbooks.  I was looking for something specific this time: I had bought about 12 bananas that were really not ripe at all.  But you know what happens with unripened bananas.  They all turn black at the same time!  Anyway, I digress.  When I was doing my search, I came across a yeasted banana bread recipe!  This was new!  I had never seen anything like this before!  And I was intrigued.

DSC_0378

Even with my aversion (or my determination to overcome this aversion) to yeast, this may be my new go-to banana bread!  First off, because it’s January and everyone has resolutions, unlike a regular quick banana bread, this bread has no butter or oil (!).  It still uses 3 whole bananas that you may need to use quickly.  And to top the whole thing off, it has this cream cheesy, streusel-y filling that makes it just indulgent enough.  So delicious.  It’s light and fluffy and just barely sweet and banana-y, and a totally new discovery with the same ingredients.  A Sunday night winning discovery in anyone’s book, I’d say.

DSC_0391

Braided Banana Bread (slightly adapted from Forbidden Rice)

For the bread:
1 1/3 cups warm water
3 tablespoons sugar in the raw, Turbinado sugar
2 teaspoons yeast
1 teaspoon salt
1 teaspoon ground cinnamon
2 medium very ripe bananas, mashed well (about 1 cup, mashed)
1 large egg
1 teaspoon vanilla extract
5 cups all-purpose, or white wheat flour

For the filling:
1/2 cup sugar in the raw, Turbinado sugar
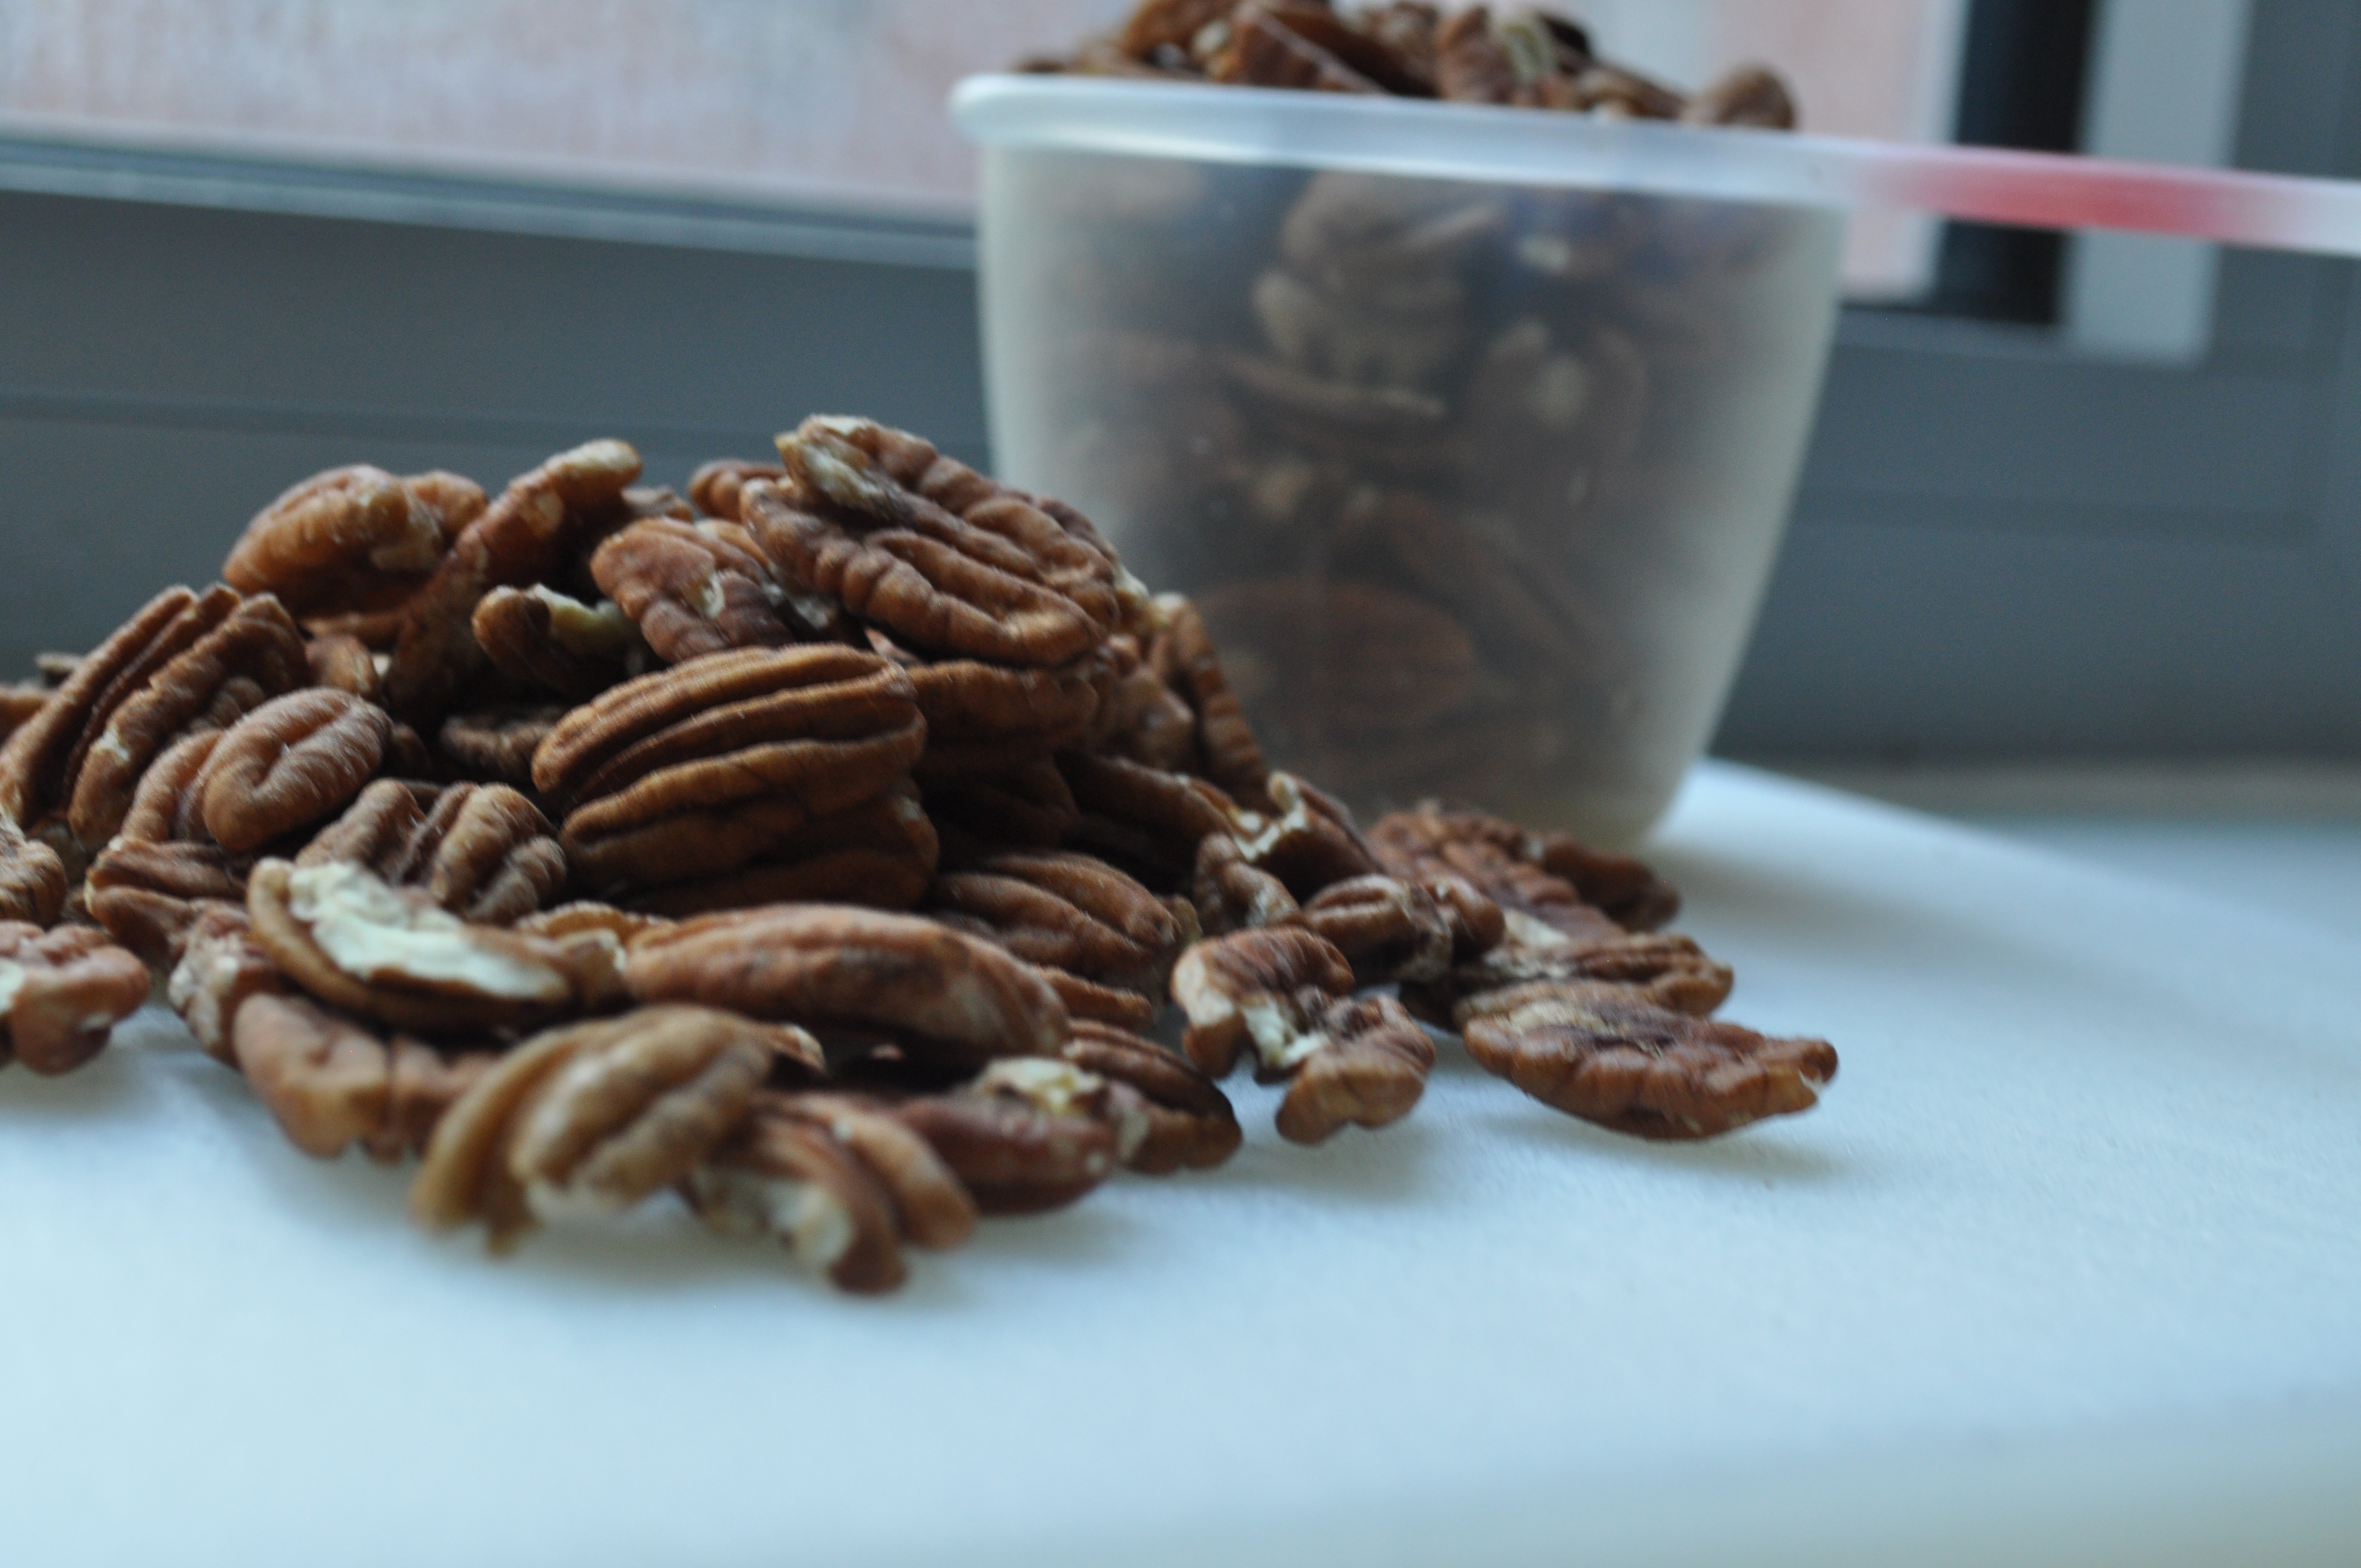
1/2 cup chopped pecans
1 teaspoon ground cinnamon
1 very ripe banana, mashed
6 ounces cream cheese, room temperature

For the egg wash:
1 egg, beaten
2-3 tbsp. milk

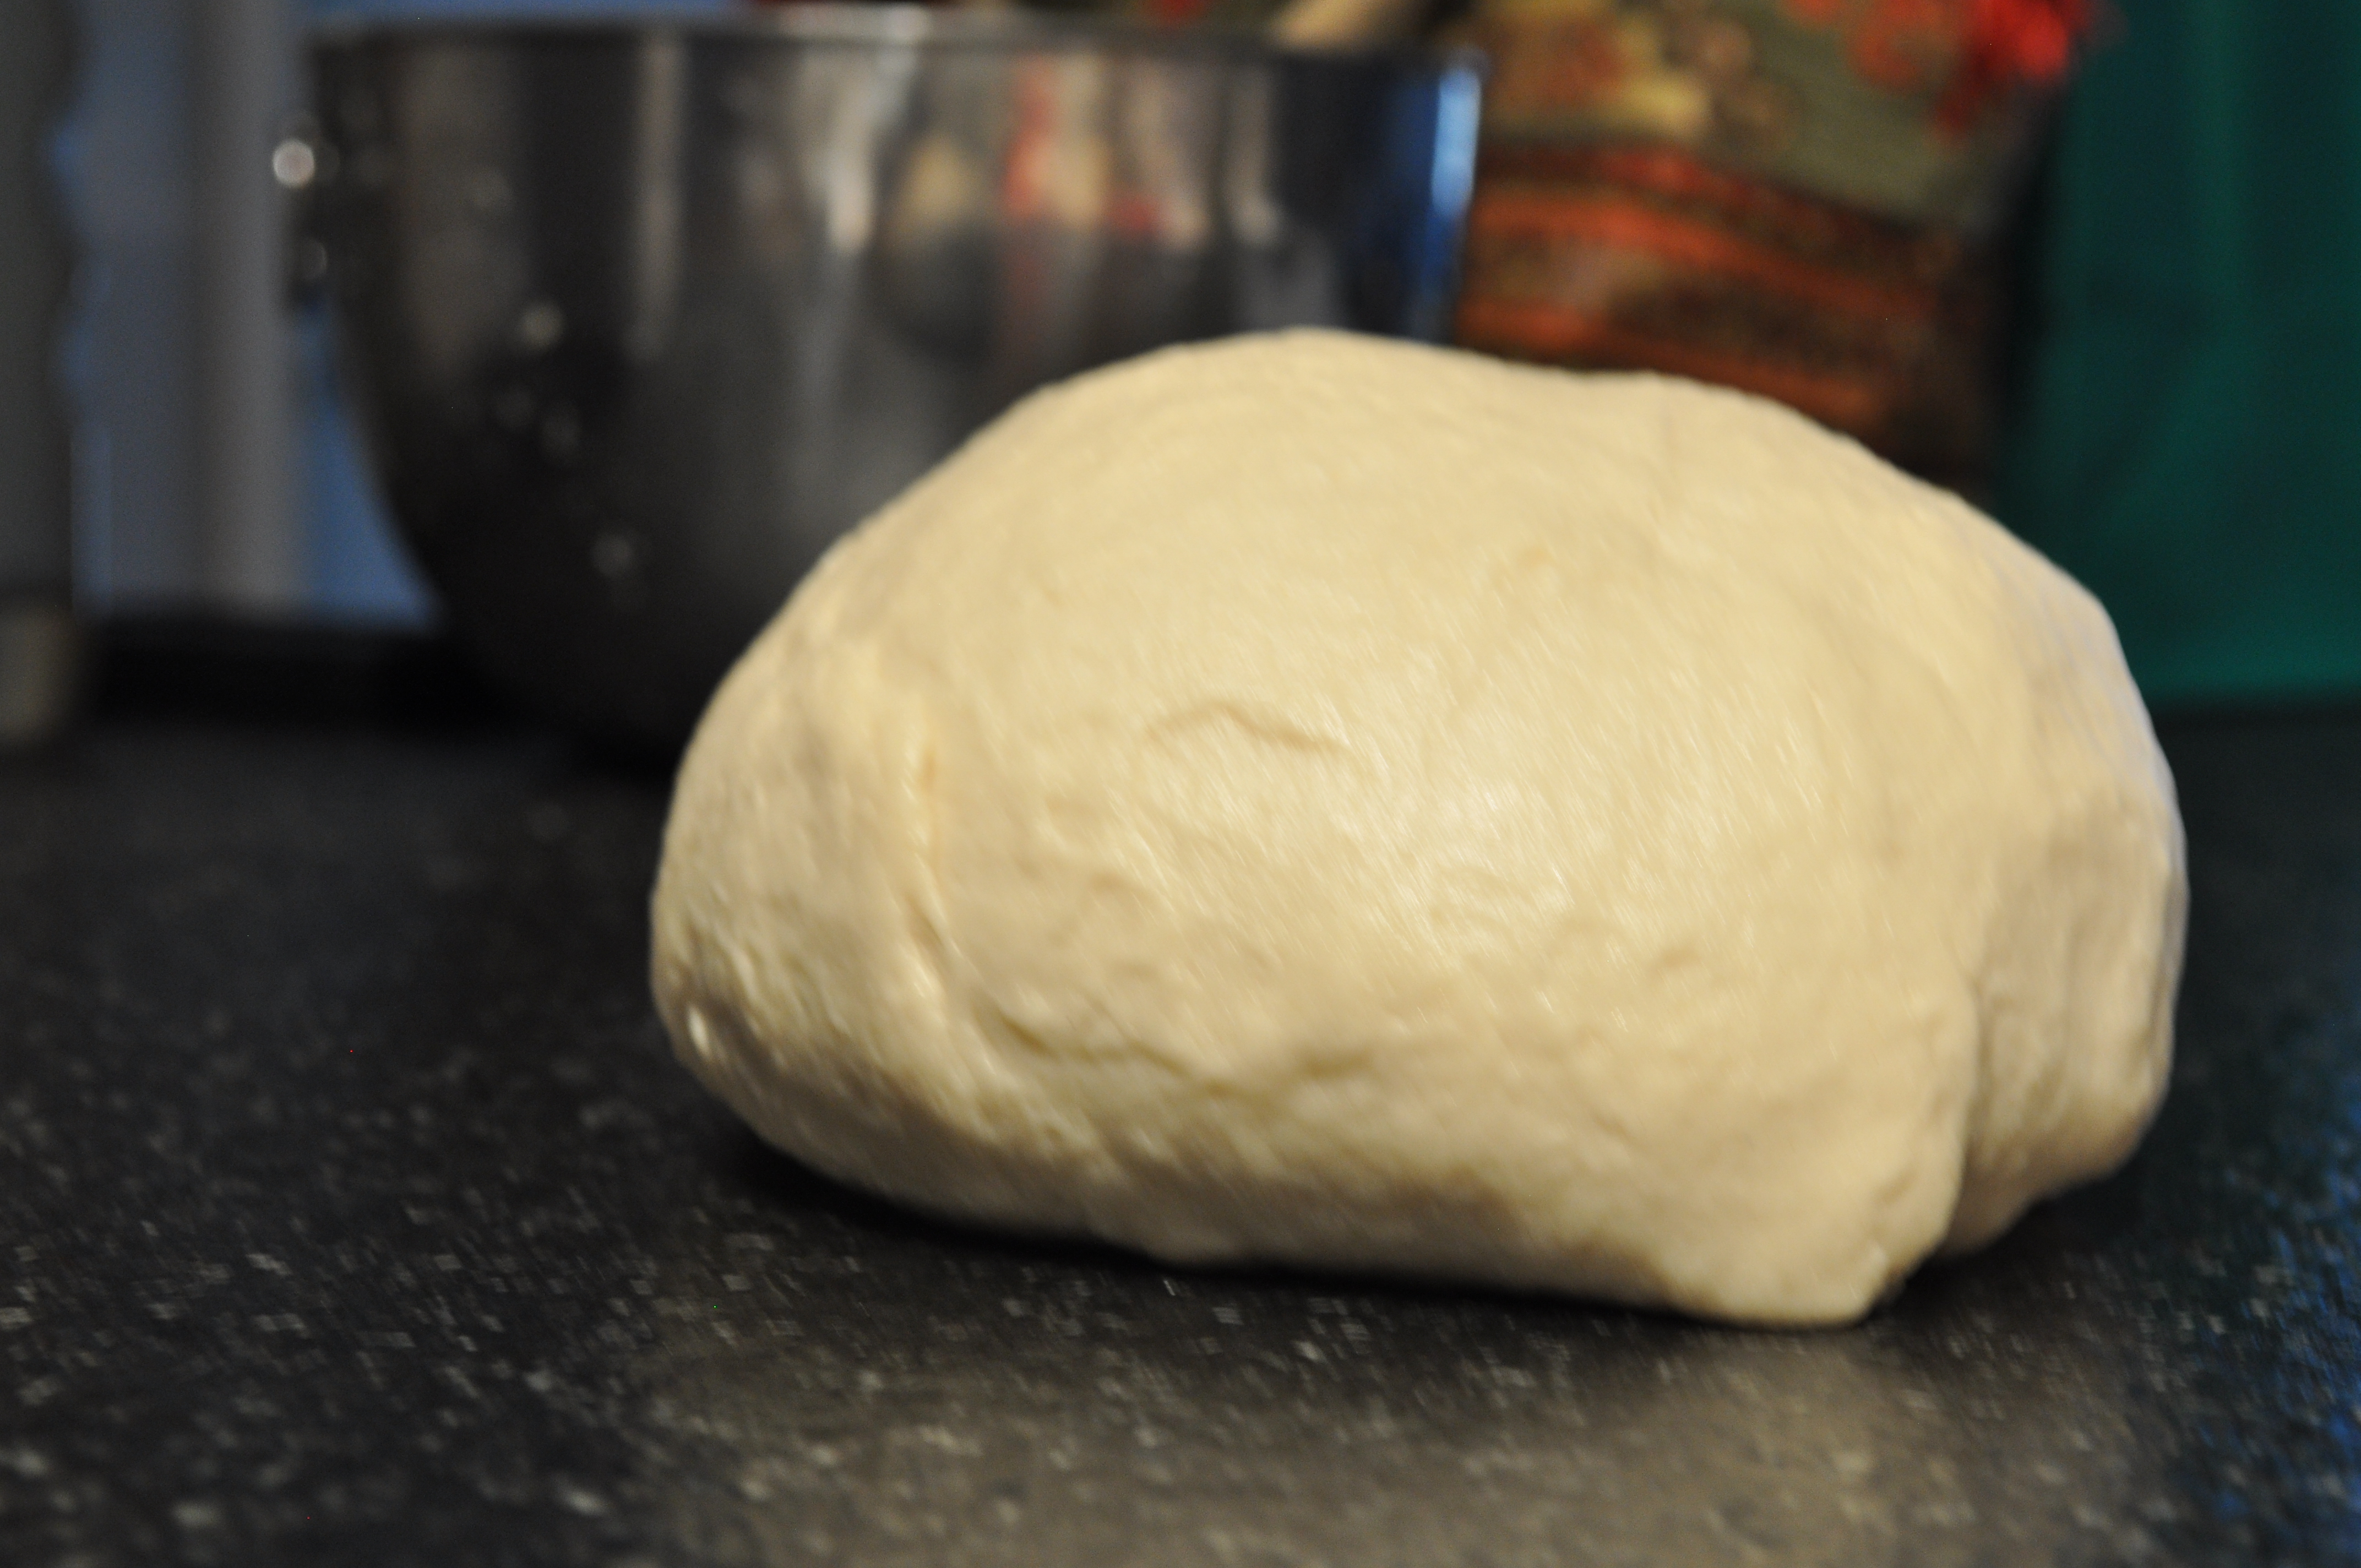
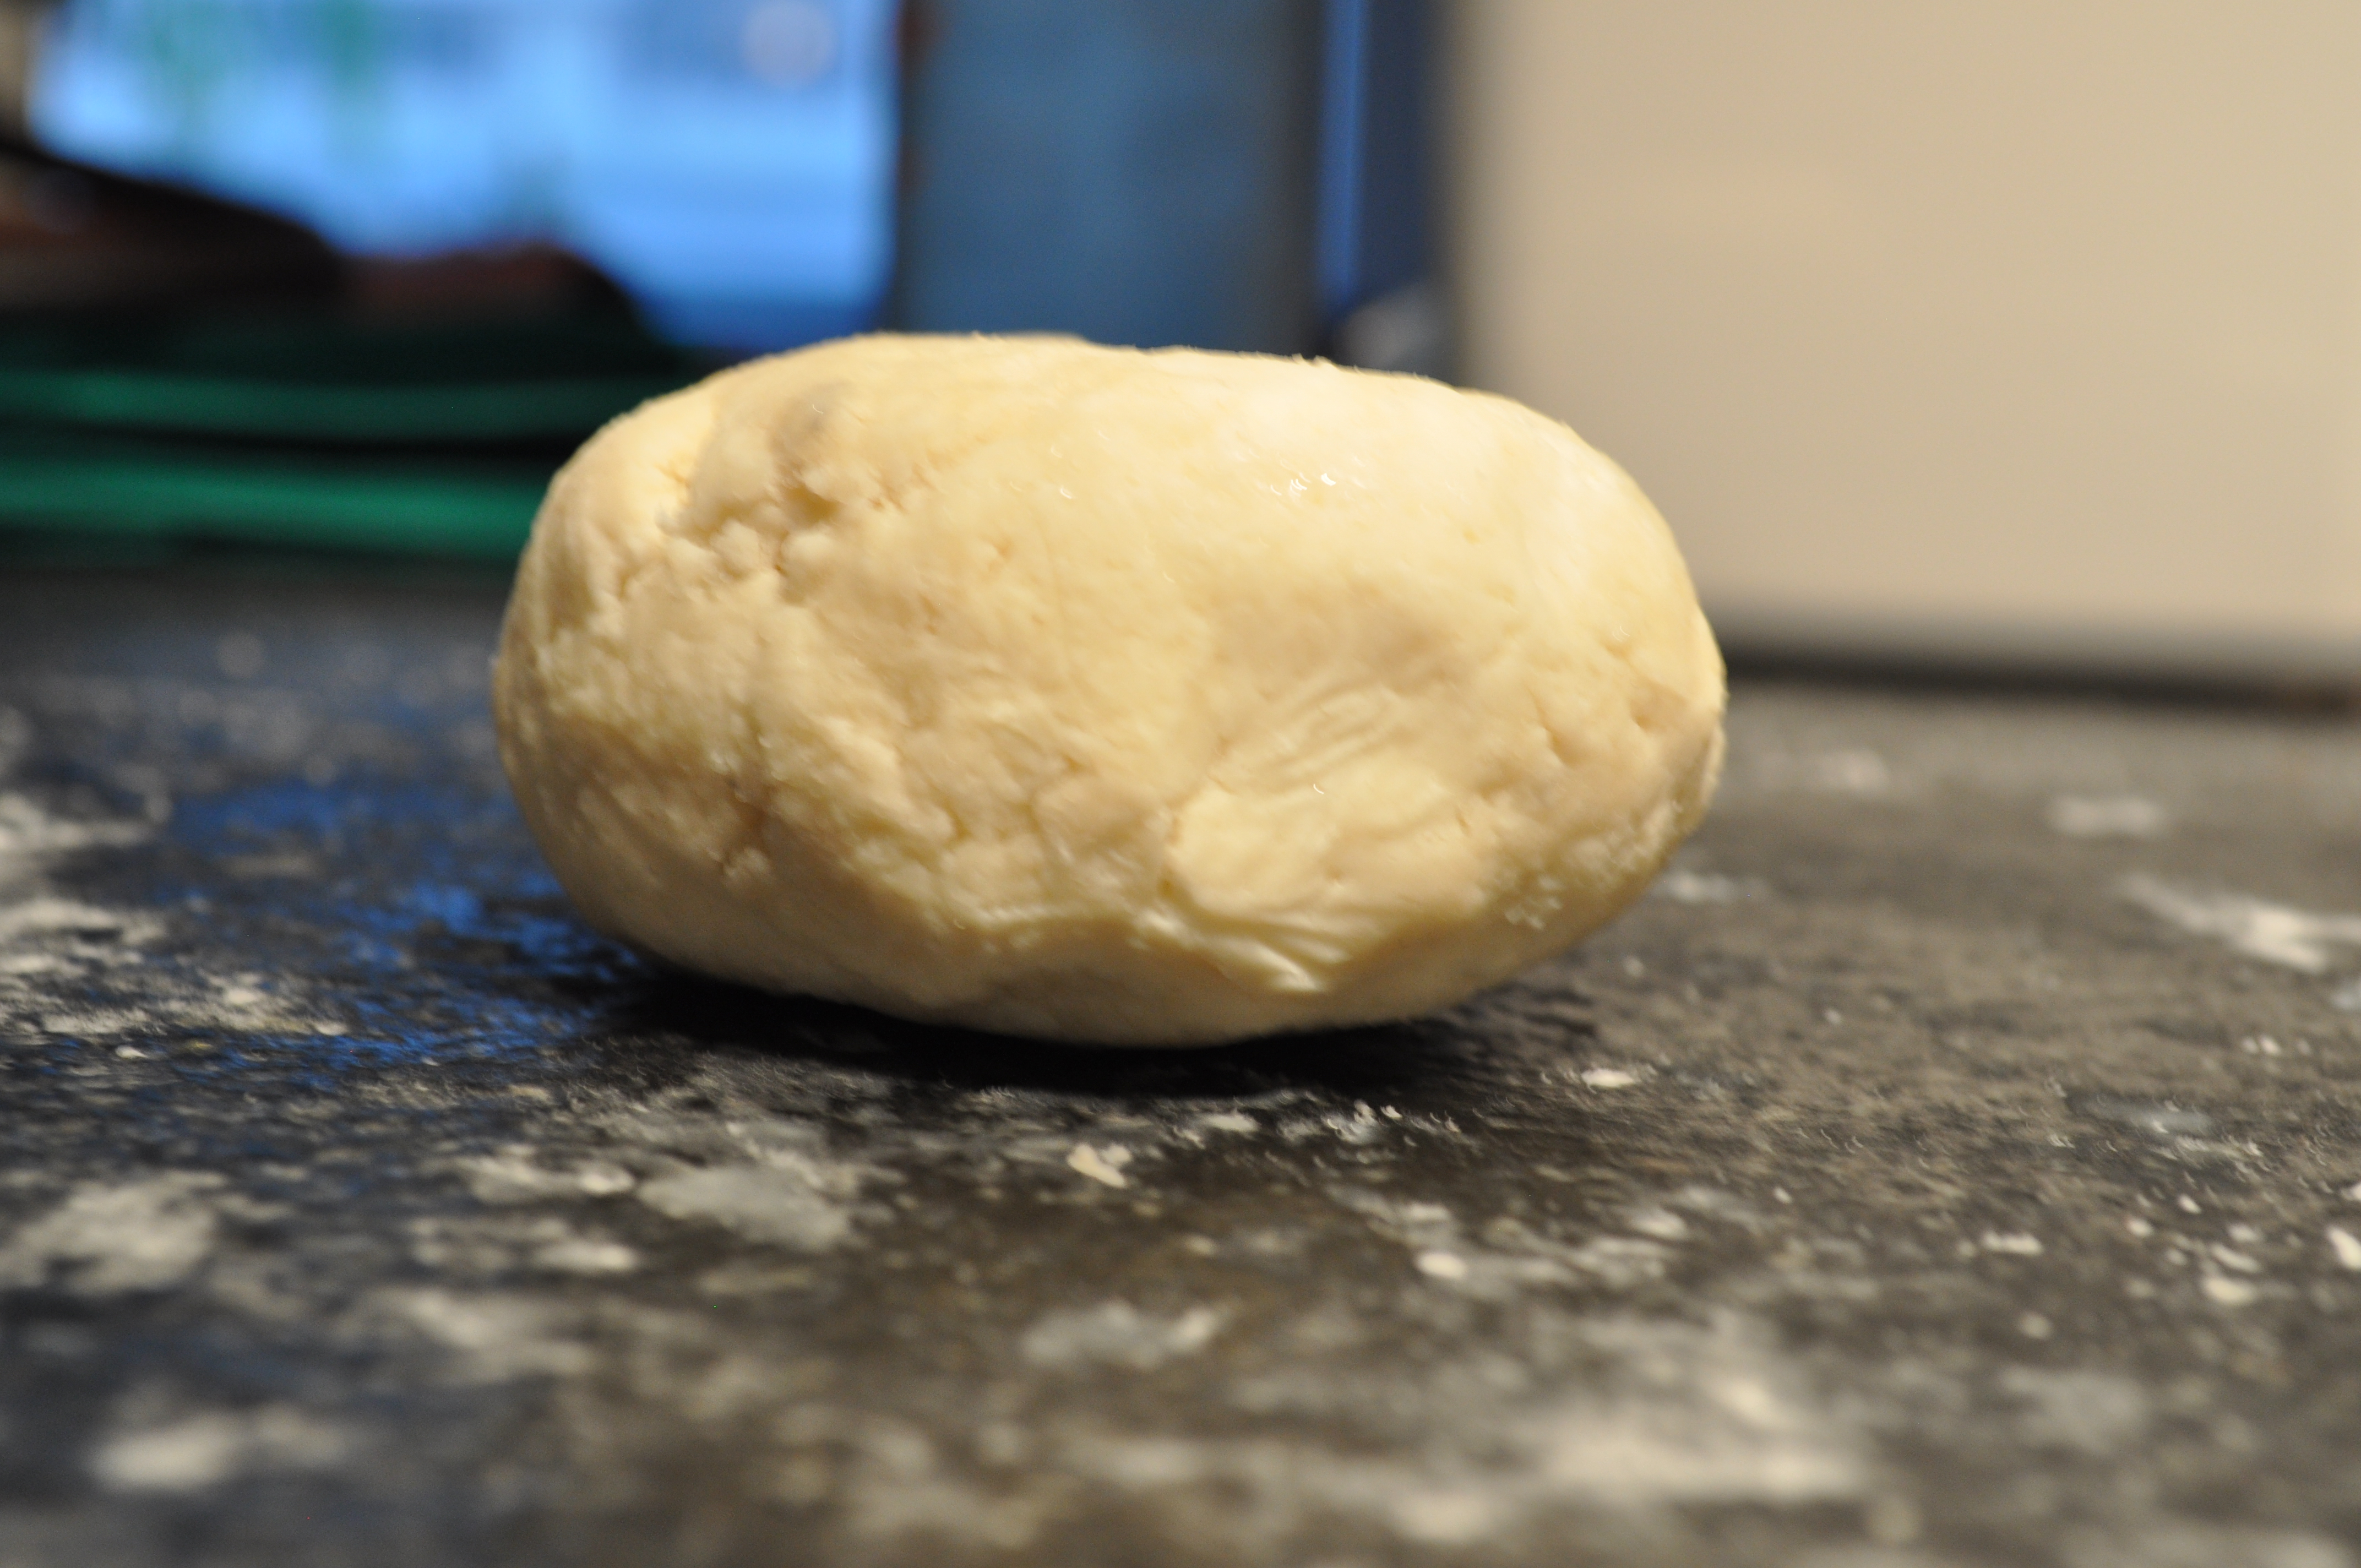
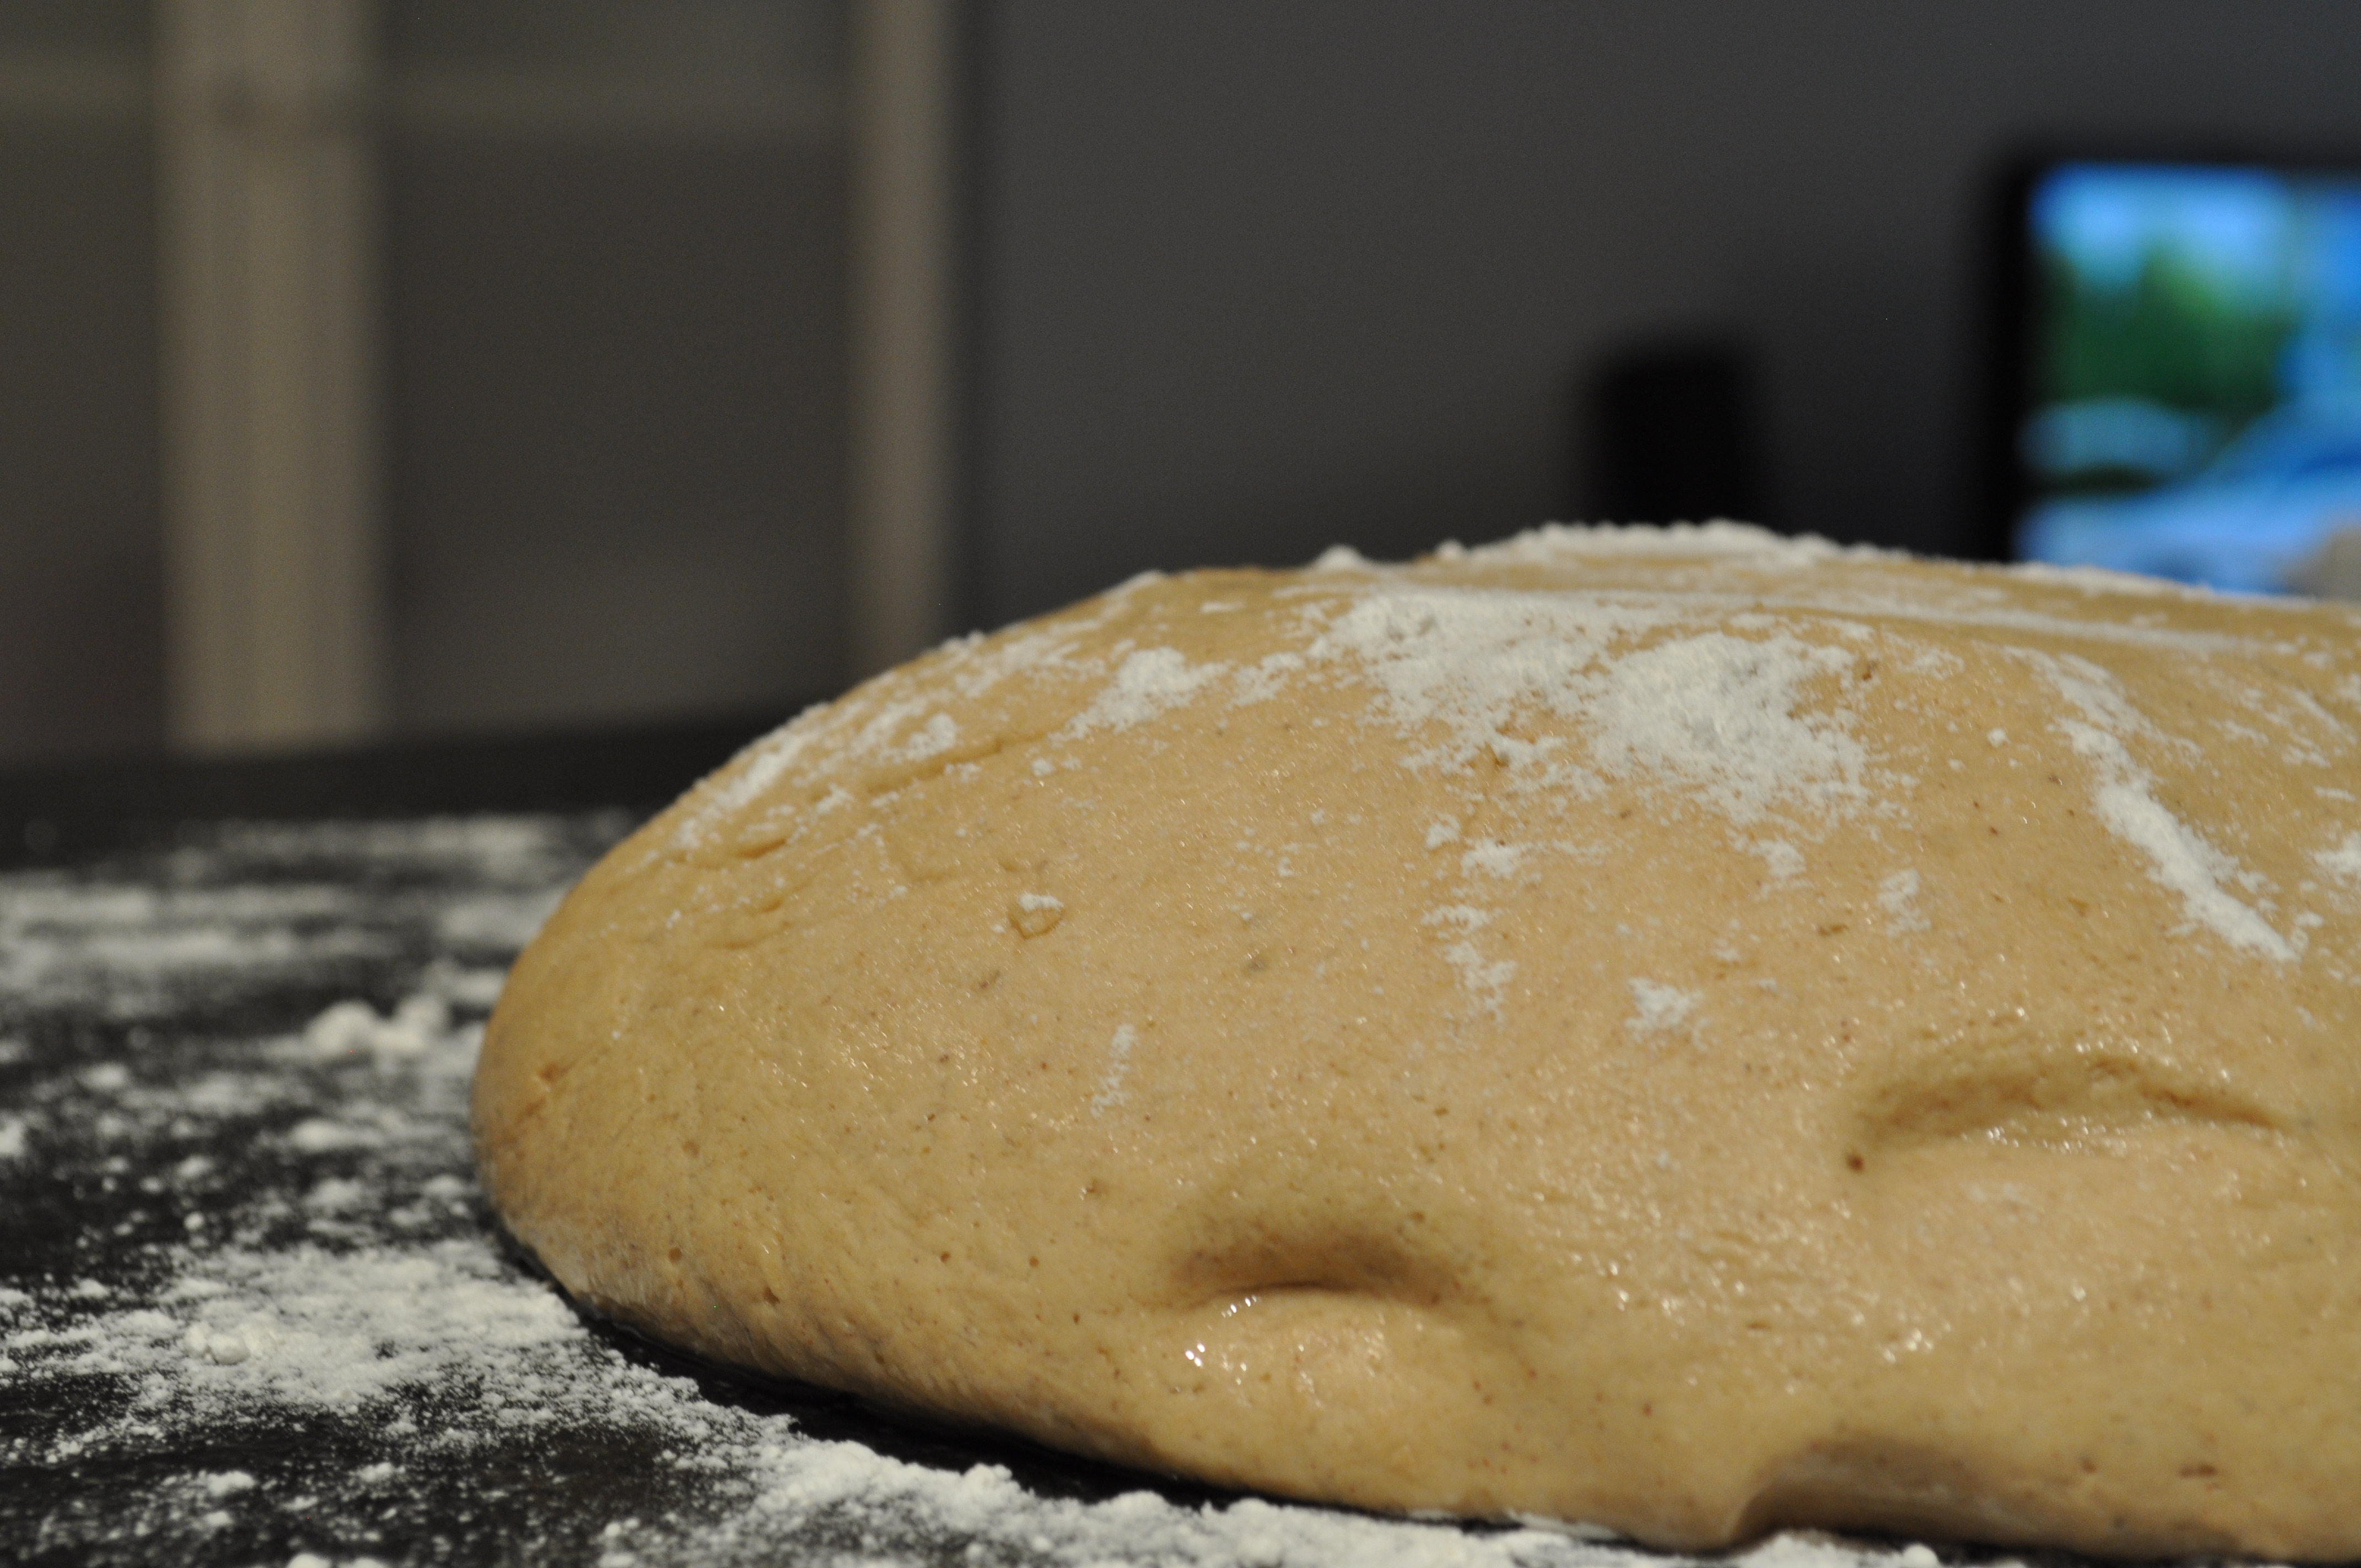
In the bowl of your stand mixer, dissolve the sugar into your warm water.  Sprinkle in the yeast, giving it a good mix.  Allow the mixture to sit for 5-7 minutes, until it’s frothy and bubbly.  With the paddle attachment, blend in salt, cinnamon, mashed bananas, egg, and vanilla and mix until everything is well incorporated (1-2 minutes).  Switch to the dough hook to your stand mixer, and add the flour, about one cup at a time, mixing well until the dough comes together into a soft, slightly sticky ball of dough.  Mix on low speed for about 3-4 minutes to knead.  If the dough is not coming together into a ball, add more flour, one tablespoon at a time.  Turn the dough out to a lightly floured surface.  Fold over 10-15 times, then place the dough in a lightly greased bowl, turning once to coat.  Cover the bowl with plastic wrap and set in a warm place until doubled in size (about 45 minutes to 1 hour).

In a bowl, stir together the sugar, pecans and cinnamon. In a separate small bowl, with a fork, mash together the softened cream cheese and bananas.  Put both aside until dough has risen.

Line a large baking sheet with parchment paper.  Set aside.

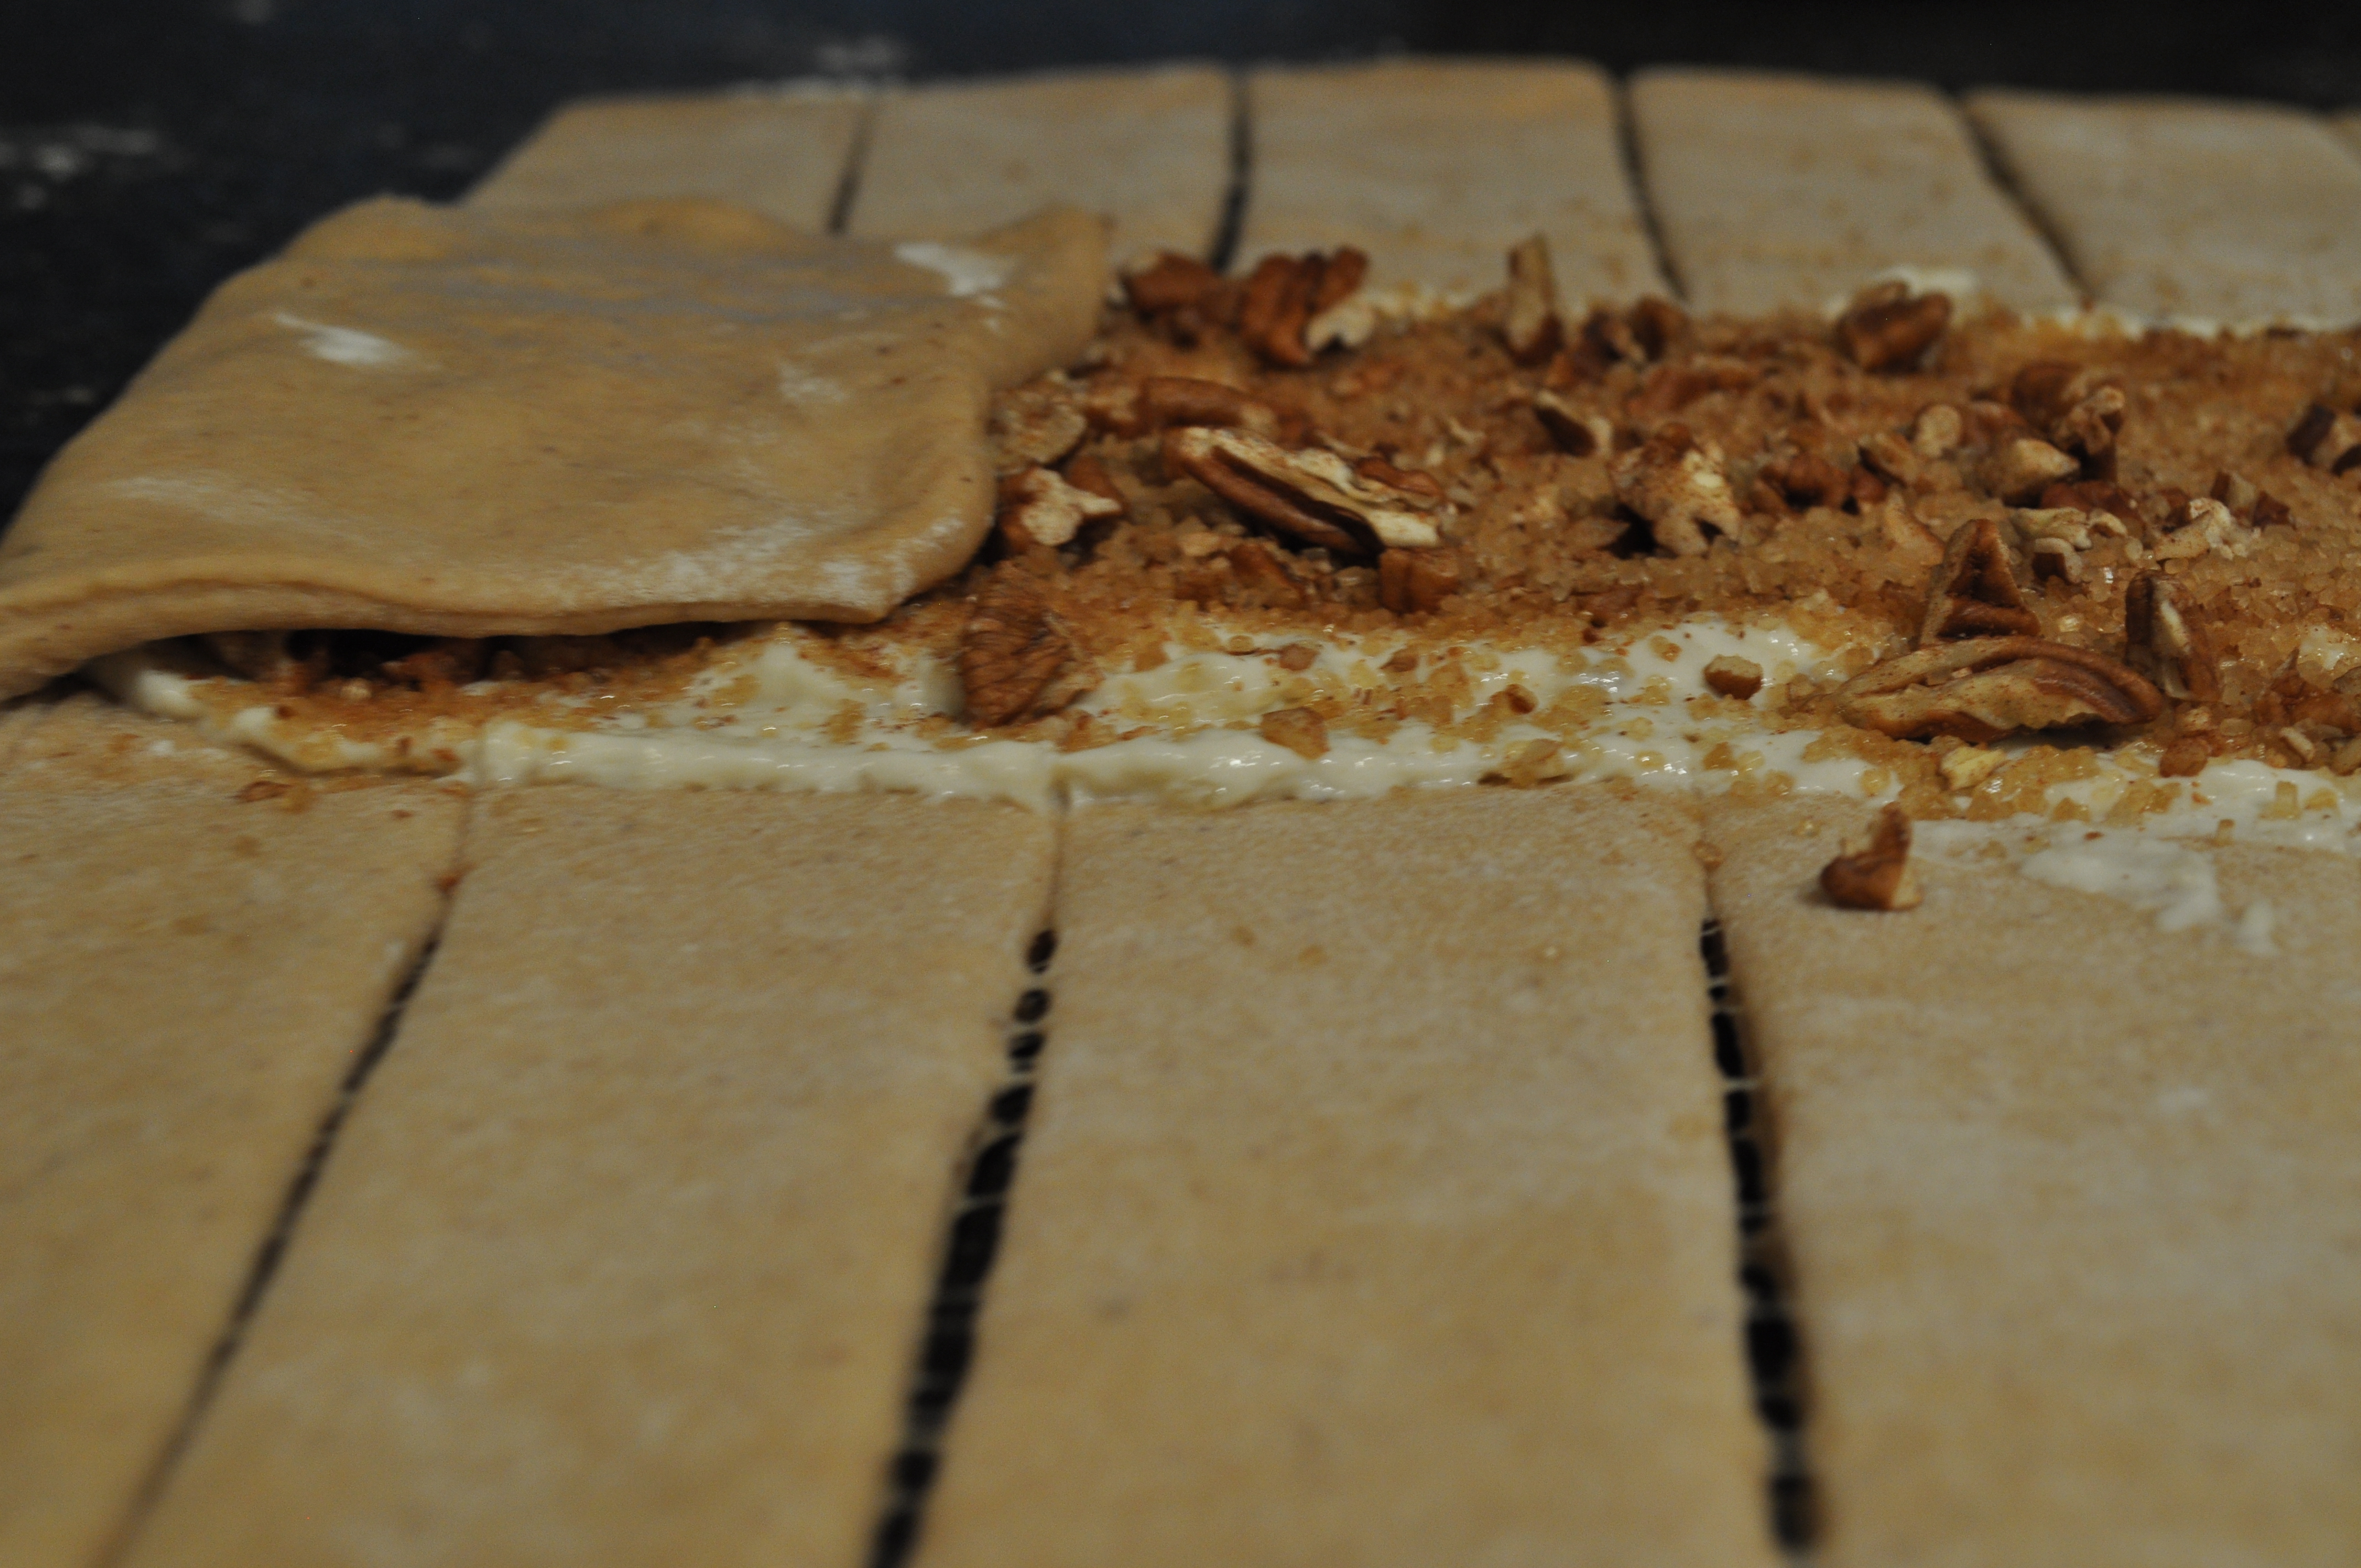
Roll the dough out into a rectangle that is about 18″ X 12″.  Carefully place the dough to your prepared baking sheet.  With the side of your hand, lightly press two lines down the dough lengthwise, dividing it into three equal columns. Spread the cream cheese filling down the center section, leaving the top and bottom two inches free of filling.  Spread 2/3 of the sugar/nut mixture on top of the cream cheese mixture.  Cut out the four corners of the bread so it looks like this:

DSC_0373

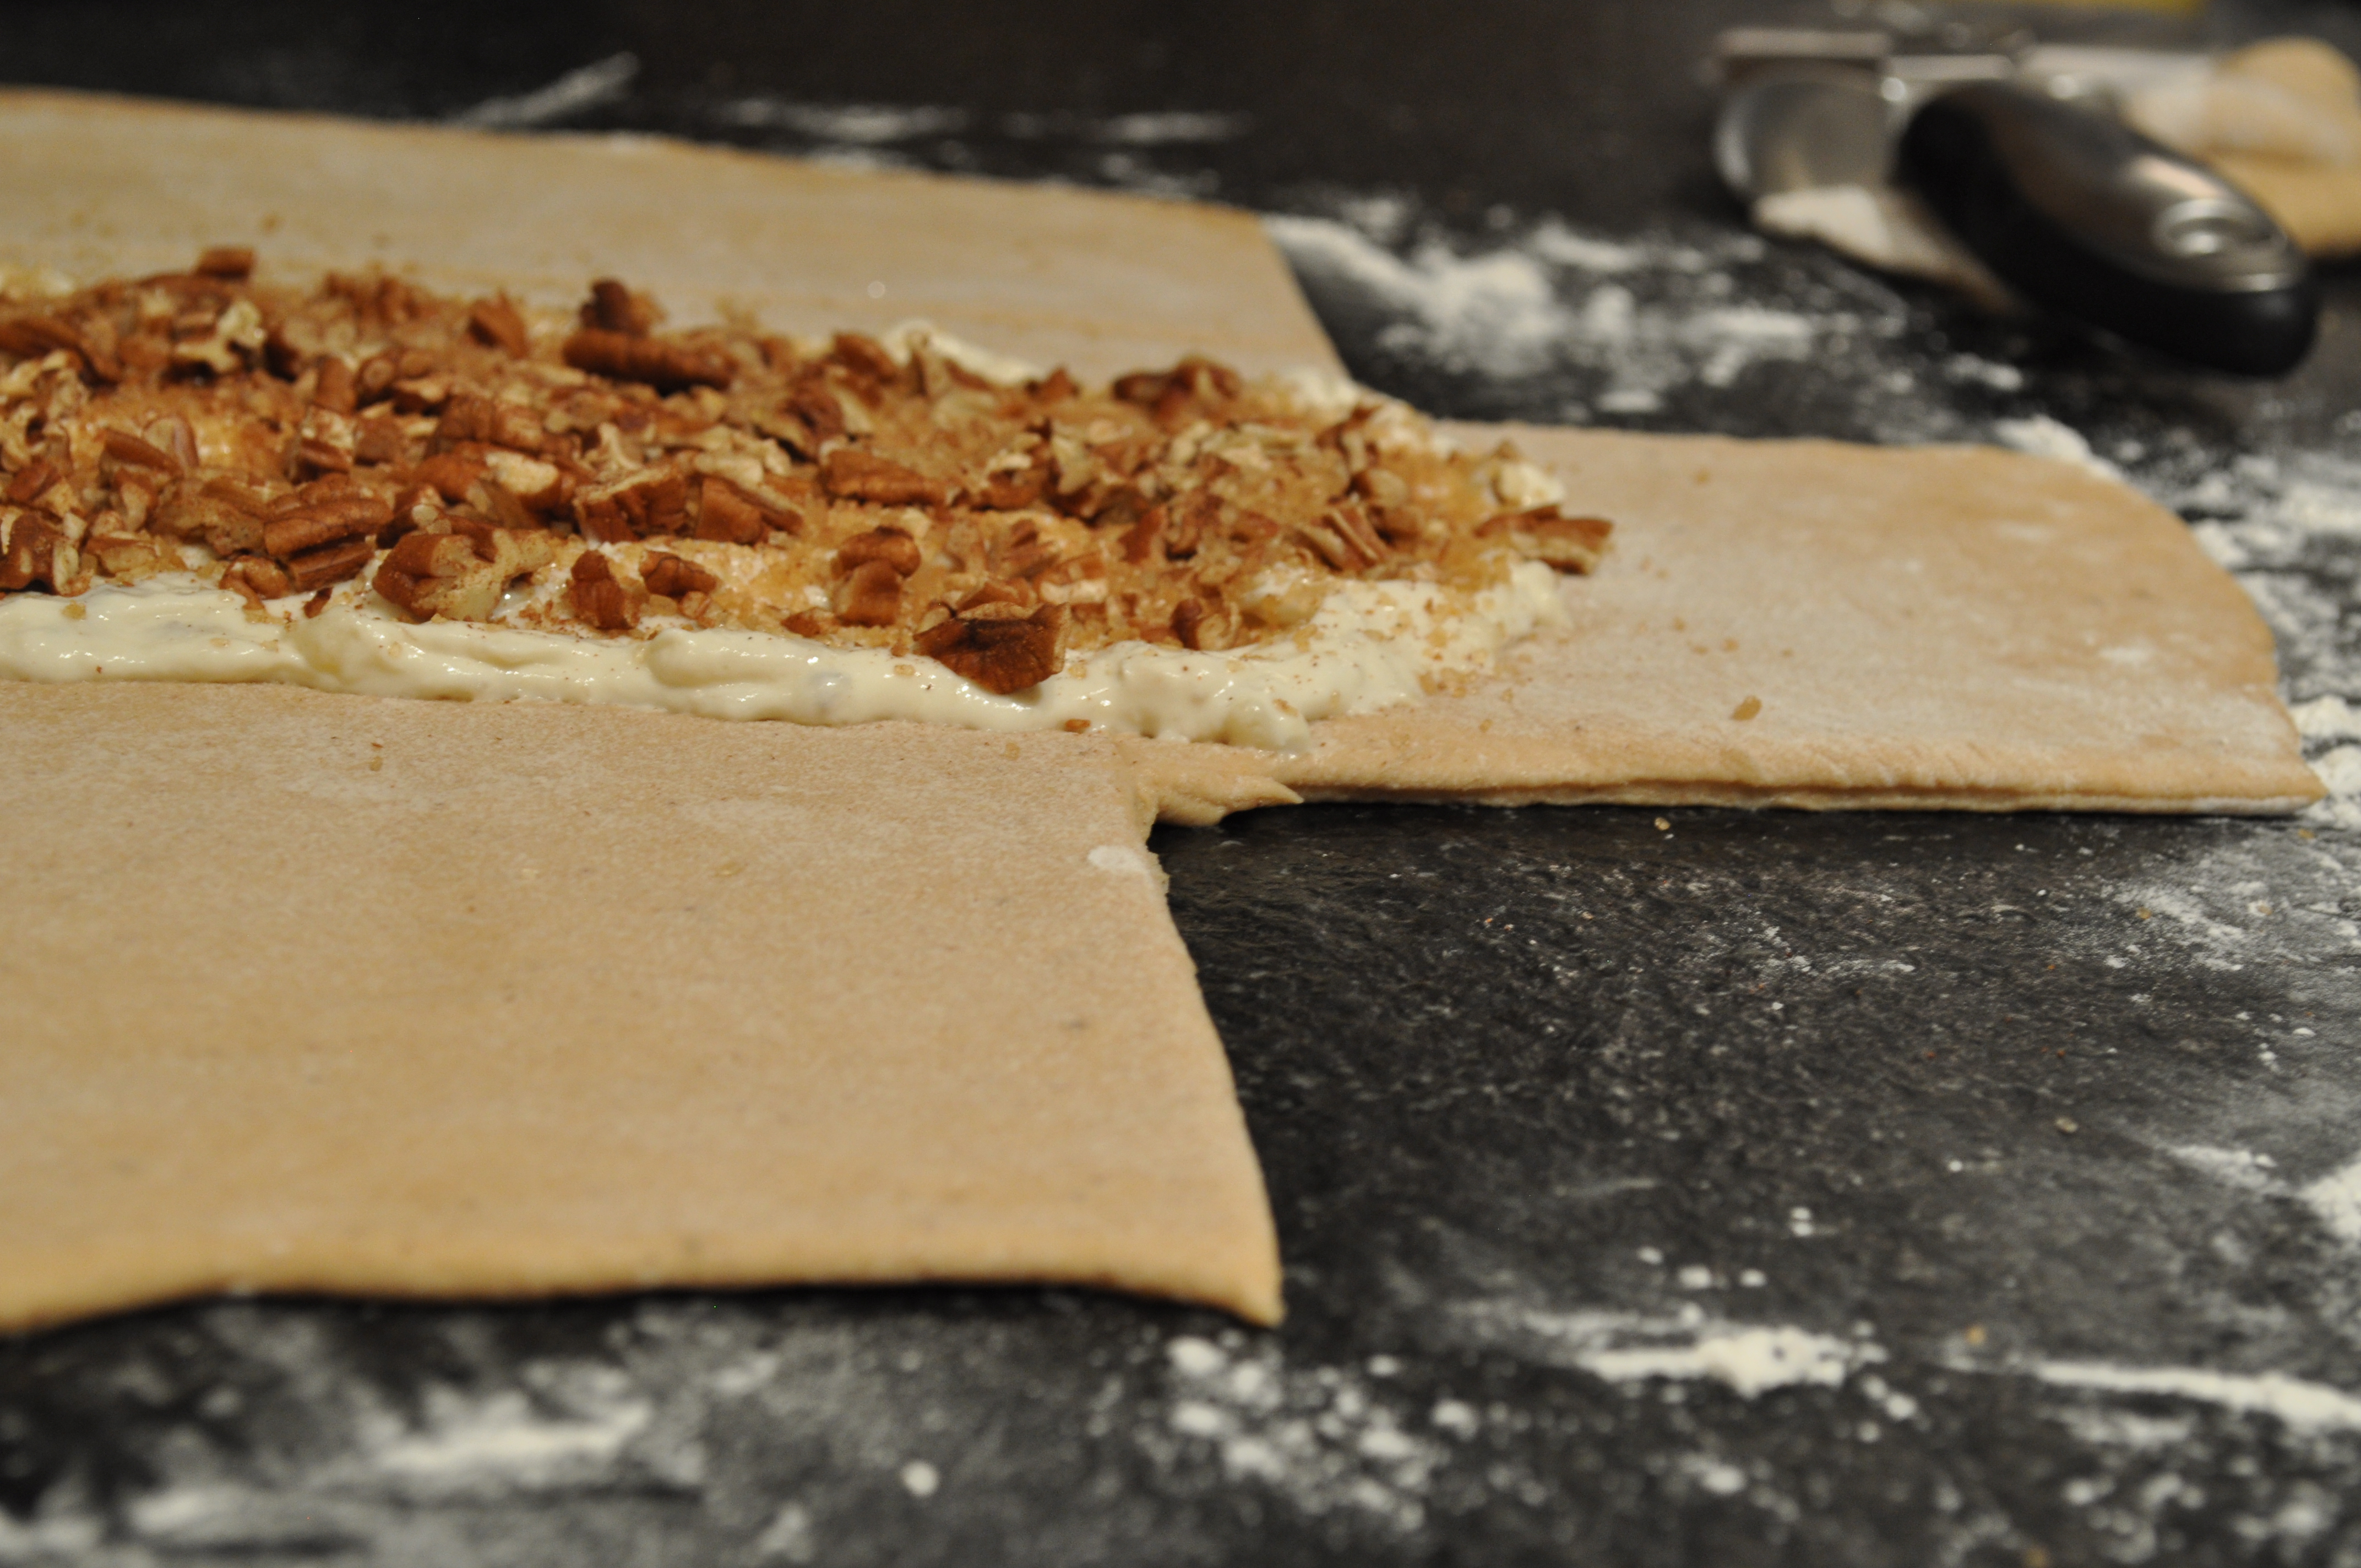
Fold the top two flaps over the filling.  With a pizza cutter, on one side of the bread, slice the dough down the middle until it reaches the filling.  Cut each half in half, and again, so you have eight strips on one side.  Repeat on the other side of the dough so the strips are even.

To braid the bread, starting on one side, fold one strip diagonally down the filling, repeating with its match on the other side.  Keep folding with each of the strips until all the strips are folded over the bread and the filling is completely enclosed.  The strips will look like this:

DSC_0377

Whisk together egg and milk for the egg wash.  Brush on top of the entire surface of the bread.  Sprinkle the bread with the remaining 1/3 of the sugar mixture.  Cover bread loosely with plastic wrap and let it rise in a warm place for about 20 minutes.

Preheat oven to 375.  Bake bread for about 30 minutes until it reaches a deep golden brown.  Let cool on baking sheet for 10 minutes and then transfer to a wire rack.  Let cool completely before cutting to make sure that the filling does not seep out.

Chocolate Passionfruit Thumbprints

January 9, 2014

DSC_0361

Happy new year, friends!  Apologies for the silence. I spent my holidays, well, in Hawaii, where as much as I had intended to try new recipes and cook for my family and post frequently, I just did not.  I did eat, though!  I mean, in between visiting the beach, taking surfing lessons (failing at surfing lessons), and hiking up all of the mountains that surrounded us, I ate well.

mochi

There were many things to try!  Fresh coconut mochi, mochi and adzuki bean covered strawberries (pictured above), mochi ice cream, mochi covered oreos.  (They really like their mochi).  Taro doughnuts (pictured below), guava juice, shave ice drizzled with condensed milk, macadamia nut ice cream, wasabi flavored macadamia nuts, Kona coffee brittle, Portuguese doughnuts doused in cinnamon sugar, iced tea with coconut milk.  I mean, let’s be honest, people.  I ate a lot.  I’m on a juice cleanse now.

taro doughnut

My favorite of all of these things, though, was passionfruit.  They had passionfruit flavored everything, and it was just so so good.  Fresh and bright, sweet and silky and tangy, this, my friends, is a satisfying flavor.  And so, of course, I stocked up on all things passionfruit before heading back to the polar vortex.  I now have an abundant supply of passion fruit mustard, passion fruit dressing, passion fruit butter, passion fruit jam (low sugar, of course), and passion fruit sugar (to make up for the jam).  Yes.  This may be the start of an addiction.

DSC_0356

So, to pay homage to my delicious trip (and to start using some of my products that I bought), I bring to you chocolate and passionfruit thumbprints.  Cookies to get you through this ridiculous cold weather, but tropical enough to remind you that spring is just around the corner (or to tell you to book a trip to Hawaii).  The truth is that these cookies were so addictive that I didn’t even get a picture of one that was fully assembled.  So, make these (!), and I’m leaving you with this picture of the beach instead.  Aloha!

beach

Chocolate Passionfruit Thumbprints (adapted from The Kitchn)

I realize that passionfruit butter and sugar are not as readily available on the mainland, but no worries!  You can still make this tropical – the most easy being replacing the fruit butter and sugar with lemon curd and lemon sugar.  Just zest a lemon into sugar and mix it around and roll the cookie dough balls in there.

1 cup all-purpose flour
1/3 cup unsweetened Dutch-process cocoa powder
1 teaspoon salt
4 oz. bittersweet chocolate, chopped (or chocolate chips)
2 oz. semisweet chocolate, chopped (or chocolate chips)
2 sticks unsalted butter, at room temperature
1/2 cup sugar, plus more for rolling (I used passionfruit sugar for rolling)
1 egg, at room temperature
1 teaspoon vanilla extract
passionfruit curd, or any other fruit curd to top cookie

In a medium mixing bowl, whisk the  flour with the cocoa powder and salt. Set aside. In a microwave-safe bowl, melt the bittersweet and semi-sweet chocolates on low until just melted. Whisk well until smooth, then set aside to cool slightly.

In the bowl of a stand mixer fitted with the paddle attachment (or using an electric mixer), beat the butter until light and creamy, about 2 minutes. Add the sugar and beat on medium until fluffy, another 2 minutes. Add the egg and vanilla and beat until just combined. Pour the melted and slightly cooled chocolate into the mixer and beat just until incorporated.

Add the flour and cocoa into the mixer bowl in two rounds, beating at low speed in between each addition. Scrape the sides of the bowl as needed. Chill the dough in the refrigerator until firm enough to roll into balls, about 30 minutes. Meanwhile, preheat the oven to 350°F.

Line 2 baking sheets with parchment paper. Spoon the passionfruit sugar into a small, shallow bowl. Scoop up roughly 2 tablespoons of the chilled dough and form into balls. Roll in the coarse sugar and transfer to the baking sheets. Using your thumb or index finger, press down firmly into the center of each cookie to form an indentation. Bake the cookies for 12 to 14 minutes, or until dry on top and slightly firm. Once out of the oven, press down gently on the indentations again to reinforce them, and transfer the cookie sheets to racks to cool completely.  Fill each indentation with passionfruit curd.

Gingerbread Popcorn

December 21, 2013

DSC_0345

I’ve had this habit for years.  I pore over cookbooks and websites for weeks leading up to the December holiday season.  I pick one recipe to make for every food gift that I want to give that year.  And then I spend all my time joyfully cooking and baking and wrapping.  And then I never make it again.

DSC_0328

I mean, I know why I do this.  I am always so excited about the next year, about the possibilities, and the new dishes to make!  I want my friends and family to experience new things!  But my sister was telling a story from a past holiday the other day, and tubs of this gingerbread popcorn was a major character.  Which made me remember this popcorn and all of its glory.  It’s like an overdose of caramel corn with some warm spices added to it.  How did I only make this once?!

DSC_0330

So here’s to the s’mores fudge I made one year.  The chocolate pistachio shortbread from another year.  The spiced nuts, the peanut brittle, and the iced sugar cookies.  I’ll come back for you again one day, forgotten holiday desserts, just like I did with this popcorn.

DSC_0337

Gingerbread Popcorn (recipe from Culinary in the Desert)

After popping the popcorn and measuring out the 15 cups, do a quick look and make sure that no kernels get into the final mix.  There is just nothing jolly about that.

15 cups popped popcorn
16 tablespoons (2 sticks) butter
2 cups packed brown sugar
1/4 cup molasses
1/4 cup light corn syrup
1 tablespoon ground ginger
1 teaspoon cinnamon
3/4 teaspoon salt
1/2 teaspoon baking soda

Preheat oven to 250

Line 2 large baking dishes with foil and coat with cooking spray.  In a large bowl, pour in the popcorn.

Combine butter, brown sugar, molasses, corn syrup, ginger, cinnamon, and salt in a large, heavy bottom pot. Heat over medium heat until mixture boils.  Boil for a total of 5 minutes; stirring frequently.  Remove from heat and stir in baking soda.  Pour over popcorn; carefully toss to coat.  Pour onto baking sheets, 1/2 on each.

Bake at 250 for one hour, carefully stirring the warm mixture about every 15 minutes. Cool completely on trays before storing or gifting.

Cranberry Pavlova

December 12, 2013

DSC_0323

Back in the day, when I was too afraid to make meringues (but loved them so much!), I learned about a little British dessert called Eton Mess.  Basically, crushed up meringues, mixed with lightly sweetened whipped cream, and topped with some sliced strawberries.  Brilliant, in my opinion.  You’ve got the crunchy, you have the creamy, you’ve got the sweet and you have the tangy.  And, on top of all of that, it’s supposed to look like a mess!  It was the perfect dessert!

DSC_0316

I knew that this was exactly what I wanted to make for my friends for a holiday dinner party I was having (I was so eager back then).  But again, I was too intimidated to make the meringues.  So I bought them, as well as the cream, and the strawberries (I was going to make a little balsamic strawberry compote to make up for the fact that I wasn’t making the meringues.  I thought I was so fancy!  Sigh.).  When dinner plates had been cleared, I proudly got up telling my friends about the dessert I was about to assemble for them.  I got to the tub of meringues I bought, I opened it up, and ta da, I had bought marshmallows instead.

DSC_0319

I can’t express to you the magnitude of my sadness.  Marshmallows?!  People, all I had to do was buy the right type of cookie!  And I failed at that.  This was pretty scarring.  It left me dinner-party-less for many years to come.  You would only understand if you have ever served marshmallow whipped cream sandwiches for dessert.

DSC_0327

It’s been years and I finally felt healed enough to attempt this again.  But this time I made my own meringues, and made a pavlova, instead – you know, the fancier Eton Mess.  Crunchy meringues, topped with a dollop of whipped cream, and to go with the winter holiday theme, some cooked up cranberries.  I even made it look nice!  I feel like I should include some moral and say that it’s always better when you make things homemade, but in truth, just make sure you read the label before buying cookies at your grocery store and your dinner party will be a success!

DSC_0325

Cranberry Pavlova (adapted from Vintage Mixer)

  • 4 large egg whites
  • 1/8 tsp. cream of tartar
  • 1/4 tsp. salt
  • 1 tsp. vanilla extract
  • 1/3 cup sugar
  • 12 oz. bag of fresh cranberries
  • 1 /2 cup sugar
  • 1/2 cup water
  • juice of 1 lemon
  • 1 1/2 cups heavy cream
  • 1/4 cup sugar
  • 1/2 tsp. vanilla extract

Preheat oven to 200 degrees, and lined a baking sheet with parchment paper.  Beat egg whites on medium-low speed until frothy.  Add salt and cream of tartar and continue to beat.  Turn the mixer to a higher speed and slowly sprinkle in the sugar.  You do not want to dump in all of the sugar at one time.  Add vanilla.  Beat on high until the egg whites have tripled in volume, they’re silky and glossy and they can stand up on their own.

Spoon egg whites on the baking sheet.  Shape them with the back of the spoon so they are like inverted domes – with a dip in the center.  Bake for 1.5 – 2 hours.  They should have no color, but will feel firm to the touch.  Let cool on baking sheet for 15 minutes and then transfer to a wire rack.

Meanwhile, make the cranberry compote.  Heat together water and sugar over medium heat until the sugar is dissolved.  Add cranberries and stir together.  Continue to cook and stir until the cranberries just begin to burst and the mixture is syrupy.  Take off the heat and add lemon juice.  Let cool to room temperature.

When everything is cool and ready to assemble, make whipped cream.  Beat cream on low speed until some air has been incorporated.  Turn the speed higher and slowly sprinkle in the sugar and add vanilla.  Continue to beat until the whipped cream is pillowy and soft peaks have formed.

To assemble: take one meringue disc and add a dollop of the whipped cream right in the center.  Spoon cranberry mixture on top of the whipped cream.  Enjoy immediately.

Apple Goat Cheese Galette

December 7, 2013

DSC_0289

Oh, hello!  It’s been a while, hasn’t it?  I just thought that after last week, everyone would need a little break from, well, eating.

DSC_0266

But it’s been over a week now, and after way too many protein shakes and yogurt cups, I’m ready to get back in the game.  And this galette, my friends, is how to kick off Eating Season, Round 2.

DSC_0273

If you think that the sweet/salty trend has long passed us, you have not tried this yet.  It’s an unexpected combination of sweetened and spiced apples cooked in butter with tangy, creamy goat cheese with toasted almonds.  You don’t think it will work together and then you take a bite.  And all of your expectations of anything you ever knew will change.

DSC_0275

Okay.  Fine.  Perhaps this is a little overdramatic.  Maybe this tart isn’t the journey filled with emotions that I’m describing.  But I promise that it is delicious.  And that is reason enough to make this, don’t you think?

DSC_0280

Apple Goat Cheese Galette (adapted from Food Network)

For the Gallette:
2 tablespoons unsalted butter
3 Braeburn apples, peeled, cored, and cut into 1/2-inch wedges
1/8 teaspoon kosher salt
1/4 cup sugar
1/2 teaspoon ground cardamom
1/2 teaspoon ground all spice
1/2 teaspoon cornstarch
1 teaspoon fresh lemon juice
one 8-ounce frozen puff pastry sheet, thawed (either overnight in the refrigerator, or 30 minutes at room temperature)
all-purpose flour, for sprinkling
1 large egg, beaten

For the Topping:
One 4-ounce package chilled soft fresh goat cheese, crumbled into 1/3- to 1/2-inch chunks
1/3 cup sliced almonds, toasted
1/3 cup tart dried cranberries

For the galette: Position a rack in the center and preheat the oven to 375 degrees F.  Melt the butter in a large nonstick skillet over medium-high heat. Add the apples and sprinkle with the salt and lemon juice.  Saute until almost tender, tossing occasionally, about 10 minutes. Remove the skillet from the heat.  Whisk the sugar, spices and cornstarch in a small bowl until no cornstarch lumps remain. Sprinkle the spiced sugar over the apples in skillet, and toss to blend. Cool to lukewarm.

Place a large sheet of parchment paper on the work surface. Unfold the pastry sheet on the parchment and sprinkle both sides lightly with flour. Roll out the pastry to 12-inch square, lifting, turning and sprinkling with more flour to keep from sticking.  Slide the pastry onto a parchment paper lined baking sheet.

Brush the pastry all over with some beaten egg, making sure you get all of the edges.  This will prevent the pastry from getting soggy in the oven.  Starting 2 inches in from the edge (to leave wide border), arrange the apple wedges close together in a circle on the pastry. Arrange the remaining apples in a smaller circle in center.  Fold the pastry border partially over the filling, pleating the pastry in loose folds. Brush the folded-up pastry border with some beaten egg.

Scrape the juices from the skillet over the apples. Bake galette until pastry edge is deep golden brown, 30 to 35 minutes.

Meanwhile, make the topping: Toss the goat cheese, almonds and dried cranberries in a medium bowl until evenly distributed (do not over mix – the cheese should still be in distinct pieces). Chill until ready to use.

Remove the galette from the oven. Sprinkle the topping evenly over the filling. Return the galette to the oven and bake for 5 minutes longer to soften the cheese and cherries. Cool 20 minutes and serve warm.

Thanksgiving Ideas

November 26, 2013

This has become as much of a tradition as Thanksgiving itself!  Recipes from this past year that are Thanksgivukkah worthy!  Or maybe sneak in some from previous years.  Either way, happy cooking!

For the Meal:

DSC_1962

Latkes

DSC_2452

Cheese Bread

DSC_2572

Chili Jam

DSC_2530

Macaroni and Cheese

DSC_2735

Sally Lunn Bread (with Cinnamon Vanilla Butter)

DSC_2759

Zucchini Butter

DSC_0152

Kale Salad with Toasted Sunflower Seeds and Golden Raisins 

DSC_0255

Parker House Rolls

For After the Meal:

DSC_2517

Honey Almond Butter Mousse Tart

DSC_2695

Coconut Macaroons

DSC_0167

Roasted Apple Spice Cupcakes

DSC_0239

Pecan Pie Rugelach

For the Next Day:

DSC_2587

Granola Nut Muffins

DSC_2725

Lemon Blueberry Scones

DSC_2736

Boston Cream Doughnuts

DSC_2829

Apple Pie Yogurt Parfaits

DSC_0033

Baked Chocolate Glazed Doughnuts

Or maybe you will just want this:

DSC_2646

Green Juice

Parker House Rolls

November 24, 2013

DSC_0255

It is time.  The best holiday of the year is just around the corner.  I am going through the menu, making oven time schedules, finalizing the dessert, and I just realized something.  My family has never been one to have bread at the Thanksgiving table.  We don’t usually do biscuits, never rolls, sometimes cornbread, but not often, and we don’t even really do stuffing.   I have no idea where we get our bready carbs from on Thanksgiving Day!

DSC_0248

Well, my friends, this is about to change.  Did you know about these rolls?!  These sweet, buttery, pillowy soft rolls?  They actually really reminded me of mallorcas that I discovered in Puerto Rico several years ago, but these rolls seem more acceptable to eat at dinner.  (Even though I prefer them with butter and jam for breakfast.  Just sayin.)

DSC_0251

And I don’t even think that these rolls rose like they were supposed to.  (Yes, I’m complaining about yeast again.  Go with it.) In fact, I’m pretty confident that they didn’t.  And they’re still the best rolls I have ever had.  Doesn’t that make you want to run into the kitchen to make some?!  Carb-heavy Thanksgivings begin now!

DSC_0258

Stay tuned this week for this year’s Thanksgiving Roundup!  Look back for ideas from past years!

Parker House Rolls (slightly adapted from Joy the Baker)

3 tablespoons warm water

3 tablespoons sugar, divided

1 (1/4-ounce) package (2 1/2 teaspoons) active dry yeast

1 stick (8 tablespoons) unsalted butter, divided

1 cup milk

2 cups bread flour

1 1/2 teaspoons salt

3/4 – 1 1/2 cups all-purpose flour

Stir together warm water, 1 tablespoons sugar and yeast in a small bowl until yeast in dissolved.  Let stand until foamy, about five minutes.

Melt 3/4 stick (6 tablespoons) butter in a small pot.  Add the milk and heat until lukewarm – about 3 minutes.  Pour into a large bowl and add yeast mixture, remaining 2 tablespoons of sugar, bread flour, and salt.  Stir with a wooden spoon until just combined.

Stir in 3/4 cup all-purpose flour, dump out onto a clean work surface, sprinkled with flour, and begin to bring the dough together into a ball.  If your dough is too sticky to handle, add up to an additional 3/4 cup of all-purpose flour a tablespoon at a time until the dough is just slightly sticky.  It will be soft, but will no longer stick to the surface (but may still stick to your hands while kneading).

Knead dough until a smooth and elastic dough begins to form, adding more all-purpose flour as needed.  The dough will be smooth, satiny and just slightly sticky after 10 minutes.  Go sit.  You will be tired.  My triceps still hurt.  Form dough into a ball and place in a large, buttered bowl, turning the dough so that the entire ball is covered.  Cover with plastic wrap and a towel and let rest n a warm, draft free place until doubled in size, about 1 hour.

Butter a 9×13-inch baking pan.  Divide dough into 20 equal pieces.  Roll each one into a ball and arrange evenly in 4 rows of 5 in a baking pan.  Cover loosely with plastic wrap and let rise in a warm, draft free place until almost doubled in size, about 45 minutes.

Melt the remaining 2 tablespoons of butter and cool slightly.  Brush the tops of the rolls with butter. Let rolls rise, loosely covered for 15 minutes.

Preheat oven to 375 degrees F and place a rack in the center of the oven.

Place in the oven for 20-25 minutes, until golden brown.  Cool rolls in the pan for 5 minutes then remove and serve warm.  Reheat rolls wrapped in foil in a 375 degree oven if you’d like to eat them the next day.

Pecan Pie Rugelach

November 20, 2013

DSC_0239

I made these delicious pumpkin cheesecake bars last week.  They were creamy and sweet, and a little nutty (as in, filled with nuts), and just hit that pumpkin spot we all have just about this time every year.  I was going to write about my first encounter with a pumpkin flavored dessert.  And how it evolved into this deep love for this wonderful squash.  It was going to be lovely, that post.  I was quite pleased with it.

DSC_0218

And then I made this rugelach.    This pecan pie rugelach.  And, just like that, all bets were off.

DSC_0223

I had to change course with my posting this week.  Because these are just too good to keep from you.  The rugelach  pastry is flaky and buttery with just a hint of sweetness, resembling none other than a pie crust.  Except it’s the best pie crust ever.  Yep.  And the filling is the best part of pecan pie – sweet and caramelized and sticky nuts, but not overly sweet.  This was incredible and outdid many other holiday sweets I’ve made before.

DSC_0221

And the bonus is that this rugelach is appropriate for two of the most delicious holidays coincidentally happening together next week: Thanksgiving and Hanukkah, affectionately known as Hanugiving!  Or Thanksgivukkah!  Just make these.

DSC_0238

Pecan Pie Rugelach (adapted from BuzzFeed)

1 cup all purpose flour
¼ tsp. salt
1.5 tbsp. sugar
½ cup unsalted butter (1 stick), cut into cubes
½ cup cream cheese (4 oz.), cut into cubes

2 cups pecan halves
1/4 cup unsalted butter (1/2 stick), cut into cubes
1/2 cup dark brown sugar
1/2 tsp. sea salt
½ cup corn syrup
1 tsp. vanilla

1 egg yolk
1 tablespoon water

turbinado sugar, optional, for sprinkling

For the dough: Let butter and cream cheese sit out at room temperature for 10 minutes, so that they are still cool but slightly soft.  Beat together the cream cheese and butter until well combined and smooth.  Combine flour, sugar and salt in a medium bowl.  Pour into the cream cheese and butter mixture and beat until the dough is just combined.  Be careful not to over mix.  Use your hands to divide the dough into 2 equal pieces, shape into a smooth disk. Wrap tightly with plastic wrap and place in refrigerator for at least 2 hours, or up to 1 day.

For the filling: Finely chop pecans and set aside.  In a non-stick pan, melt butter over medium heat.  The butter will melt and get all foamy.  Keep heating until the butter has turned brown and smells nutty.  Add brown sugar and salt and stir together until the brown sugar has melted.  Turn the heat to low, and pour in the pecans.  Stir the mixture until the pecans are toasted, about 7 minutes.  Take off the heat and add corn syrup and vanilla.  Let the mixture come to room temperature.

Line two cookie sheets with parchment paper.  Unwrap one of chilled doughs.  On a lightly floured surface, with a rolling pin, roll into a square, about 1/8 inch thick.  The square will be about the size of a standard sheet of paper.  Take half of the cooled pecan mixture and spread it evenly on the dough.  Working from the long side of the square, carefully roll the dough into a spiral, like a cinnamon roll.  With a sharp knife or pizza cutter, cut the roll into 1 inch pieces.  Place on baking sheet, about 1 inch apart from each other.  Repeat with other disk of dough.  Place in refrigerator for at least 30 minutes, preferably 1 hour.

Preheat oven to 350°F.  Beat egg yolk with the tablespoon of water and set aside.  Take cooled rugelach out of the refrigerator.  Brush each rugelach with egg wash.  Sprinkle with turbinado sugar, if using.  Bake for 30-35 minutes or until the tops are golden brown.  The filling will have spilled out, but don’t worry!  Let the rugelach cool on baking sheet for 15 minutes.  Break off excess spill (that has turned into brittle, which you can enjoy!).  Let cool completely on wire rack.

Roasted Apple Spice Cupcakes

November 14, 2013

DSC_0167

As you know, I have a tendency of being slightly overeager when I go apple picking every fall.  Every year, while I am so satisfyingly picking the apples off the trees, I dream about everything I can make, how different kinds of apples will lend to distinct textures and flavors, and how I, quite frankly, will not be able to leave until I am holding two giant bags over flowing with apples.

DSC_0160

Then, without fail, every year, I get home and notice how the apples seem to have multiplied in my tiny kitchen than on the orchards in wide open spaces.  And I panic.  And then I have toast with peanut butter, honey and sliced apple to calm down and help make a dent in my collection.  It’s a ritual.

DSC_0161

This year, though, I was prepared.  As soon as I got back home from my apple picking outing, before I could let the number of apples overwhelm me, I started peeling and coring and dicing and made apple sauce out of eight pounds of apples.  It was tart and sweet and just so delicious.  I don’t have to tell you what happened next, do I?  Yes, it’s true.  I panicked when I saw the amount of apple sauce I had.

DSC_0165

But this cake solved everything!  It uses apple sauce!  And then it uses even more apples!  They’re roasted to intensify their apple-y flavor.  And then paired with warm spices to make this cake perfect for the season – homey and rustic and so filled with apple love.  Overzealous apple picking is rewarded!

DSC_0171

Roasted Apple Cupcakes (adapted from Smitten Kitchen)

Cake
3 medium apples, any variety you like to bake with, peeled, halved and cored
3 3/4 cups all-purpose flour
1 teaspoon table salt
3/4 teaspoons baking soda
1 tablespoon baking powder
2 teaspoons ground cinnamon
1 teaspoon ground ginger
1/4 teaspoon ground cloves
1/4 teaspoon freshly grated nutmeg
3/4 cups honey
2 1/4 applesauce
1 1/2 sticks unsalted butter, at room temperature
3/4 cups packed brown sugar
3 large eggs

Frosting

1.5 8 oz. blocks cream cheese, at room temperature
1 stick butter, at room temperature
1.5 tsp. vanilla
1 tsp. cinnamon
1 1/2 cups powdered sugar, sifted
3/4 cups packed brown sugar

Roast apples: Heat oven to 375°F. Line a baking sheet with parchment paper.  Arrange apple halves face down on paper and roast in a single layer until they feel dry to the touch and look a little browned underneath, about 20 minutes. Slide parchment paper with apples onto a cooling rack and set aside. Reduce oven temperature to 350°F.

Make cupcakes: Line 2 muffin tins with cupcake liners.  In a large bowl, whisk together flour, salt, baking soda, baking powder, cinnamon, ginger, cloves and nutmeg. In a medium bowl, whisk together applesauce and honey.

In a large bowl with an electric mixer, beat the butter and brown sugar until very fluffy.  Add the eggs, one at a time, scraping down the bowl between every other addition.  Add one third of the flour-spice mixture and mix it until just combined.  Add half the applesauce-honey mixture, again mixing it until combined.

Chop roasted apples into smallish 1/2 inch chunks and fold into batter. Divide batter into muffin tins and bake for about 30-35 minutes, or until tester comes out clean. Transfer baking pans to cooling racks and let rest for 10 minutes, before taking the cupcakes out to cool completely on wire rack.  Frost when cooled.

Make the frosting: Beat together butter and cream cheese with an electric mixture until light and fluffy. Beat in vanilla extract and cinnamon. Add sugars and beat again until smooth and light.  The brown sugar will be a little grainy, but it will add a delightful crunch on your cupcake.

Kale Salad (with Golden Raisins and Toasted Sunflower Seeds!)

November 7, 2013

DSC_0152

You guys thought I was kidding about the healthy challenge, didn’t you?  Nope!  Before I realized that November was quite literally the worst month anyone can try to be healthy ever (I already told you about Diwali, but hello, have you heard about Thankgivukah?!), I was planning on my healthy menu.

DSC_0126

This salad was kind of a cheat, actually.  I was going down for lunch one day when I remembered someone telling me about this great pie place right around the corner.  They even had more than one vegetarian choice, apparently!  Traditional veggie pot pie, and lentil pie, and spinach, ricotta and butternut squash pie.  All in a buttery, flaky crust.  Yum.  I don’t think I can think of a more delicious lunch.

DSC_0130

But there I was, at the end of October, staring at the delicious pies, and just feeling guilty.  Before I take on the healthy challenge, was I really going to have a pot pie for lunch?!  Yes, was the answer.  Until I spotted their kale salad.  I love kale, it’s true.  The salad looked so inviting and delicious and good for you, let’s be honest, that I decided to forgo the pie and start the healthy challenge on, well, a healthy note.  And then Diwali came.

DSC_0146

But that doesn’t matter!  Healthy challenge or not, this salad is filling, and nutritious, and packed with tasty things, both sweet and salty, and it is so, so green.  I mean, can you imagine this on your Thanksgiving dinner menu?!  With some pie immediately following!   That’s one good meal.

DSC_0154

Kale Salad (with Golden Raisins and Toasted Sunflower Seeds!)

1 bunch kale, stems removed, roughly chopped and washed thoroughly

2-3 tbsp. toasted sunflower seeds

2-3 tbsp. golden raisins

3 tbsp. tahini

juice of 1 lemon

1/2 tsp. agave nectar

salt and pepper, to taste

Toss together kale, sunflower seeds and golden raisins.  In a small bowl, whisk together tahini, lemon juice, agave, salt and pepper.  Taste and adjust seasonings.  Pour over kale mixture and toss to make sure that the dressing is distributed evenly.