Archive for January, 2013

Chili Jam

January 31, 2013

DSC_2572

Wait, did I tell you that I had the flu?  I’m not sure if I had mentioned…

DSC_2540

During the 12 Days of Flu, not to be confused with a more festive 12 days that comes around at the end of each year, I had little energy to do much else than, of course, watch cooking shows on TV.  I would lay there, on my couch, expressionless, lifeless, really, watching hours of my favorite peppy TV personalities, thinking about the first real food I would make and eat as soon as I got out of the flu black hole.

DSC_2547

I decided on this chili jam.  I kid you not – the very first day I felt like I could take more than the 4 steps from my sofa to my bed, I (very slowly) walked to the supermarket to get all of the ingredients, and (very gingerly) stayed on my feet to make sure that all of the peppers were chopped and the proper amount of stirring took place.

DSC_2549

But that’s not even what I want to tell you: this jam looked so incredibly tasty on television, and I wanted to have it so badly, that even after I failed in my first attempt in making it (shame), I went back to the store (even slower than the first time) to get more ingredients, and again stood on my feet to ensure that it would work this time around.  Then I collapsed.  But it was exactly how I imagined it would be: sweet with an unexpected kick, delicious on cheese (!) and so worth it.

DSC_2571

Chili Jam (adapted from the Cooking Channel)

This is where I discuss my first attempt failure: the recipe says to stir the jam for a full 40 minutes to reach proper thickness.  It looked pretty darn thick to me at 15 minutes, but as the follower of rules that I am, I kept going.  I ended up with chili jam rock candy, not many people’s candy of choice by any means, and a jar that ended up in the trash can.  So I amended that cooking time here.  I also cut the sugar in half.  Not that a kilo of sugar is a bad thing.  But it’s also not the best thing, is it?

8 oz., 250 grams red hot chili peppers, seeded and chopped

1.5 lbs., 750 grams, red bell peppers, cored, seeded and chopped

2 cups apple cider vinegar

2 – 2.5 cups sugar

In a pot, combine the chili peppers, red bell peppers, and apple cider vinegar. Cover the pot with a lid and cook for about 20 minutes or until the peppers have softened. In a colander, drain the pepper mixture and with the back of a wooden spoon, press on the peppers to extract any excess liquid.  The more you press, the better, and the more stained your colander will get.  Just letting you know.

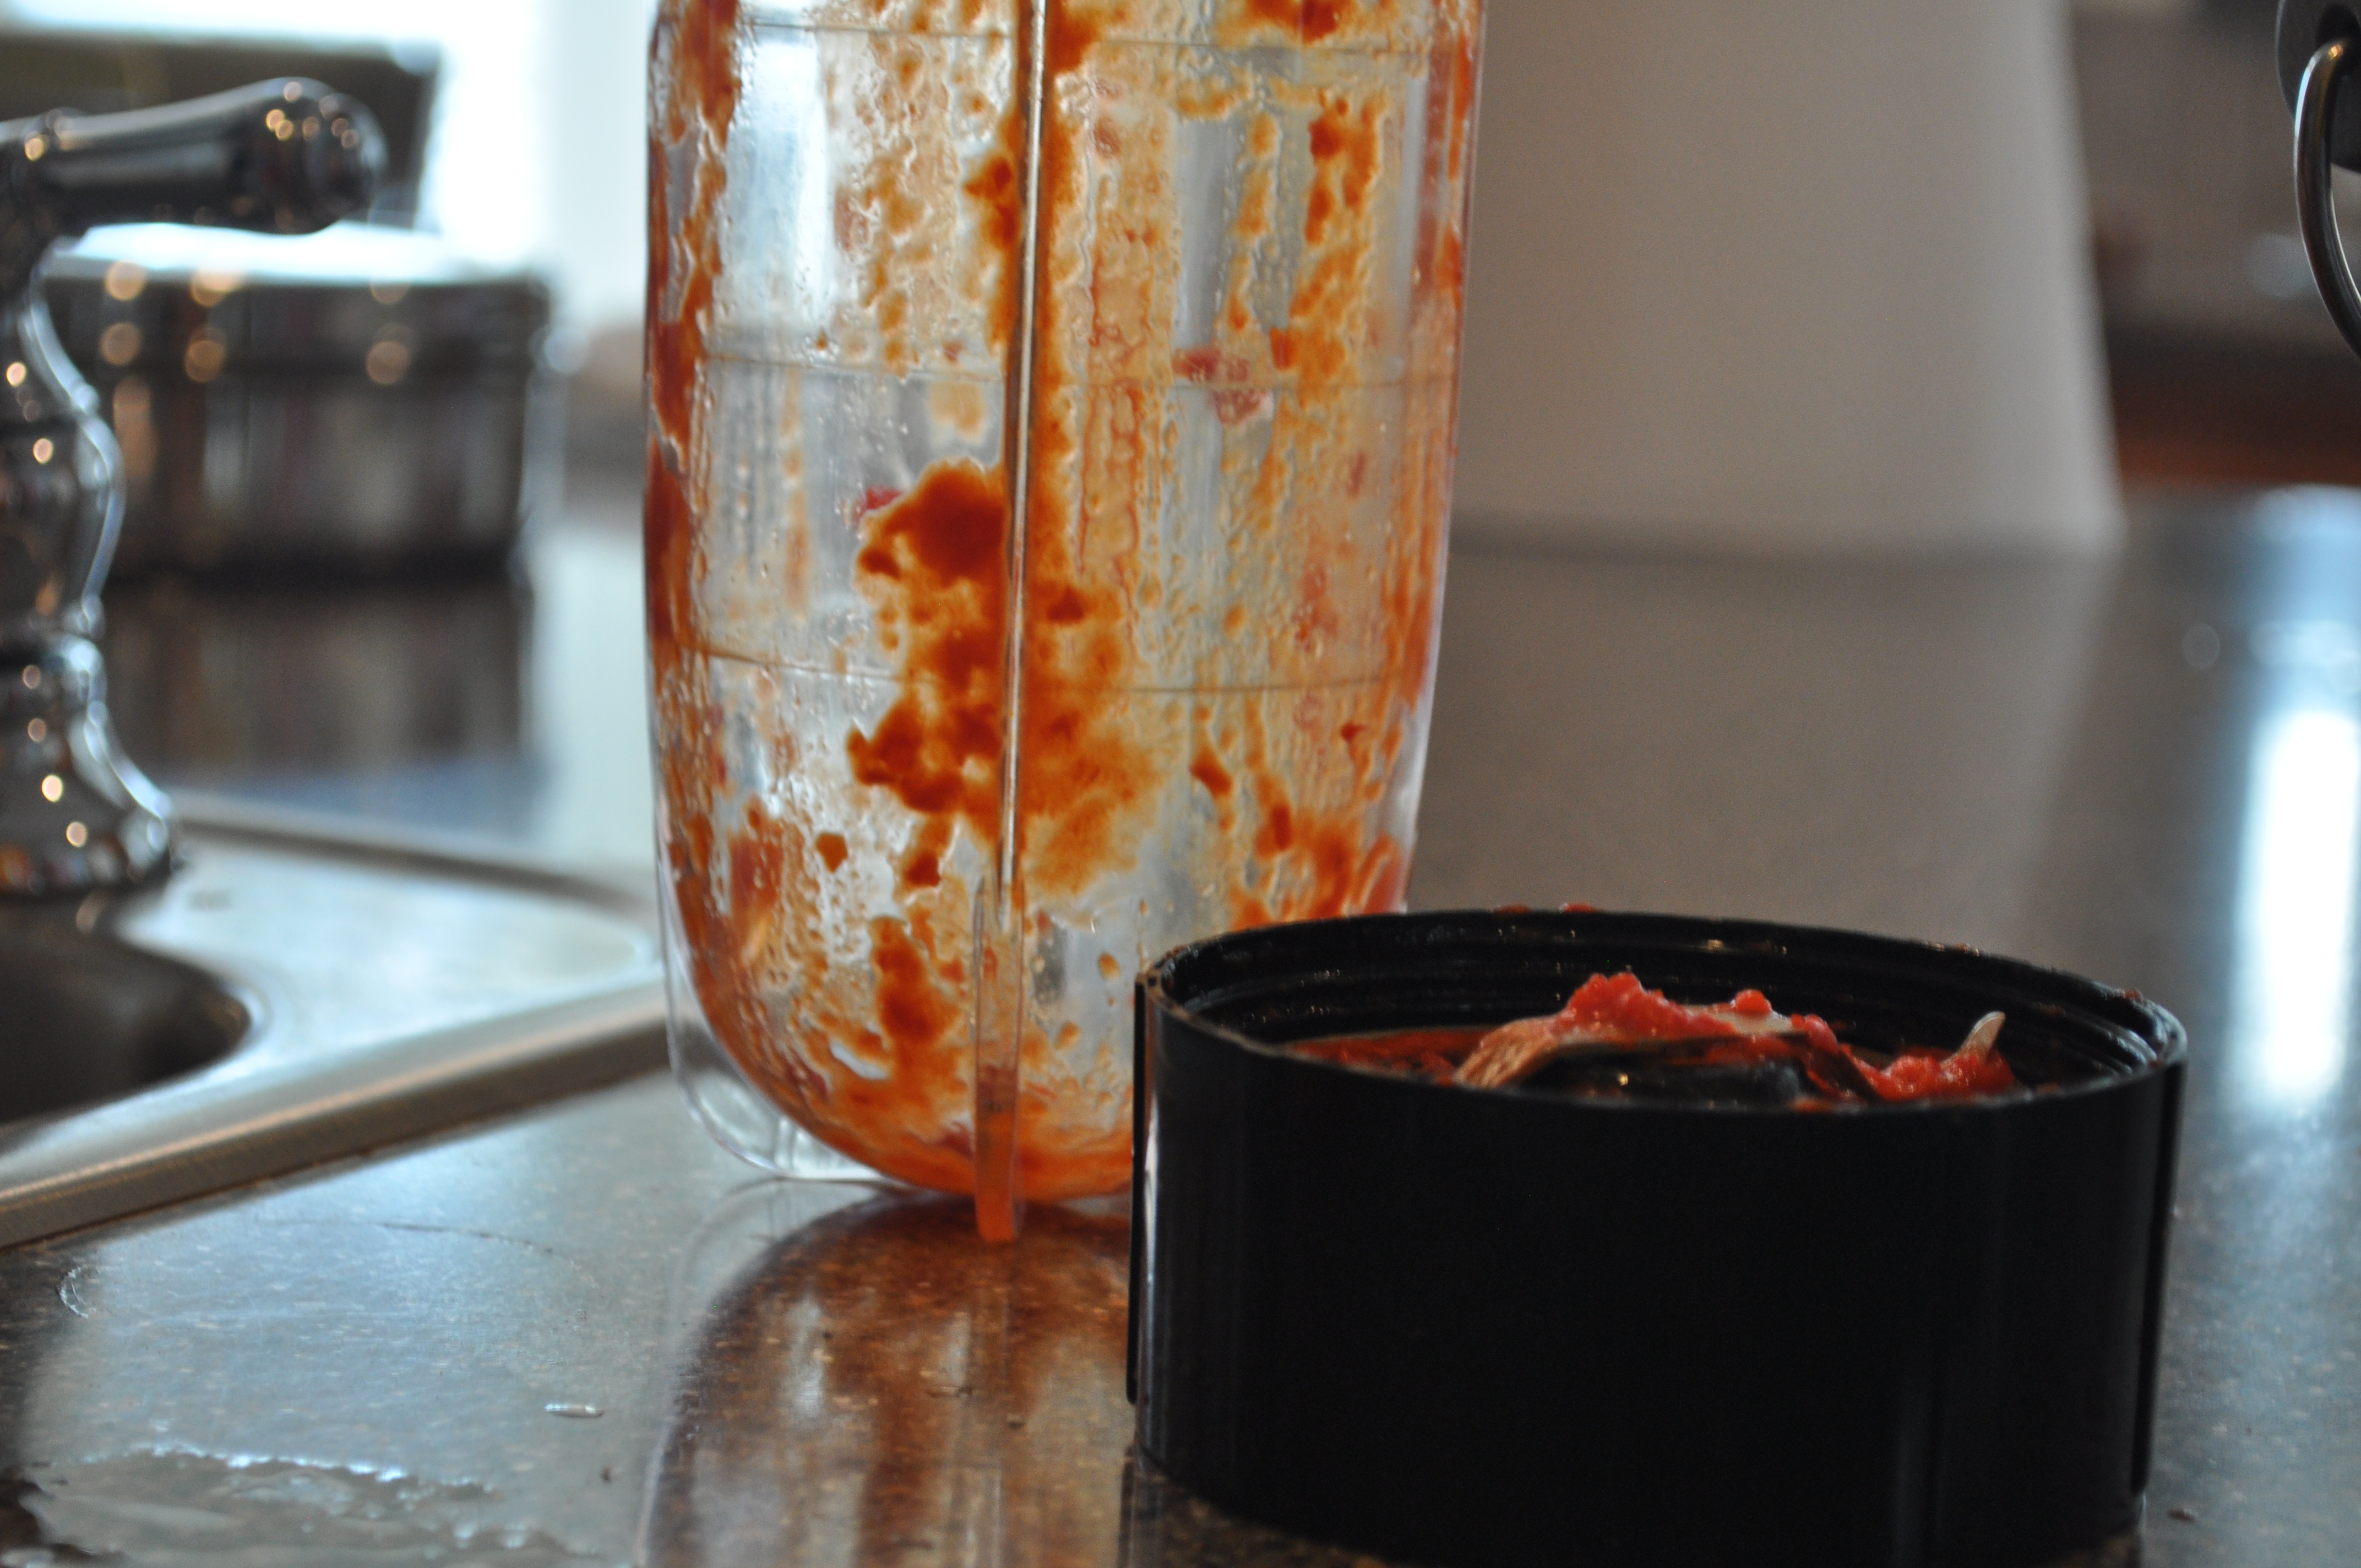
Transfer the peppers to a blender or food processor and puree. Press the puree through a sieve to remove the pepper skin. Discard the skin. In a saucepot, over medium heat, add the pepper puree and add the sugar a little at a time and mix until the sugar has dissolved. Continue to cook the mixture for about 12-20 minutes, stirring occasionally, until the mixture looks almost jam-like, keeping in mind that the jam will thicken as it cools.  Allow to cool and transfer into jars.

Advertisement

Black Bottom Cupcakes

January 24, 2013

DSC_2496

I have been all talk this January.  Or the year of 2013, really.  I tell you that I have a healthy new year’s recipe for you, and then I use the flu as an excuse.  I tell you that I’m coming back strong from my sickness, and there is just dead air.  You have gotten one recipe from me this month!  I’m just playing with your emotions.  How can you ever trust me again?!

DSC_2474

Believe it or not, I have another excuse!  I knew you would be surprised.  No really, my sister got married!  In New Orleans!  And it was so much fun!  But there was so so so much to do.  In the ten days leading up to the wedding, I had one complete meal.  One!  C’mon people, you know how much I like my food, so you know this was serious.

DSC_2479

I thought that I’d make it up to you by posting something relevant: Wedding cookies!  Or iced cut-out sugar cookies of the newly married couple’s initials!  Or pecan pralines to celebrate New Orleans!  But now, post-wedding, I’m tired.  Really, really tired.  And all you get is this backlogged recipe of the black-bottom cupcake.  I’m such a tease.

DSC_2486

I know that I’m one backlogged recipe away from being deserted.  But don’t be let down in the least!  These were delicious and a hit…at a holiday party I took them to…in early December.  But that doesn’t mean they will be any less tasty for the Superbowl!  Did you see how I just made up for my absence?  I’m good like that.

DSC_2498

Black Bottom Cupcakes (recipe from Bake or Break)

I was under the impression that everyone knew what black bottom cupcakes are.  Not in that snobby foody kind of way.  But in that matter-of-fact, these are so delicious that how can you not know about them, kind of way.  If you don’t know what they are, black bottom cupcakes are a dense chocolate cake on bottom, with a chocolate chip cheesecake filling.  There.  That’s all I needed to say.  I know you’ll always remember from now on.

  • 8 ounces cream cheese, softened
  • 1 large egg, at room temperature
  • 1/3 cup plus 1 cup granulated sugar
  • 1 cup miniature chocolate chips
  • 1 & 1/2 cups all-purpose flour
  • 1/4 cup unsweetened cocoa powder
  • 1 teaspoon baking soda
  • 1/2 teaspoon salt
  • 1 cup warm water
  • 1/3 cup vegetable oil
  • 1 tablespoon apple cider vinegar
  • 1 teaspoon vanilla extract

Preheat oven to 350°. Line 2 12-cup muffin tins with cupcake liners, or spray with cooking spray.

Beat cream cheese, egg, and 1/3 cup sugar with a mixer, on medium speed, until light and fluffy – about 2 minutes. Stir in the chocolate chips, and set aside.

In another large bowl, combine flour, remaining 1 cup of sugar, cocoa powder, baking soda, and salt.  In the dry ingredients, make a well in the center, and add water, oil, vinegar, and vanilla. Stir with a wooden spoon until just combined.

Fill each muffin cup one-third full with the chocolate batter. Top with a spoonful of cream cheese mixture, until cups are about two-thirds full. Bake for about 23-25 minutes, or until the tops spring back lightly when touched, and the cream cheese mixture seems set.

Cool in pans for 10 minutes. Remove to wire racks to cool completely.

Honey Almond Butter Mousse Tart

January 8, 2013

DSC_2518

Friends!  No, I didn’t forget about you.  I didn’t forget to post a new year’s eve recipe, or even a new year’s resolution dish.  It was all in my head.  And I had every intention to share these themed recipes, I did!

DSC_2499

And then I got the flu.

DSC_2508

It really takes a lot of out of you, the flu.  I didn’t know this!  So here I am, wishing I could have a slice of this delicious honey almond butter mousse tart (honey signifies new beginnings, right?!  and, I’m using honey instead of sugar – there’s your new year’s resolution recipe!), but instead am sipping on my tea, planning on when to get my flu shot to make sure that this never happens again.

DSC_2512

So a belated happy new year!  I will be back in action in no time.

DSC_2519

Honey Almond Butter Mousse Tart (recipe from Joy the Baker)

1½ cups all-purpose flour

½ cup powdered sugar

1/8 teaspoon salt

½ cup (1 stick) unsalted butter, cold and cut into cubes

1 large egg, beaten

1 cup heavy cream

8 ounces cream cheese, softened

½ cup almond butter

½ cup honey

1/4 teaspoon salt

2 teaspoons vanilla bean paste, or vanilla extract

4 ounces dark chocolate, finely chopped

1/3 cup heavy cream

Pinch of salt

1 teaspoon pure vanilla extract

2 tablespoons toasted, sliced almonds for sprinkling

For the crust: In a medium bowl, whisk together flour, powdered sugar, and salt. Add cold butter and quickly rub the butter into the dry ingredients with your fingers or a pastry cutting tool until well incorporated.  Add the beaten egg and use a fork to bring the mixture together.

Pour the dough into a 9-inch round, removable bottom tart pan (or similar, like a rectangular pan approximately sized 14x 4.5 x1). Use your fingers to press the dough across the bottom of the tart pan and up the sides. Press the dough evenly throughout the tart pan.  Use the tines of a fork to pierce the dough several times and place tart pan on a baking sheet, and in the freezer for at least 1 hour.

Place a rack in the upper third of the oven and preheat oven to 350 degrees F. Grease one side of a piece of foil with butter.  Remove the tart shell from the freezer and press the foil into the tart shell, butter side down.

Bake the tart for 18-20 minutes.  Remove the foil and bake for another 10 to 12 minutes.  The crust may not turn a golden brown color, but it will be done after 12 minutes, and remove from oven.

Remove from the oven and allow tart shell to cool completely before filling.

For the filling: In a medium bowl, whip heavy cream until soft peaks form.  Set aside.

In another bowl, beat together cream cheese, almond butter, and honey.  Beat until smooth and creamy, ensuring that all of the ingredients are well incorporated, about 5 minutes. Beat in salt and vanilla extract.

Remove bowl from the mixer.  Use a spatula to stir in one third of the whipped cream until it is thoroughly incorporated.  Add the remaining whipped cream and fold together.  Filling will be the texture of a fluffy mousse.  Store in the refrigerator until ready and the tart shell is cool enough for filling.

For the chocolate: Place finely chopped chocolate in a small bowl.  Set aside.

Heat heavy cream on the stovetop until hot and steaming, but not boiling. Pour the cream over the chopped chocolate and let stand for 30 seconds. Slowly stir the chocolate and cream mixture until chocolate is melted and mixture is glossy. Add salt and vanilla extract and stir to combine.

Smooth filling into the bottom of the cooled tart shell creating an evenly smooth top. Pour ganache over the top and smooth to the edges. Sprinkle with toasted, sliced almonds and place in the refrigerator for at least 2 hours before serving.