Doughnuts! They are so all the rage right now! And I completely buy into it. They are popping up everywhere – TV shows devoted to them, shops just selling doughnuts, recipes galore. I love it. I’m into this new trend.
But I realized that as much as I want to make them, I rarely ever make doughnuts. With the amount of time it takes to make, the quantity it produces and the short shelf life, these are much better in a crowd. So when I found out that my parents were coming into town for Father’s Day weekend, I decided that this was the perfect time for me to attempt…croissants! Seriously, that’s what I was planning on making. But nope, my dad wasn’t going to have it. This was his day, and he was going to capitalize. He looooooooooves doughnuts. Boston Cream, in particular. And my mom haaaaaaaates that he eats them. But it was Father’s Day, after all, which made it a judgement-free eating day. He said no to the croissants. Doughnuts were all he wanted! Guess he didn’t know about these.
Realizing that this day was actually not about me, I made my dad’s dream Father’s Day breakfast. He limited himself to just two, but that was only because he had a cinnamon bun earlier in the morning. Judgement-free, remember? I should have just made the croissants as well.

Boston Cream Doughnuts (slightly adapted from Flour)
These doughnuts are time consuming – you need two days to make them, but they were actually easier than other doughnuts I have made in the past. So do it! There is really nothing better than a fresh doughnut.
For Pastry Cream:
1 1/4 cups (300 grams) whole milk
1/2 cup (100 grams) sugar
2 tbsp. cornstarch
2 tbsp all purpose flour
1/2 tsp. salt
4 egg yolks
1 tsp. vanilla extract
The day before: In a medium sized pot, heat milk until scalding, just before the boiling point. While the milk is heating, in a medium bowl, stir together sugar, salt, flour and cornstarch. Whisk in egg yolks until the mixture is thick and well incorporated. Slowly incorporate the heated milk by drizzling into egg yolk mixture, and whisking constantly, until all of the milk is mixed in, into a smooth liquid. Transfer back to the pot. Heat on low heat, whisking constantly until the it starts to thicken – it will take about 3 minutes. Take off the heat and whisk in vanilla. Transfer to a bowl and cover with plastic wrap directly on the cream and refrigerate overnight.
For chocolate glaze:
3.5 oz good quality dark chocolate
2 tbsp. butter
2 tbsp. light corn syrup
Heat everything in a microwave in 30 second intervals until a smooth glaze forms.
For Doughnut Dough:
1 package dry yeast
2/3 cup (160 grams) whole milk
3 1/2 cups (490 grams) all purpose flour
1 1/3 cups sugar (270 grams), divided
1.5 tsp. salt
3 eggs
7 tbsp. butter, at room temperature, cut into 7 or 8 pieces.
The day before: In a stand mixer fitted with the dough hook, or with a handheld mixer, stir together the yeast and milk until mixed together and then let it sit for 2 minutes, so the yeast dissolves. Add flour, 1/3 cup sugar, salt and eggs and mix on low speed for about 3-4 minutes until the dough is well combined. Add the butter, piece at a time, until it is full incorporated into the dough. This whole process should take about 6-7 minutes. Remove the dough from bowl and wrap into plastic wrap and refrigerate overnight.
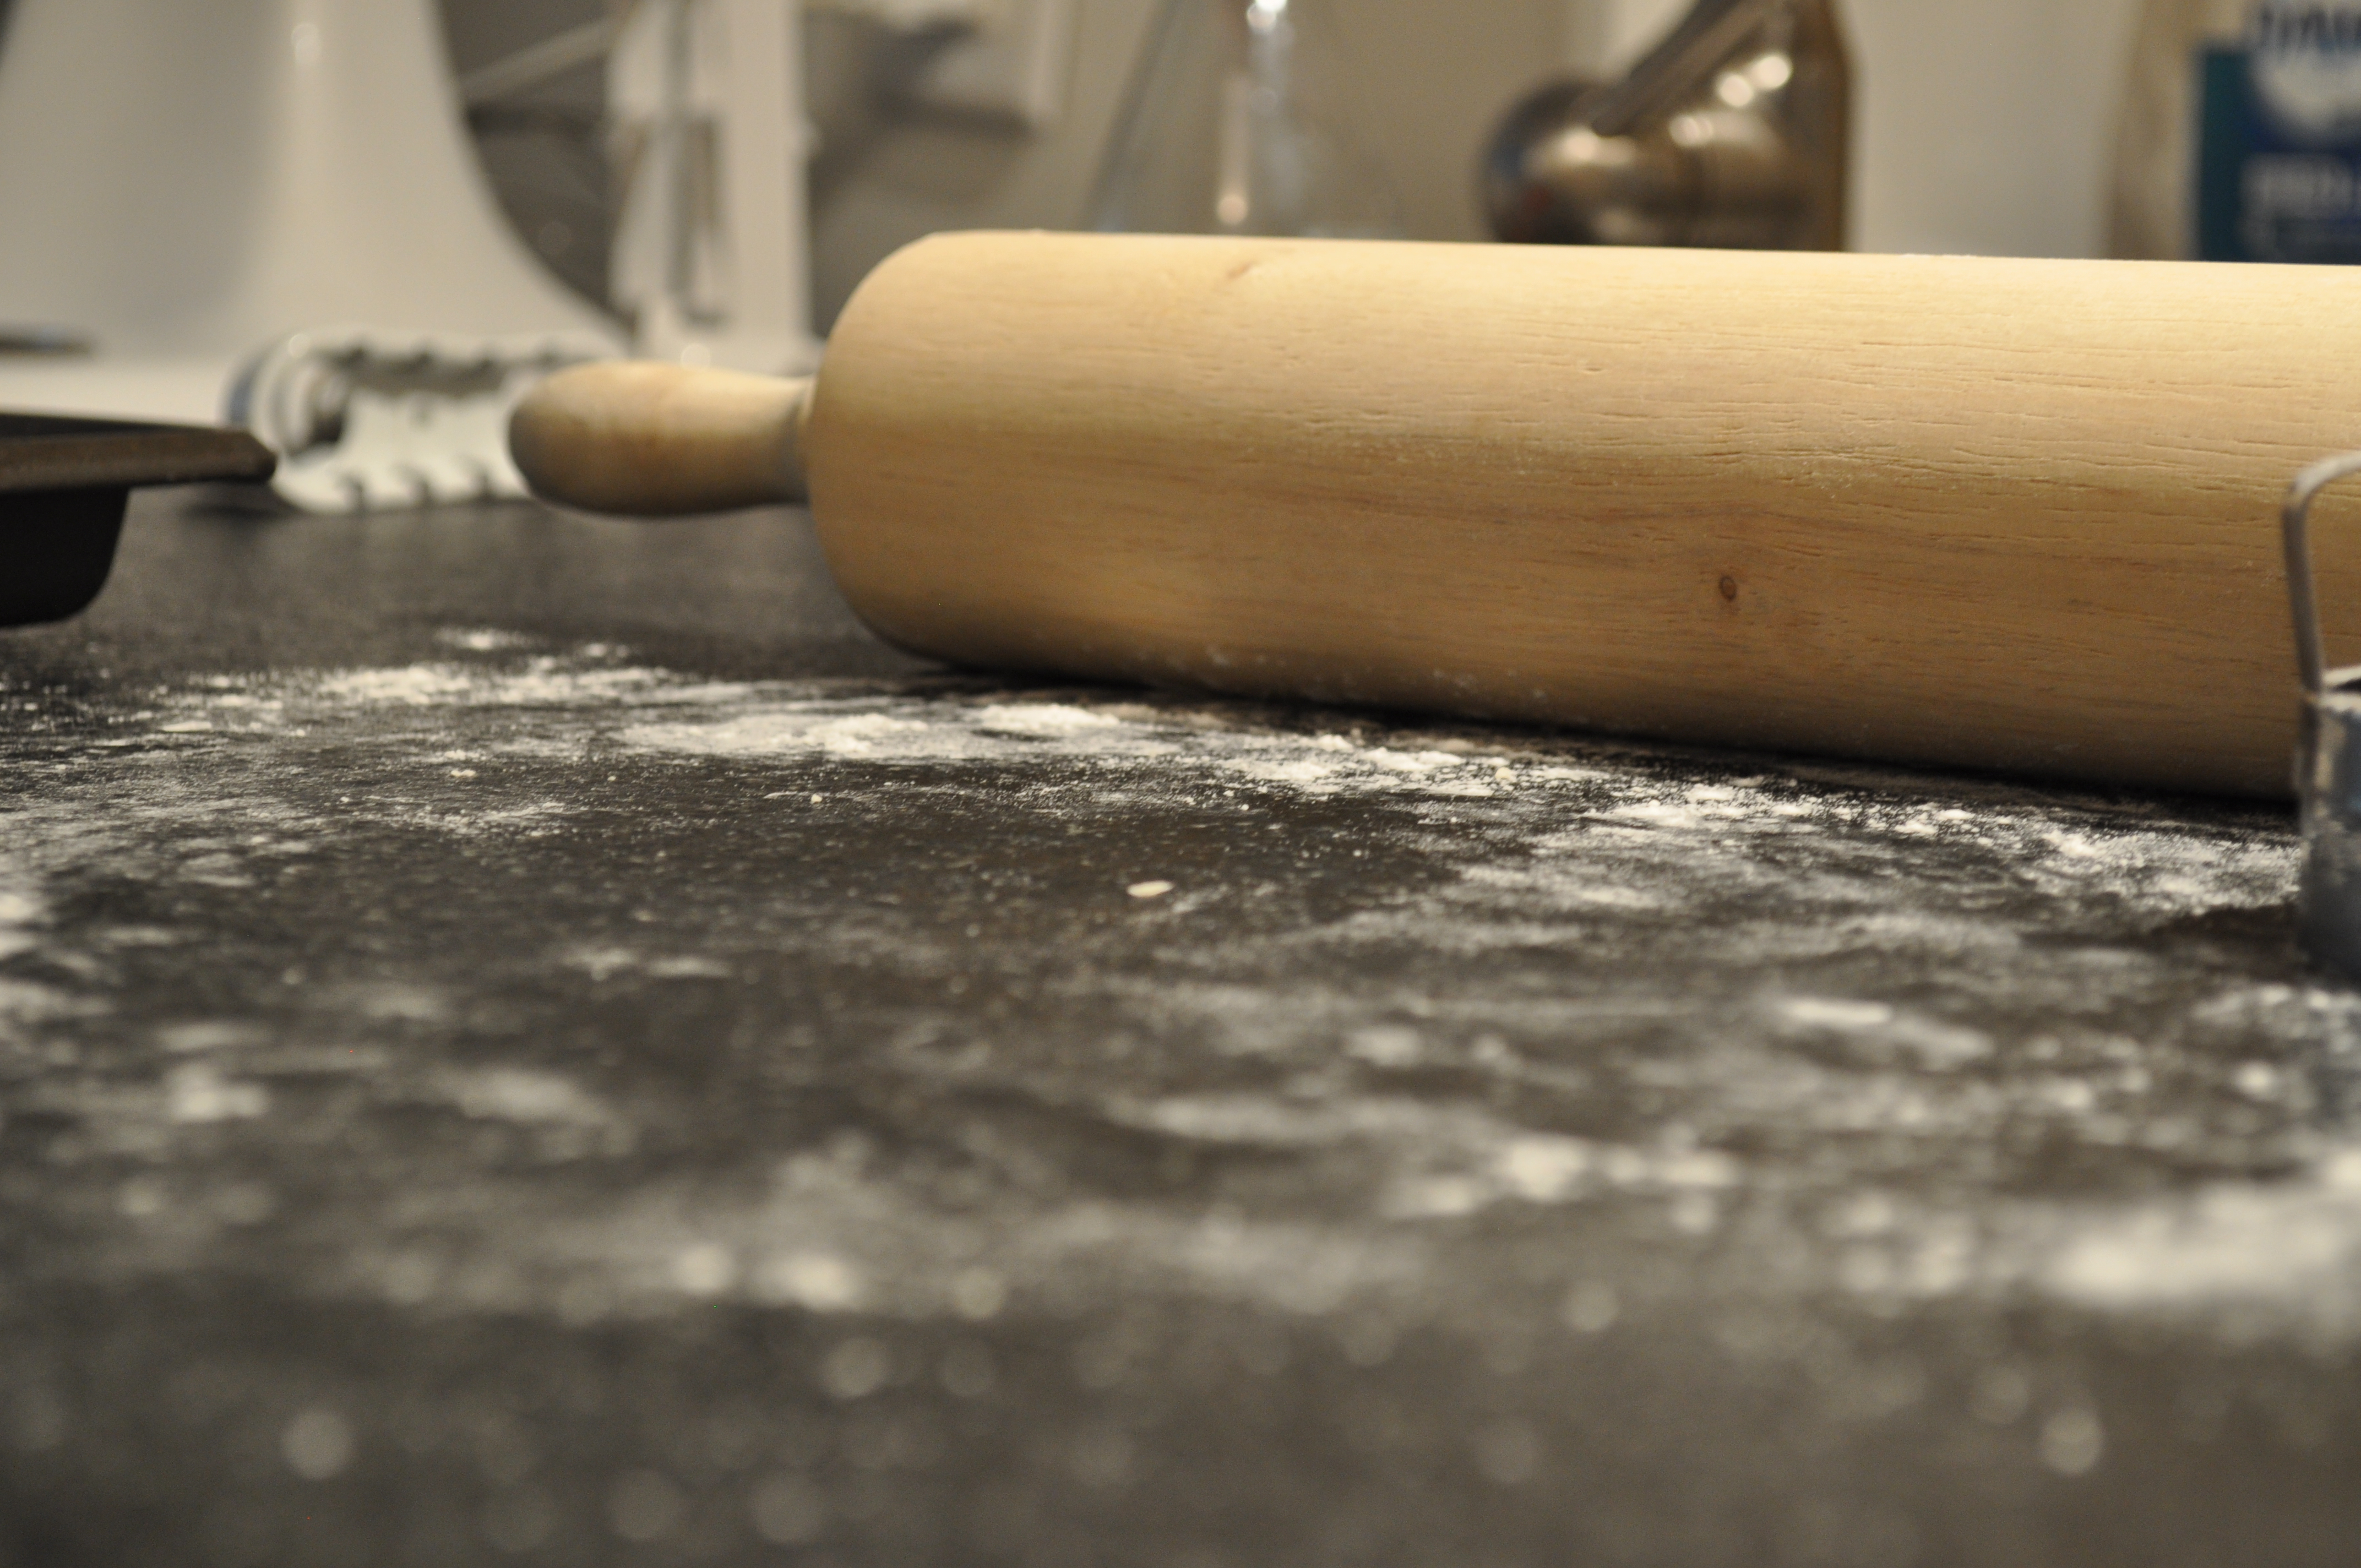
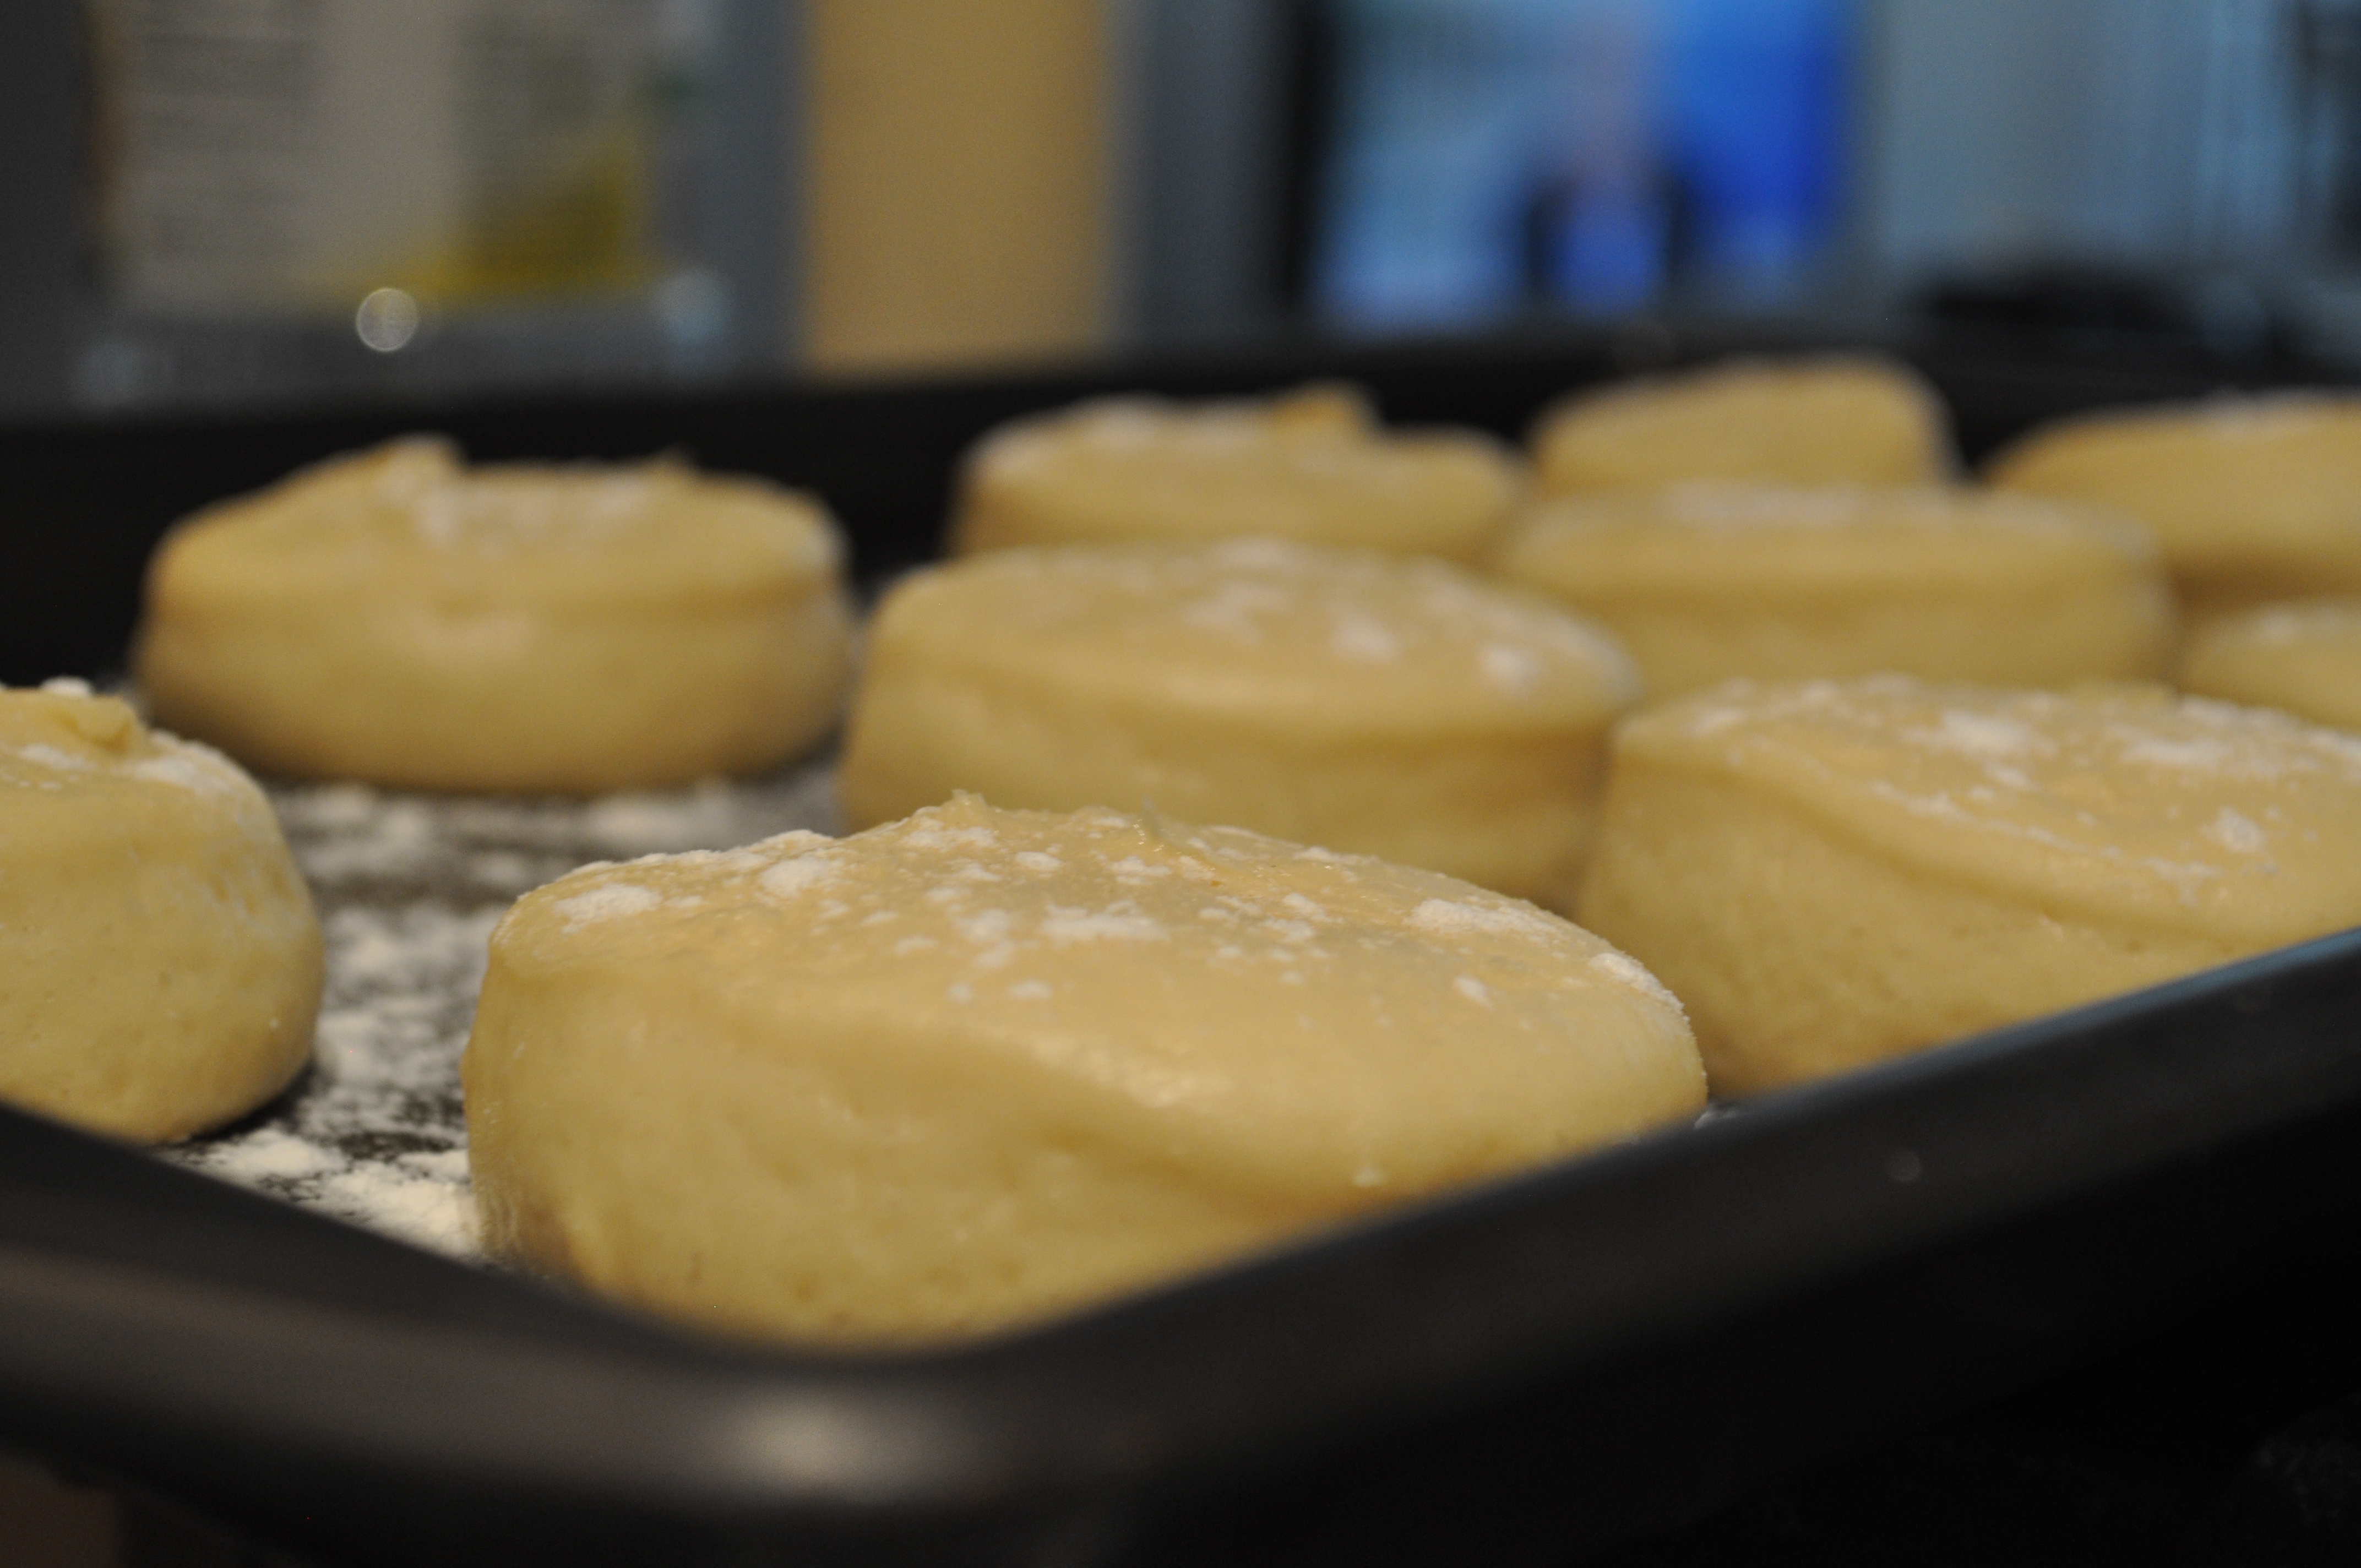
The day of: Sprinkle a baking sheet lightly with flour. Flour a clean surface and roll out doughnut dough until it’s about a 12inch square, and 1/2 inch thick. Using a 3 inch biscuit cutter, cut out as many rounds as you can within the square without re-rolling any scraps (so cut out each circle close to each other). Place each of the rounds on the baking sheet and wrap lightly with plastic wrap. Allow the doughnuts to rise in a warm place for about 2.5 hours until the look big and soft.
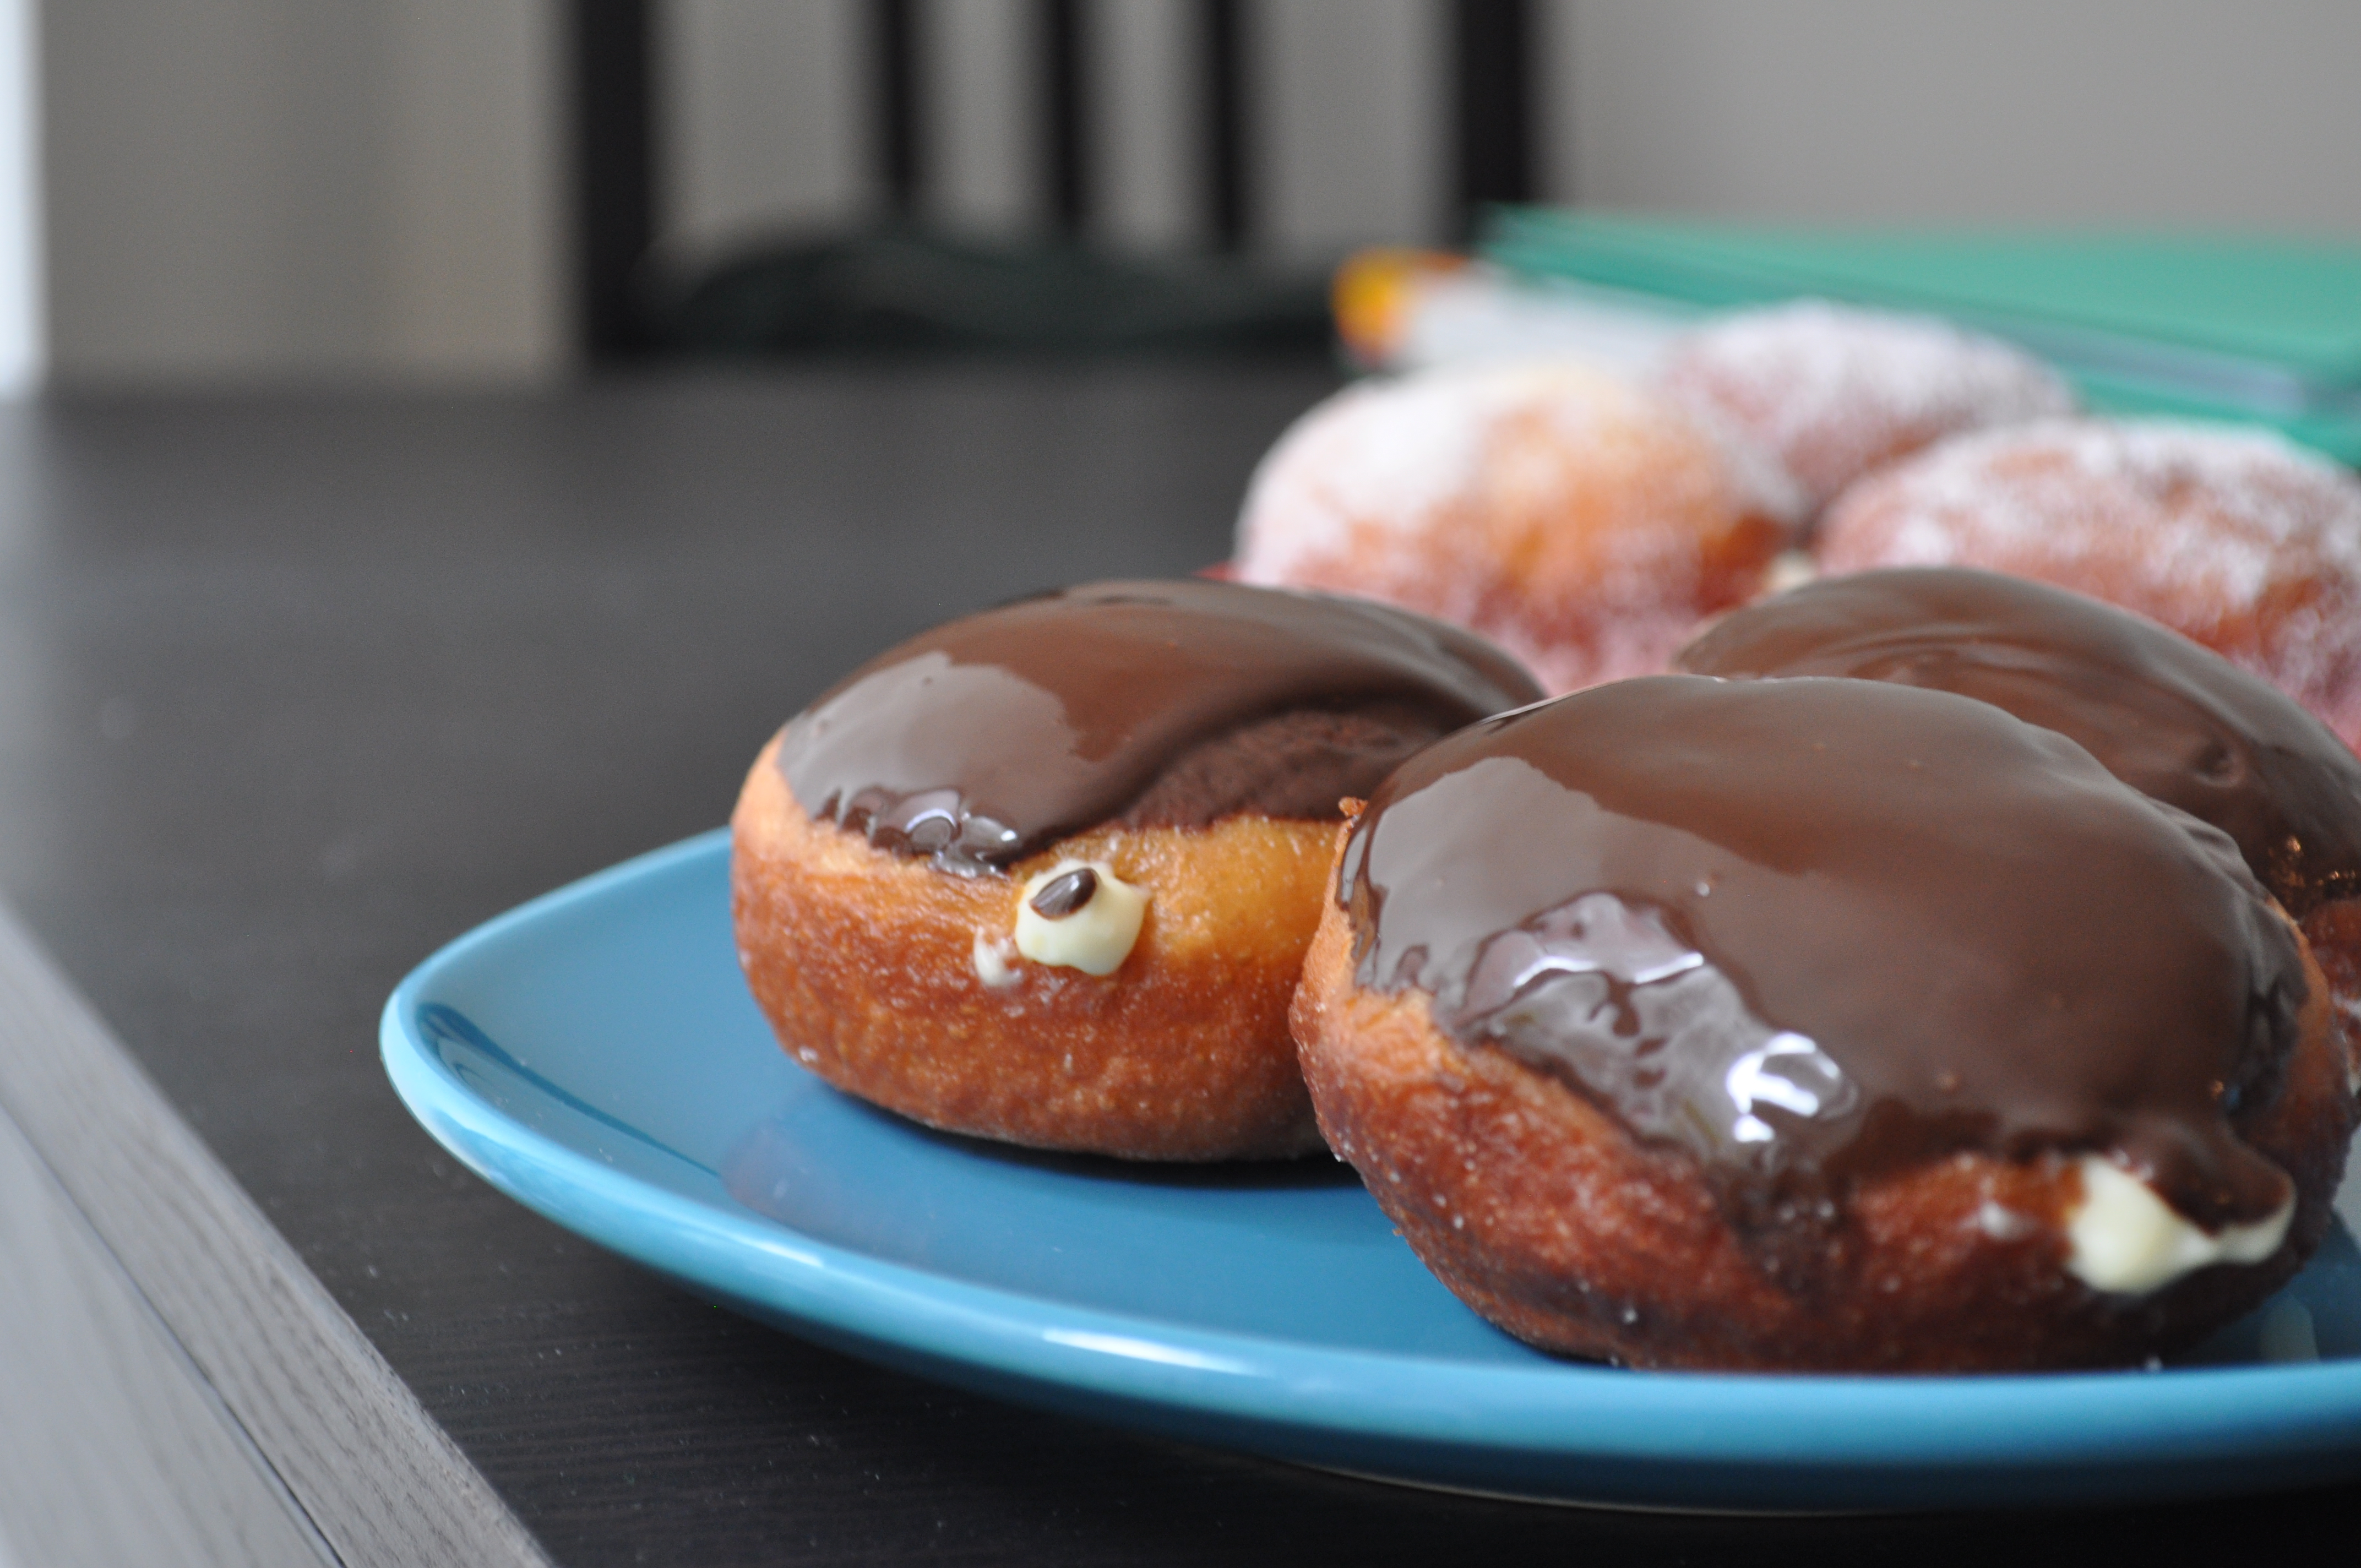
Make chocolate glaze right before you are about to fry the doughnuts.
When getting ready to fry, place the remaining cup of sugar in a shallow baking pan, or plate. Line a tray with paper towels, and heat oil to 350 degrees. You will need enough oil to have a depth of 3 inches. Working in batches, when the oil is ready, place 2-3 doughnuts, depending on the size of your pan, into the oil, and fry about 2 minutes on each side, until they are golden brown. Using a slotted spoon, place the doughnuts onto the paper towel lined tray, and then into the sugar to coat. Place the doughnut onto a wire rack. Continue this process until all of the doughnuts are fried and coated in sugar.
When the doughnuts are cool to the dough, pipe vanilla pastry cream into the center of the doughnut. Dip the tops of each doughnut into the chocolate glaze. Woo, you’re done!