Archive for November, 2014

Sweet Potato Cornbread with Homemade Butter

November 25, 2014

DSC_0364

The cornbread debate has long been a Thanksgiving tradition.  It always has a place on the table, but do people really like it?  Isn’t it usually dry?  Should it be sweet or salty?  Baked in a cast iron skillet, or as individual muffins?  Should there be any add-ins?  Should I care this much about cornbread?!  So many questions!

DSC_0354

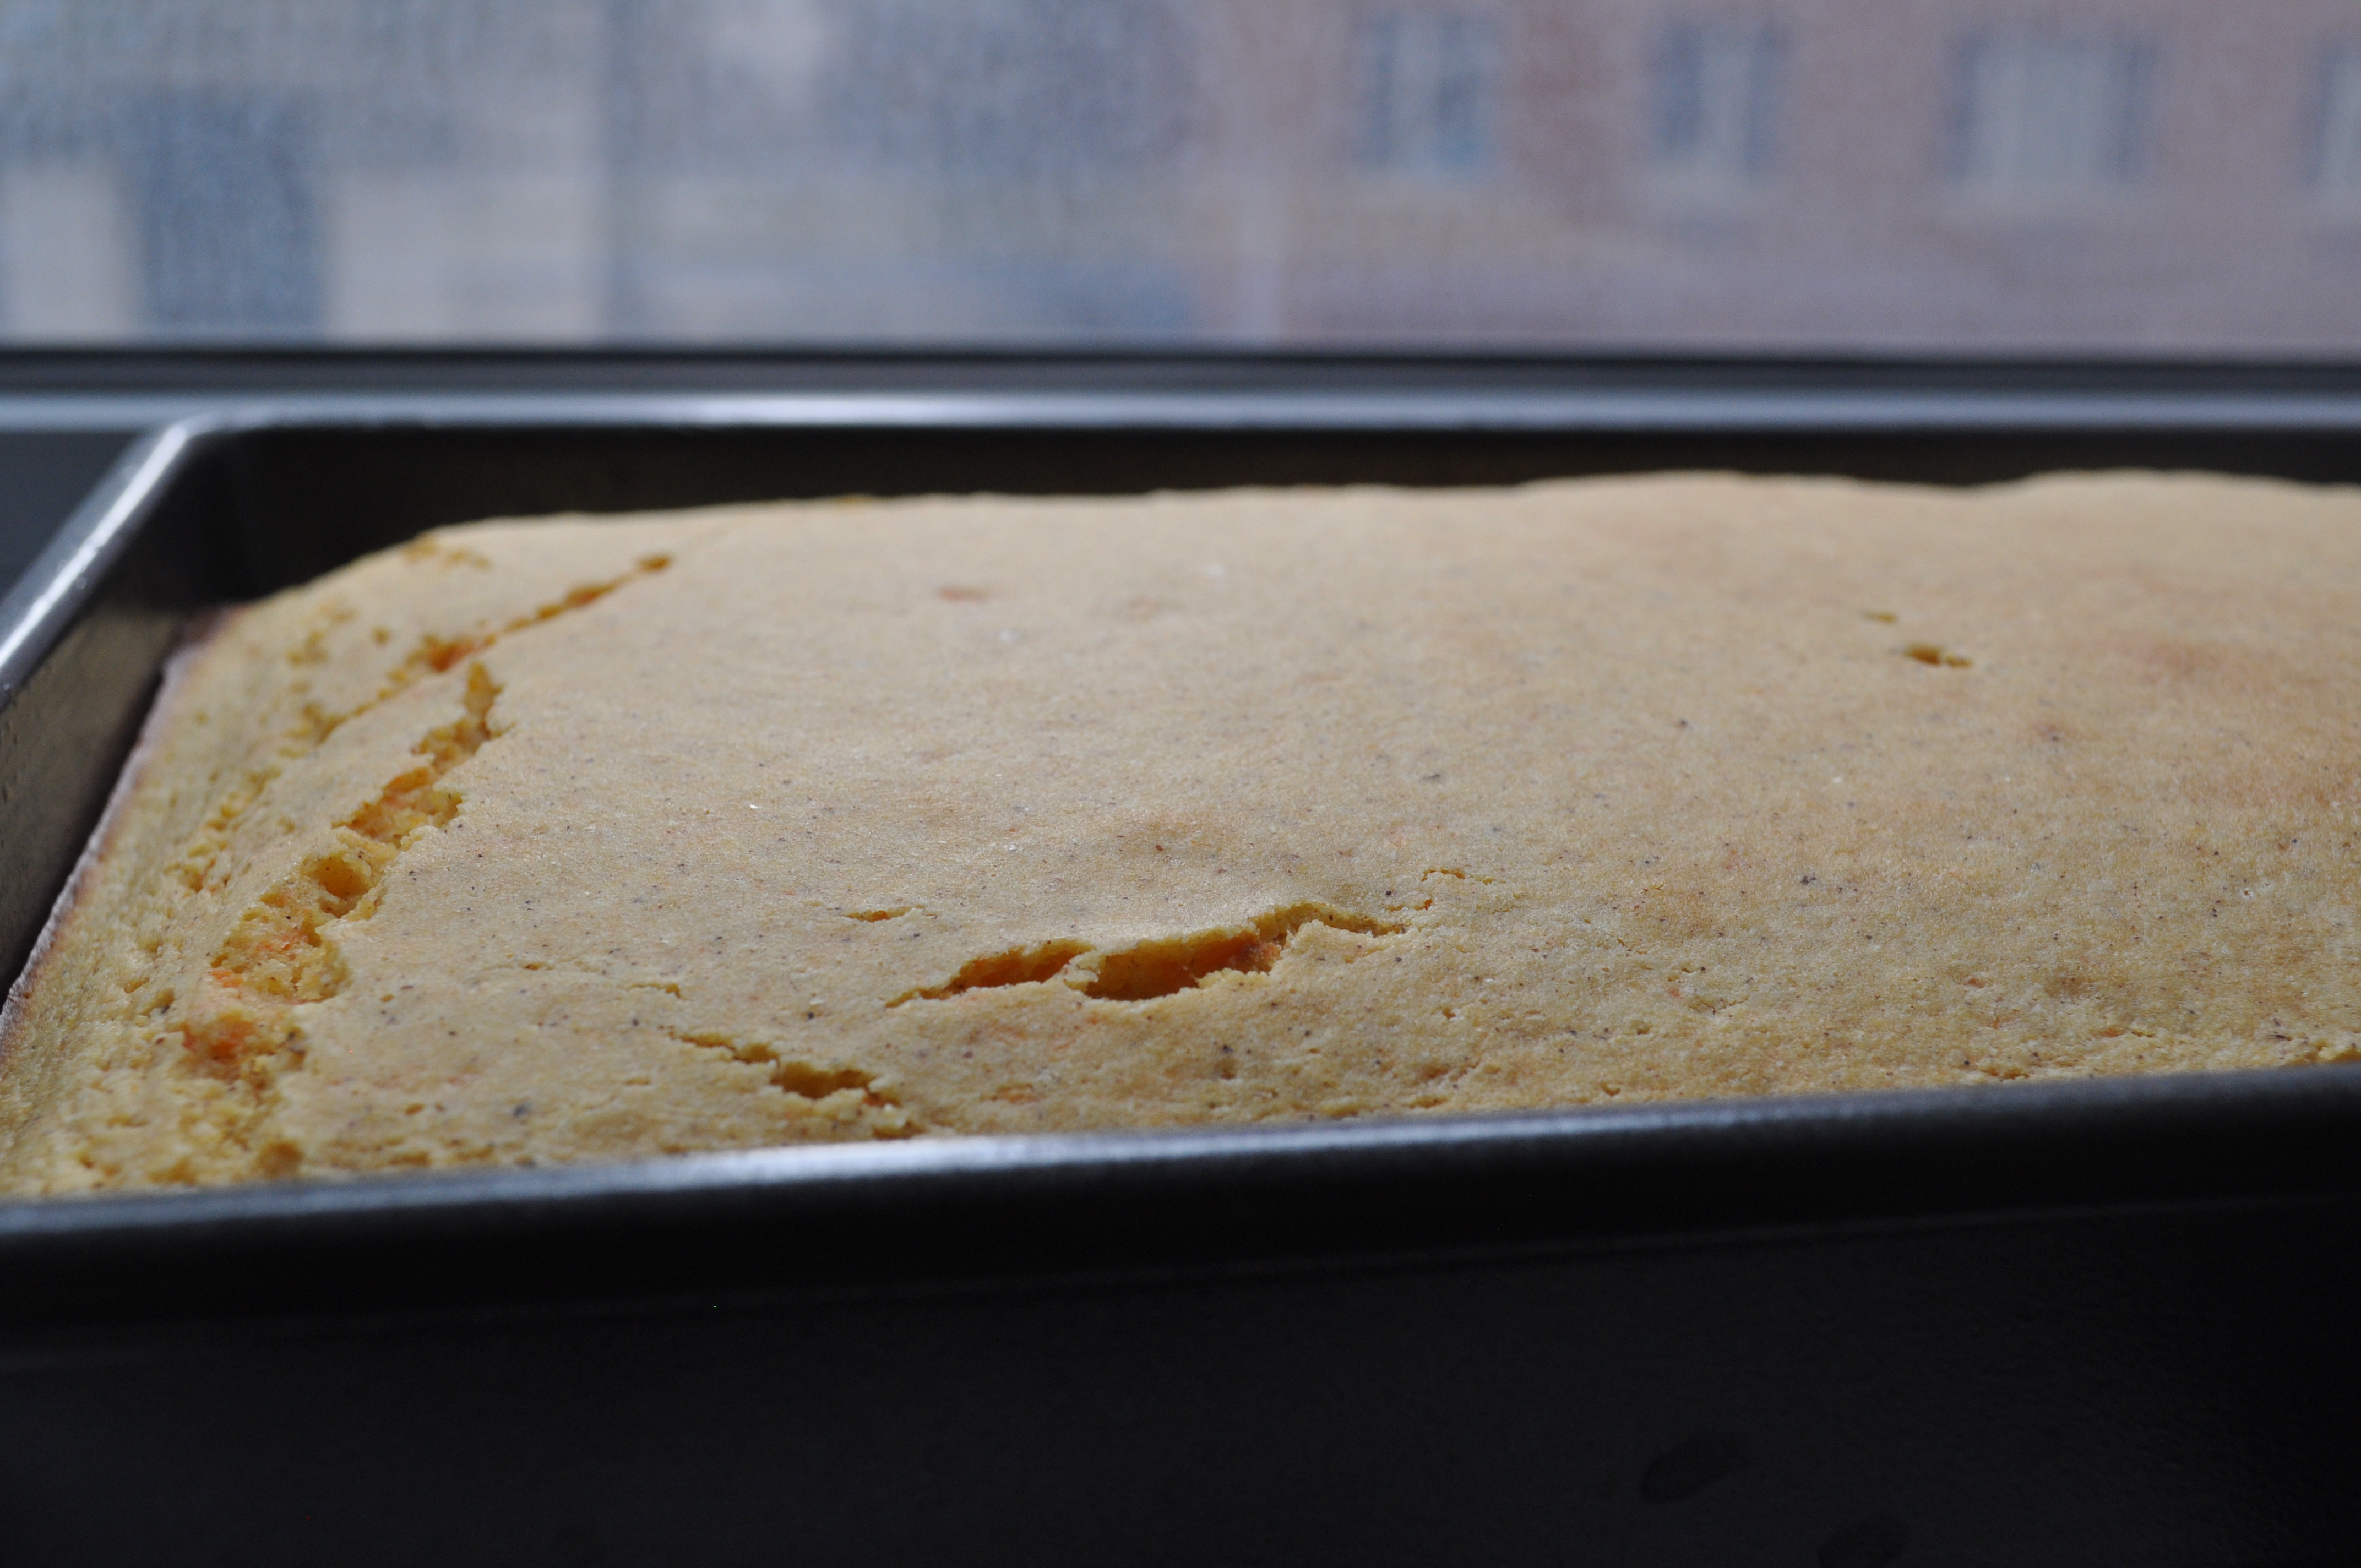
I’ve solved it all, friends.  You should make a cornmeal cake and call that cornbread instead.  Your Thanksgiving is made.  No, I’m being serious.  This “cornbread” is not only sweetened by the usual culprit (sugar), but it also has the added benefit of mashed sweet potatoes.  Add some cinnamon and nutmeg, and seriously, you have yourself a glorious cornmeal cake, which will never be at risk of being at all dry.

DSC_0335

But, people, if you tell people that you made the butter, no one will care about the cornbread they slather it on.  If you show your guests that you cared about Thanksgiving so much that you developed the spread from scratch, you will sure to be the Thanksgiving winner.  It’s creamy and delicious, and is perfect on this cornbread.  A lovely salty contrast to the sweet bread.

DSC_0363

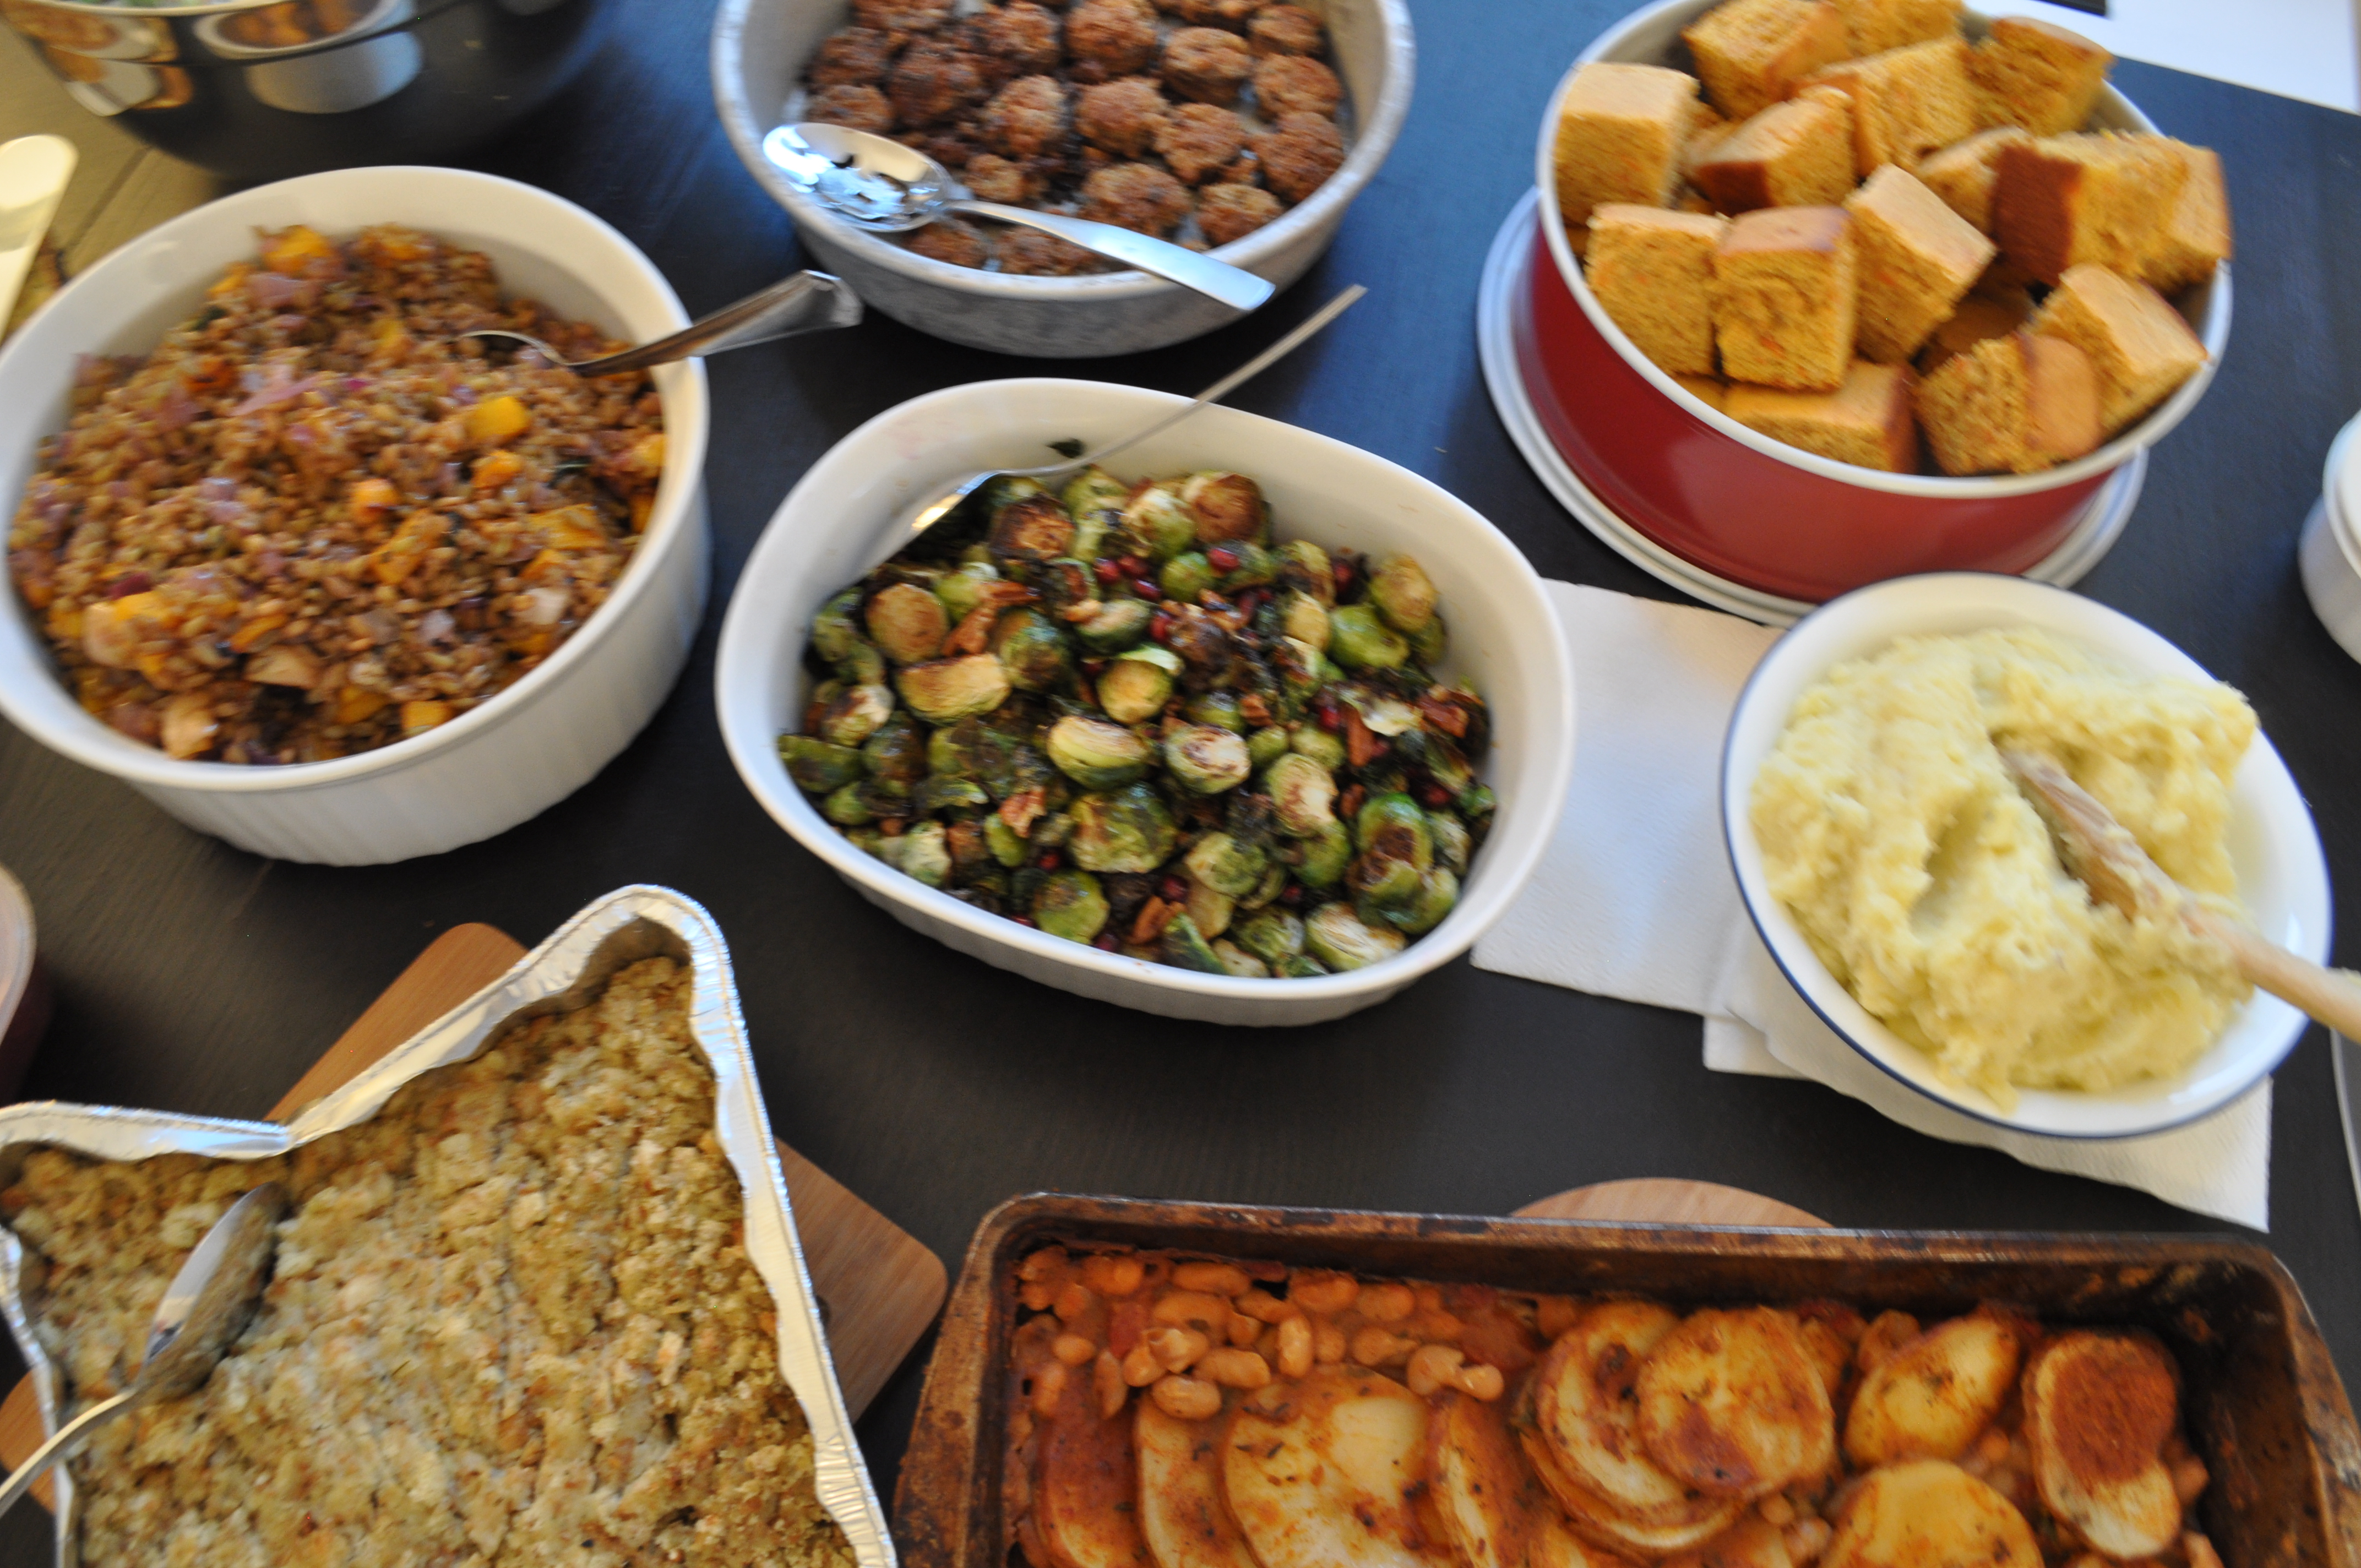
But at the risk of sounding a bit sappy about this, my favorite holiday: it actually doesn’t matter what you make!  If your table looks like this, filled with food and love, no one will remember anything else.  Happy Thanksgiving!

DSC_0367

Looking for some additional inspiration for your meal?  Look here, here and here!

Sweet Potato Cornbread (slightly adapted from New York Times)

  • 2 tablespoons vegetable oil, plus more for the muffin tin
  • 1 large sweet potato, roasted as per these instructions, discarding the skin
  • 2 large eggs, lightly beaten
  • 1 ¼ cups milliliters milk
  • ¾ cup/94 grams all-purpose flour
  • 1 ¼ cup/213 grams finely ground yellow cornmeal
  • 1 tablespoon/14 grams baking powder
  • 1 teaspoon/6 grams salt
  • ½ cup/100 grams sugar
  • ½ teaspoon/1 gram ground cinnamon
  • ½ teaspoon/1 gram ground nutmeg
  1. Heat oven to 450 degrees and lightly brush a 8×8 square pan with oil or melted butter.
  2. Mash roasted sweet potato.  Measure out 1/2 cup and transfer to a large bowl. Add eggs, oil and milk to bowl and whisk well to combine.
  3. Sift together flour, cornmeal, baking powder, salt, sugar, cinnamon and nutmeg in separate large bowl. Add potato mixture and fold into dry ingredients with a rubber spatula until just combined.  Do not overmix. Pour batter into the prepared pan and bake until the cornbread is puffed and golden, about 20 minutes. Check with a tester to make sure that it comes out clean.  If it doesn’t, cover the top of the pan with aluminum foil, lower the temperature to 350, and bake for up to an additional 20 minutes, checking every 5 minutes with a tester.  Let cool 5 minutes, then turn out onto a rack to cool completely.  Serve with homemade butter.

Homemade Butter (recipe from Food Network)

  • 2 1/2 cups heavy cream
  • 1 cup sour cream
  • 1 tsp. coarse sea salt
  1. In a bowl of an electric mixer with the whisk attachment, mix together sour cream and cream on medium low speed.  You may need to cover the bowl with a dish towel to make sure that the contents don’t fly everywhere.
  2. While it’s whisking, prepare a medium size bowl full of ice water.
  3. Continue to whisk, about 20-30 minutes, until the mixture thickens and the cream separates.
  4. Use a rubber spatula to gather up the butter and remove it from the bowl. There will be some liquid, which is the buttermilk. Gather the ball of butter together into a double layer of cheesecloth or a thin kitchen towel, twist the top to hold the contents, and plunge it into the ice bath to wash any buttermilk off the surface.  Transfer to a bowl and sprinkle with salt.  Use immediately or store in the refrigerator.
Advertisement

Zucchini Biscuits

November 20, 2014

DSC_0333

So, first of all, I should tell you: these are not biscuits.  They’re not glorious circles of dough filled with butter that steam into multiple layers that can be separated and slathered with even more butter.  Preferably softened.  Preferably with a bit of honey.

DSC_2751

Nope! That’s not what these are.  Instead, these are patties, filled to the brim with shredded zucchini, flavored with basically the best things that ever flavor zucchini: olive oil, lemon and garlic.  But these are also topped off with some feta and almond flour.

DSC_0326

I mean, c’mon.  These are amazing.  Glorious like the biscuits, if you will.  But who wants a patty?  Who wants a patty at a time of year when there are so many amazing food options that you get to be the most discriminating and picky person about food ever?  So we’re going with biscuits.  Let’s call it marketing.  Done.

DSC_0337

But I will say that these will be such a lovely, unexpected dish at your Thanksgiving table!  They have so much summer like flavor, but formed into something so holiday comforting.  Instead of butter and honey, have it with the sweet and nutty beet dip, and that bite will be so extremely complete that you may not even reach for an actual biscuit.  You let me know.

DSC_0332

Zucchini Biscuits (recipe generously shared by http://beyondtheaubergine.com/)

3 zucchinis, shredded, by hand or in a food processor

1 onion, diced finely

1 large, or 2 small cloves garlic, minced finely

zest of 1 lemon

10-15 leaves of basil, torn

1 egg

100 grams feta cheese, crumbled

100 grams, about 1/2 cup,  almond flour

50 grams, about 1/4 cups, regular bread crumbs or panko

olive oil

1. Preheat oven to 400 degrees.

2. In a medium pan, saute onion in 1 tbsp. of olive oil, until translucent and just starting to brown.  Add garlic and cook for an additional minute.

3. Add the zucchini and stir and cook the zucchini is fully cooked, and there is minimal water left in the pan.  This should take about 10-15 minutes.  Add lemon zest and basil leaves and stir to distribute evenly.  Add salt and pepper to taste.

4. Let mixture cool slightly, until it can be handled.  Transfer mixture to a large bowl.  Add the egg, and crumbled feta and mix into the zucchini.  Add almond flour and panko until well distributed.  If the mixture still seems too loose, and cannot be formed into balls, add a little more panko.

5. Line a baking sheet with parchment paper.  With a tablespoon size spoon, scoop out zucchini mixture, form into a ball shape, and place on the prepared pan.  Repeat until all the zucchini mixture has been used.  Brush the top of all of the biscuits with a little more olive oil.

6. Bake for about 20 to 30 minutes, or until the biscuits are fully cooked through, and they are just starting to brown.

Beet and Walnut Dip

November 13, 2014

DSC_0363

If you think about it, Thanksgiving is really a holiday for vegetarians.  No, really!  Take out that turkey centerpiece, and what are you left with?  A vegetarian’s dream, that’s what.

DSC_0327

Not only can most dishes on the Thanksgiving table be vegetarian, but there is also the willingness to make vegetable dishes that are typically shunned.  Thanksgiving makes people adventurous!  Are brussels sprouts really on everyone’s dinner table on any other day but that certain Thursday in November?  Is cauliflower really that beloved?  Can you even pronounce rutabaga and parsnips in February?  Probably not, I gather (mostly from assumption), so we should all capitalize immediately!

DSC_0349

Including me!  I’m throwing beets into the mix!  Beets can be so intimidating, I know.  It’s the red.  But once an easy roasting is done, you are left with an earthy, root vegetable flavor that can serve as a blank palette for anything.

DSC_0352

Let’s be honest, this dip is perfect for the holiday plate.  It adds such a pop of color, for one.  But it also has an extremely balanced sweet, sour, salty flavor that it tastes amazing on pretty much anything I eat it with.  Especially the zucchini biscuits that I’m planning on posting next week.  Yep, we’re really taking these vegetarian Thanksgiving side dishes making by storm.  This is what I call a Thanksgiving teaser.

DSC_0362

Beet and Walnut Dip (recipe slightly adapted from 101 Cookbooks)

4 small/medium beets, or 3 large beets, washed and trimmed
5 plump Medjool dates
4 garlic cloves, peeled and smashed
juice of 1 lemon
1/2 cup chopped toasted walnuts
salt, to taste
3 tablespoons creme fraiche, plain yogurt, or sour cream

Preheat the oven to 400F with a rack in the center. Scrub the meets thoroughly, and wrap individually in aluminum foil, still wet.  Place all the beets on a baking sheet, and roast for 50-70 minutes, depending on the size of the beets.  You will know that the beets are fully cooked when you can easily stick a fork through the beets.

Place the dates in a glass bowl, and pour about 2 tbsp. of warm water over dates. Jostle around a bit, and soak for at least 10 minutes.

When the beets are cooked and cool enough to peel, remove the skins (they will slide right off) and chop into cubes. Place in a food processor with the dates, walnuts, garlic, and lemon juice. Puree until the texture is to your liking.  Add salt, to taste.

Serve swirled with the creme fraiche, and chill until ready to serve.

Fried Apple Rings

November 3, 2014

DSC_0286

I have always been fascinated by apple fritters.  They are basically chopped up apples that are barely held together with the least amount of batter possible, fried, and then doused in a silky sugar glaze.  They are apple-y fried goodness.  More fruit than dough.  More breakfast than dessert.  More fall than summer.  A beautiful, seasonal doughnut.

DSC_0280

Needless to say, I wanted to make them.  And I almost did!  But as I pored over recipes trying to find the mix of the perfect one, I realized that apple fritters, with all of its virtues, is not a low maintenance morning treat.  There is warming of the milk involved, yeast, kneading, sifting, cooling, waiting…many, many steps.  And even though I’m sure they would be worth it, I wanted something immediately.

DSC_0282

Enter apple fritters’ low maintenance cousin: fried apple rings.  These things are deception at their best!  They’re shaped like doughnuts!  Point for fried apple rings! Plus they have all the properties of apple fritters: crispy fried dough barely surrounding a raw apple that warms and softens, keeping its authentic flavor, with all of the warm flavors of fall.  And the best part of the chiller, dare I say, cooler, treat: they’re ready in minutes, and you can eat them immediately thereafter.

DSC_0290

I’m sure I will make authentic apple fritters at some point during the lifetime of this blog.  And when I do, I will certainly justify my decision to do so.  And hopefully, you will join me!  But for now, I ask you: why wait?

DSC_0284

Fried Apple Rings (adapted from Joy the Baker)

juice of 1 lemon

4 apples

For dry batter:

1 cup flour

2 tablespoons corn starch

For the Milky Batter:

2 tbsp.  granulated sugar

1 teaspoon ground cinnamon

1/2 teaspoon freshly ground nutmeg

1/2 teaspoon baking powder

1/2 teaspoon salt

3/4 cup milk

1 large egg

For topping:

1 cup sugar

1 tbsp. cinnamon

oil for frying

In a medium, wide-rimmed bowl, whisk together the topping of sugar and cinnamon. Set aside.

In an another medium bowl, whisk together flour and cornstarch.  In yet another bowl, whisk together milk, egg, spices, baking powder and salt.

Prepare apples by slicing them into about 1/3-inch thick rings.  Use a small biscuit cutter to cut out the core.  You can also core the apples with an apple corer first, and then slice them.  Soak all of the apple rings in the juice of 1 lemon.

Soak apple slices in milky batter mixture.  Set the panko mixture next to the milky batter.  Heat a heavy bottom sauce pan with 2-inches of oil to 350 degrees F, measuring heat with a candy/fry thermometer.

When oil has reached 350 degrees F, or, when it seems ready when tested with a bit of flour, fry the apples.  Using a pair of tongs to remove a few rings from the milky batter, and coat in the flour mixture.  Once throughly coated in dry mixture, use tongs to carefully place rings in hot oil.  Fry about 4 rings at once.  Fry until golden brown, flip over and fry until golden.  Remove from oil, place on a paper towel and fry the rest of the apple rings.  Then immediately coat with cinnamon sugar mixture, and lay onto a wire rack.  Bring the oil back up to 350 degrees before adding additional apple slices.

Keep the fried apples warm in a 200 degree oven while the others fry.  Serve immediately.