Archive for December, 2013

Gingerbread Popcorn

December 21, 2013

DSC_0345

I’ve had this habit for years.  I pore over cookbooks and websites for weeks leading up to the December holiday season.  I pick one recipe to make for every food gift that I want to give that year.  And then I spend all my time joyfully cooking and baking and wrapping.  And then I never make it again.

DSC_0328

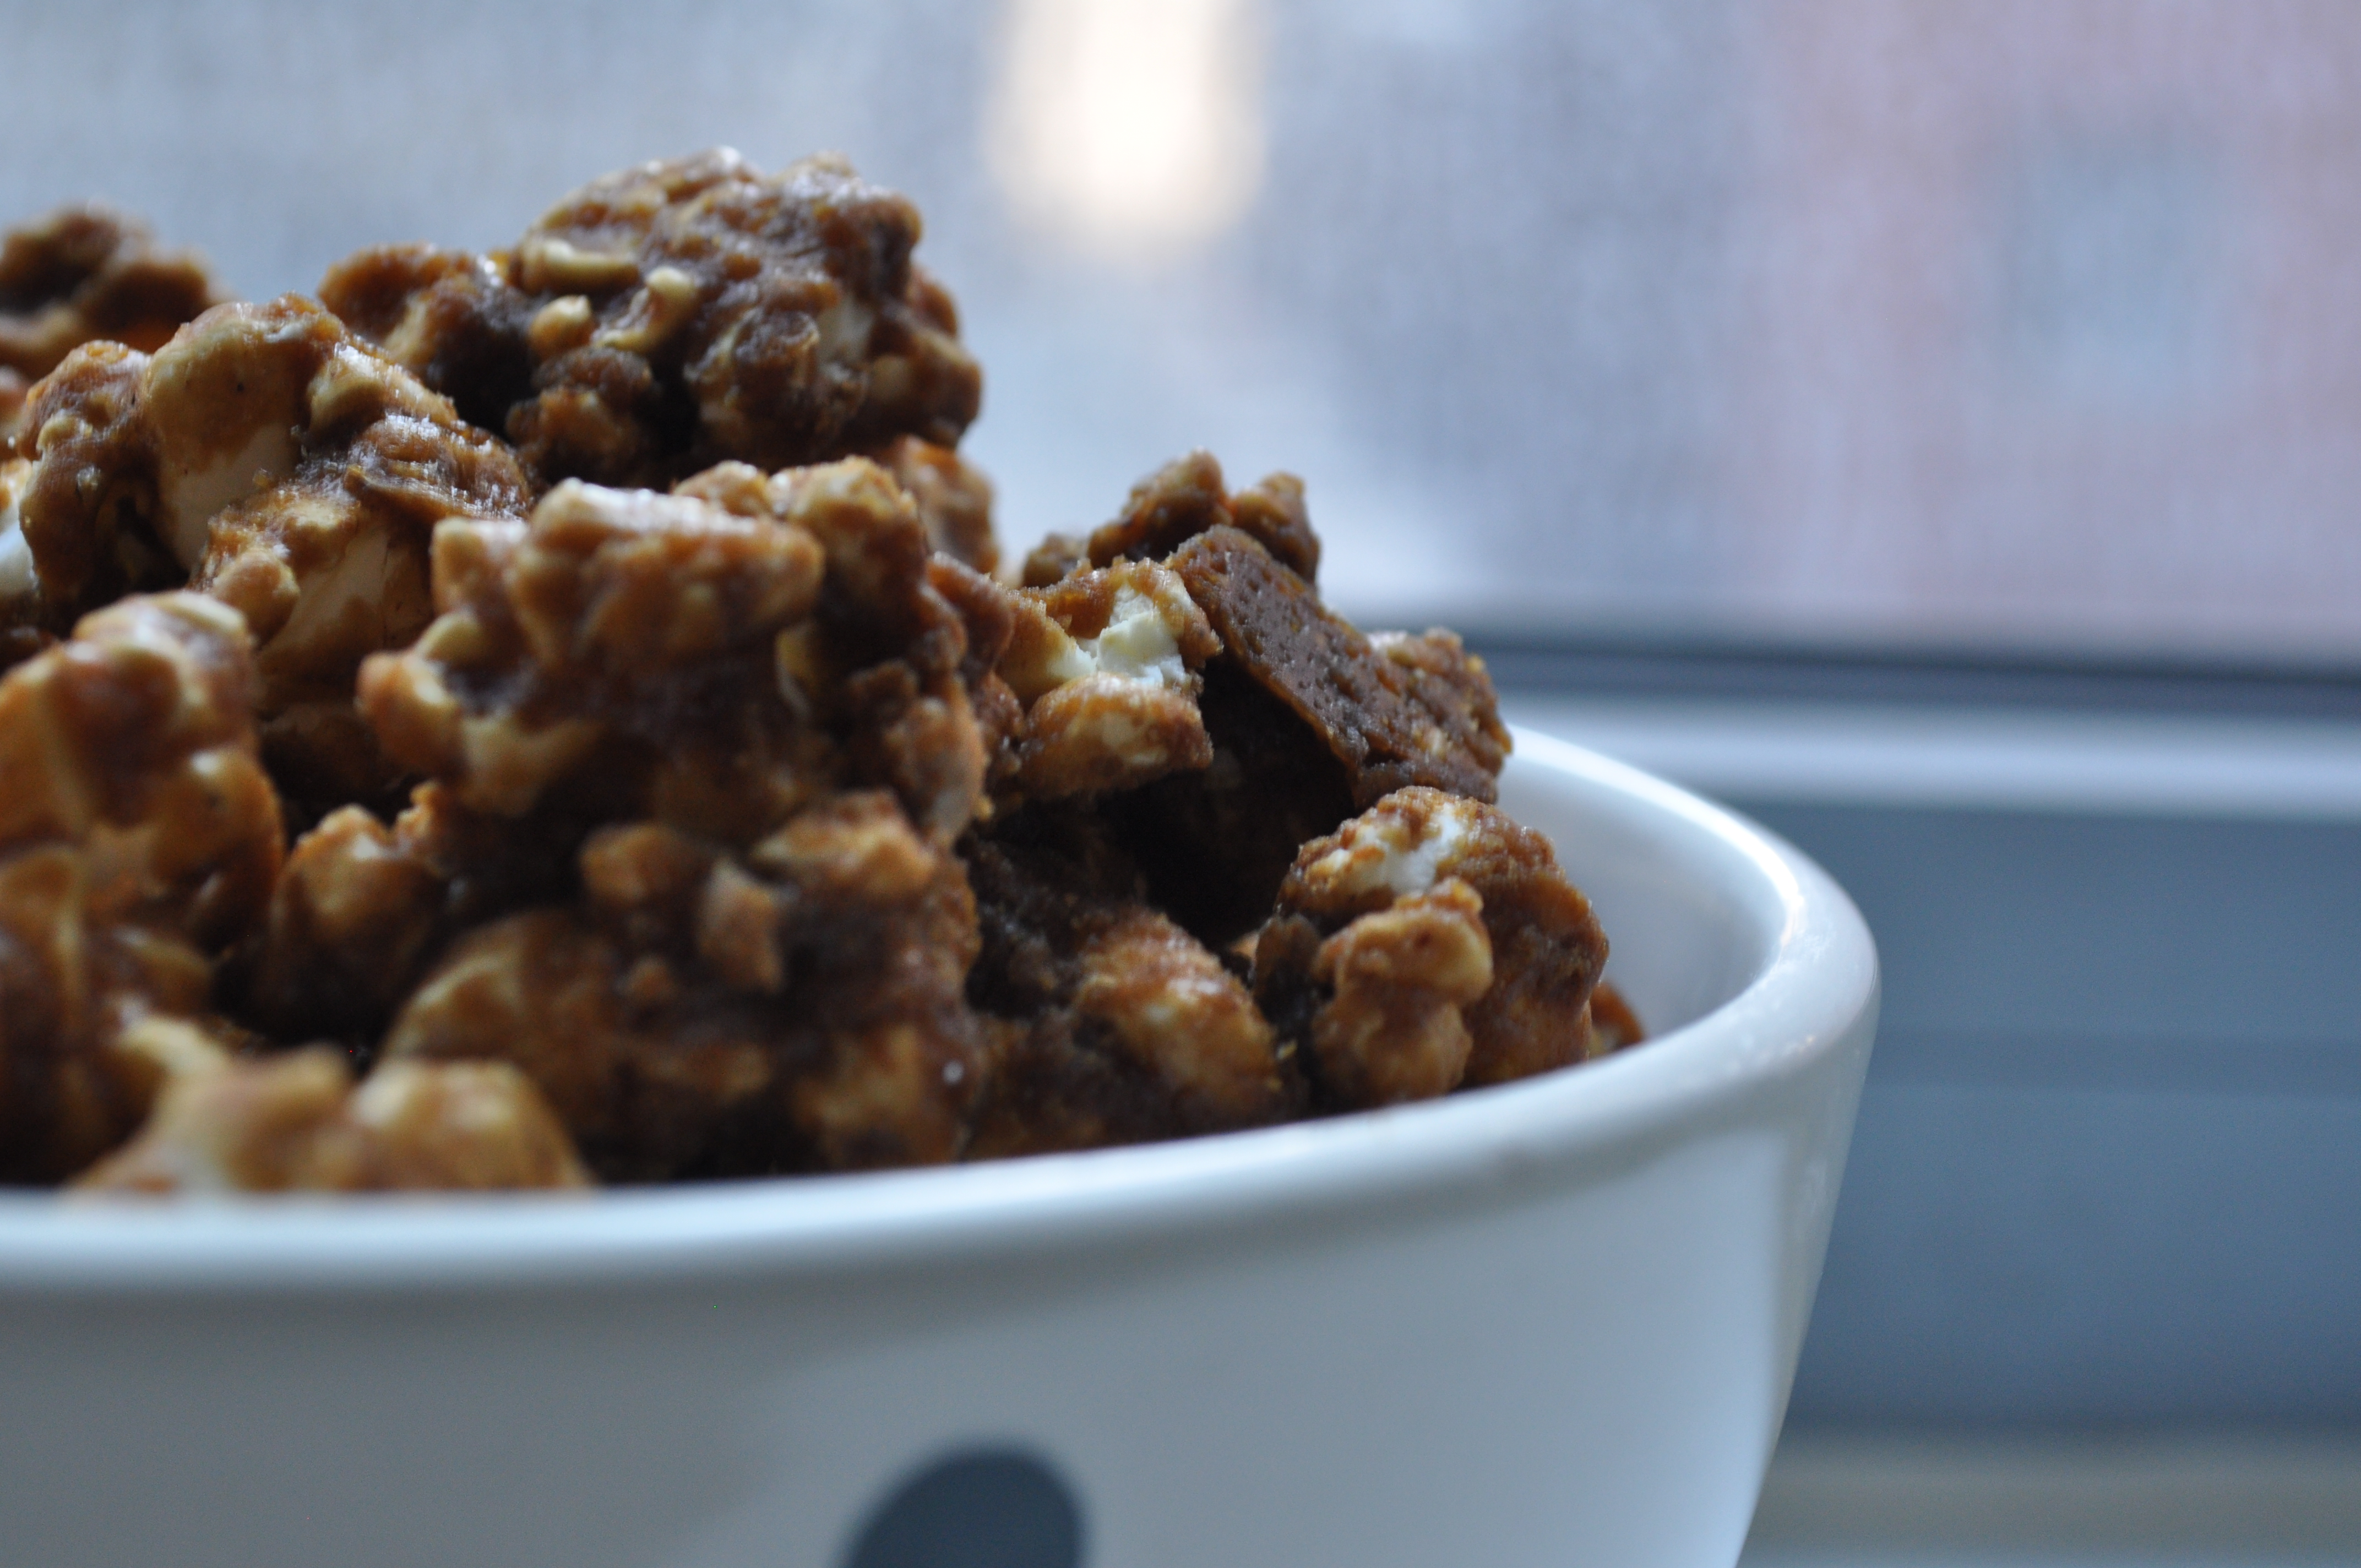
I mean, I know why I do this.  I am always so excited about the next year, about the possibilities, and the new dishes to make!  I want my friends and family to experience new things!  But my sister was telling a story from a past holiday the other day, and tubs of this gingerbread popcorn was a major character.  Which made me remember this popcorn and all of its glory.  It’s like an overdose of caramel corn with some warm spices added to it.  How did I only make this once?!

DSC_0330

So here’s to the s’mores fudge I made one year.  The chocolate pistachio shortbread from another year.  The spiced nuts, the peanut brittle, and the iced sugar cookies.  I’ll come back for you again one day, forgotten holiday desserts, just like I did with this popcorn.

DSC_0337

Gingerbread Popcorn (recipe from Culinary in the Desert)

After popping the popcorn and measuring out the 15 cups, do a quick look and make sure that no kernels get into the final mix.  There is just nothing jolly about that.

15 cups popped popcorn
16 tablespoons (2 sticks) butter
2 cups packed brown sugar
1/4 cup molasses
1/4 cup light corn syrup
1 tablespoon ground ginger
1 teaspoon cinnamon
3/4 teaspoon salt
1/2 teaspoon baking soda

Preheat oven to 250

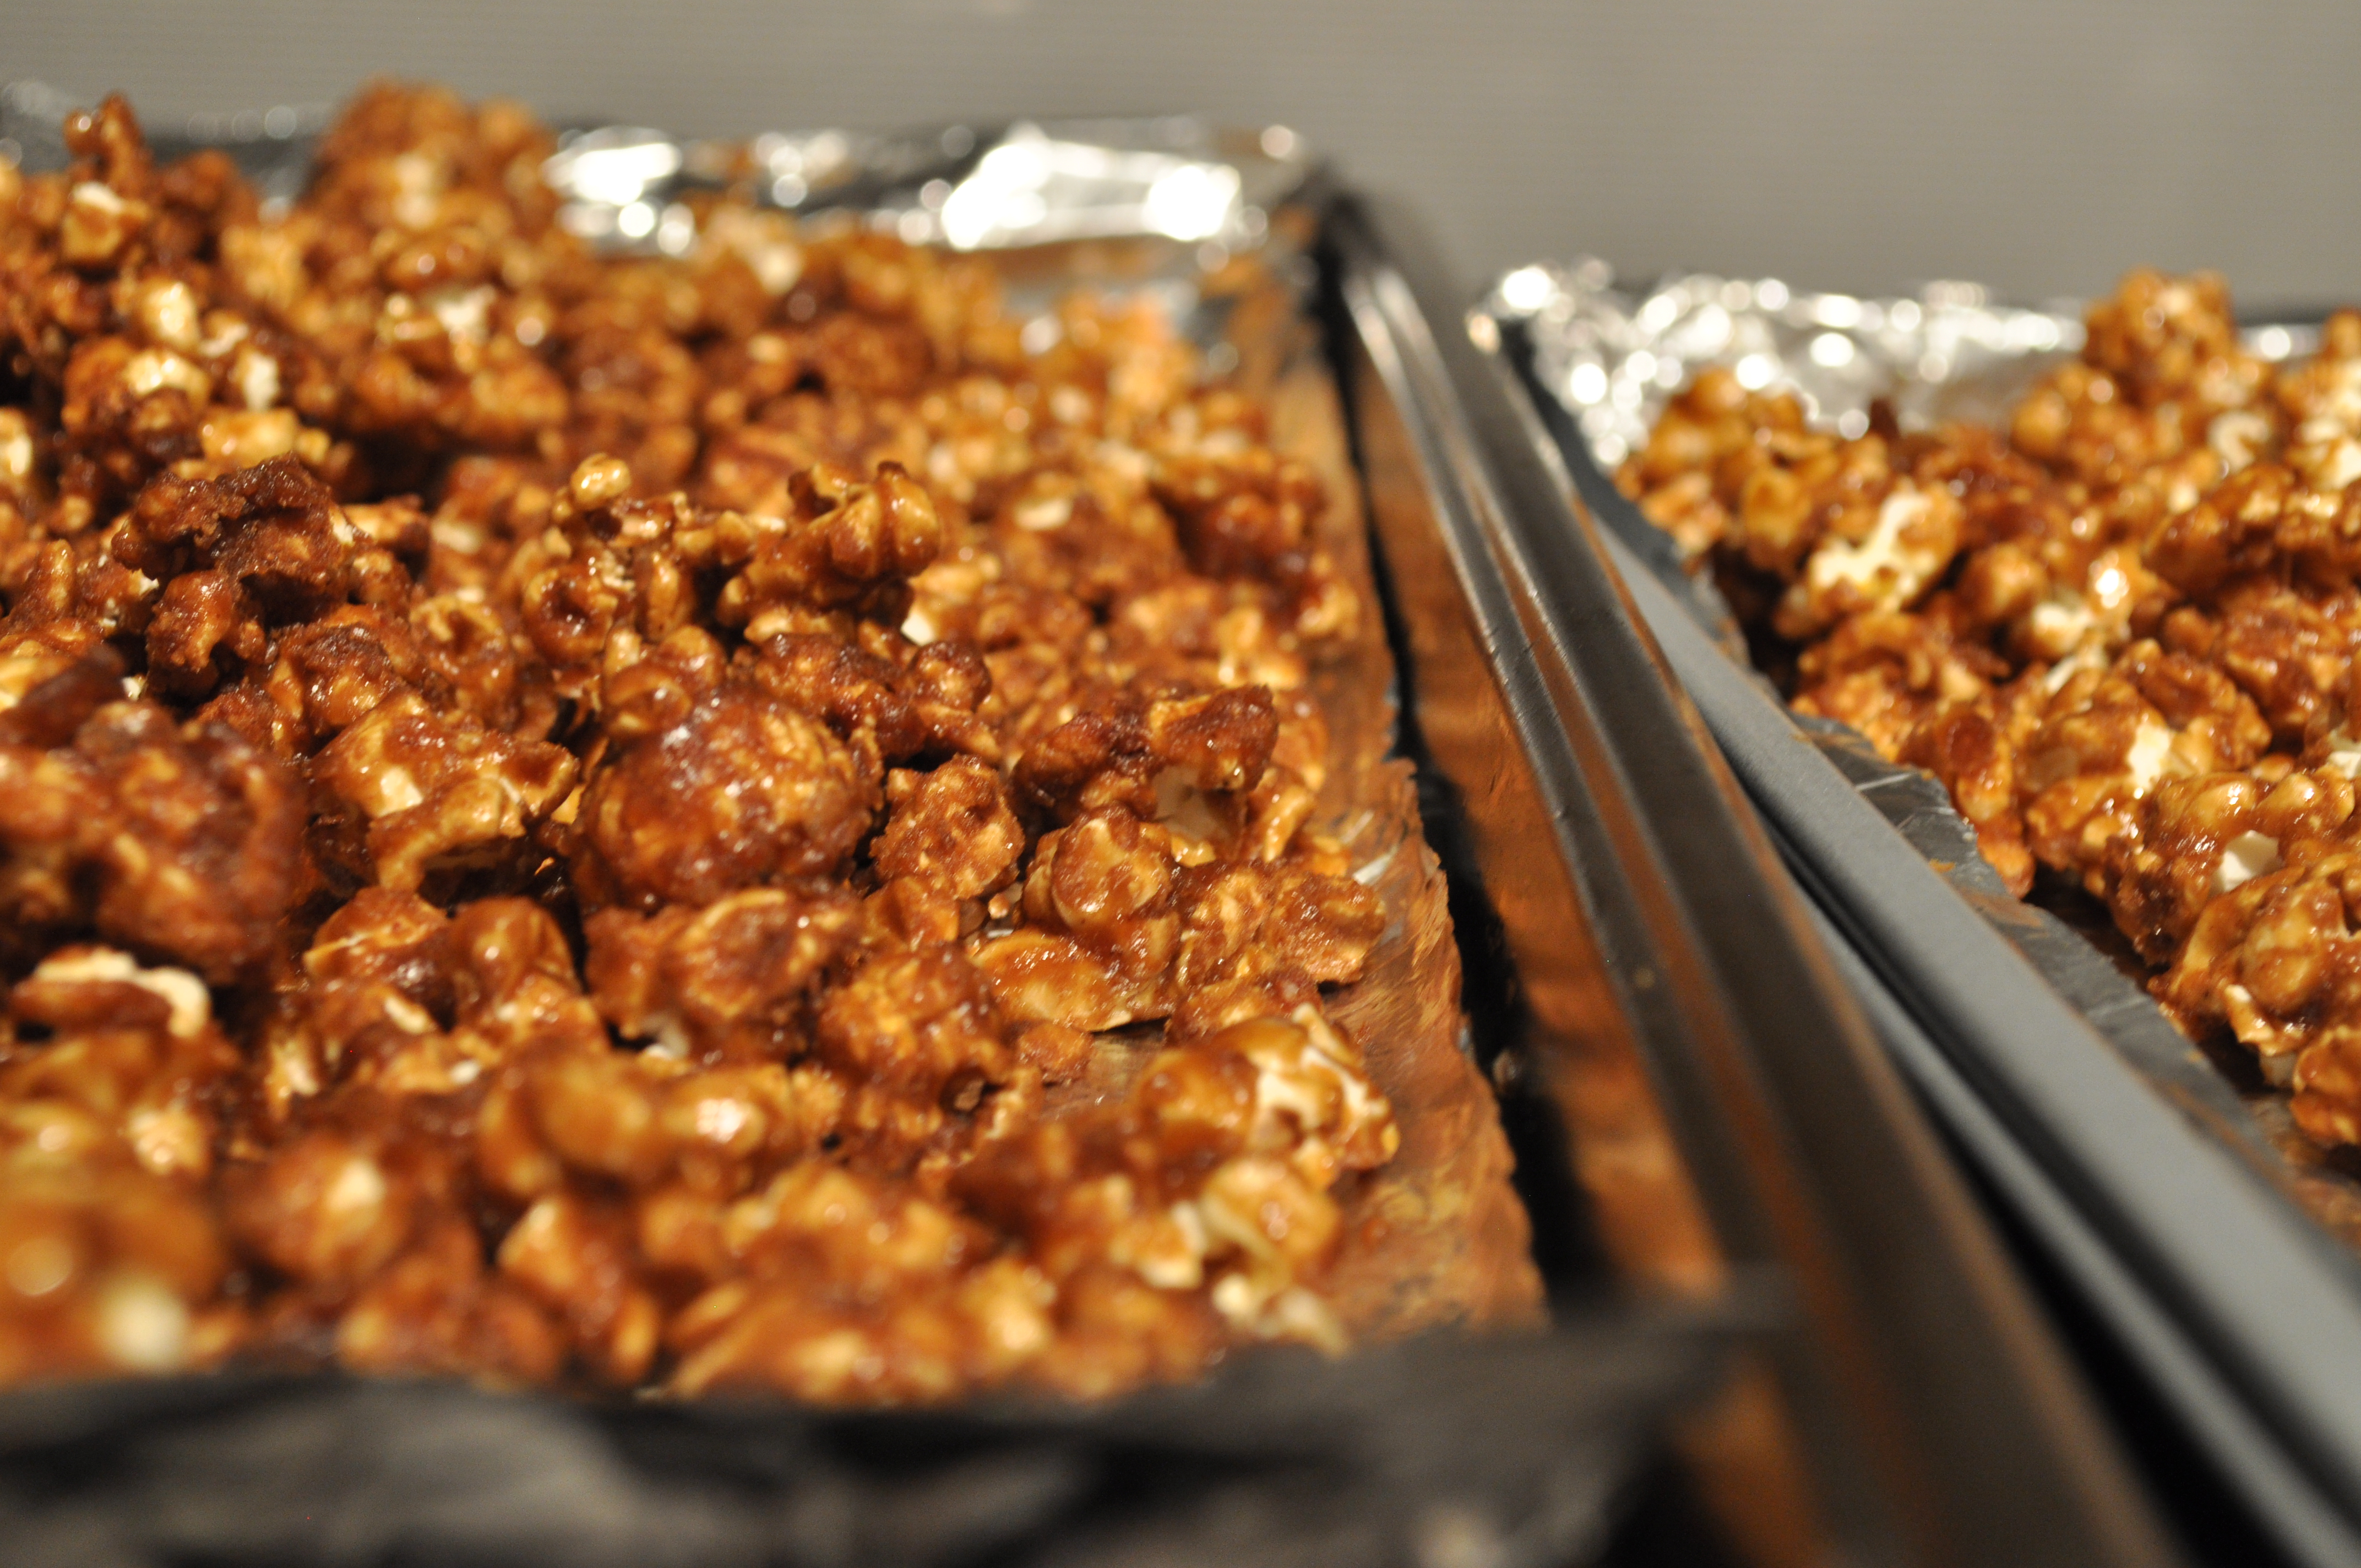
Line 2 large baking dishes with foil and coat with cooking spray.  In a large bowl, pour in the popcorn.

Combine butter, brown sugar, molasses, corn syrup, ginger, cinnamon, and salt in a large, heavy bottom pot. Heat over medium heat until mixture boils.  Boil for a total of 5 minutes; stirring frequently.  Remove from heat and stir in baking soda.  Pour over popcorn; carefully toss to coat.  Pour onto baking sheets, 1/2 on each.

Bake at 250 for one hour, carefully stirring the warm mixture about every 15 minutes. Cool completely on trays before storing or gifting.

Advertisement

Cranberry Pavlova

December 12, 2013

DSC_0323

Back in the day, when I was too afraid to make meringues (but loved them so much!), I learned about a little British dessert called Eton Mess.  Basically, crushed up meringues, mixed with lightly sweetened whipped cream, and topped with some sliced strawberries.  Brilliant, in my opinion.  You’ve got the crunchy, you have the creamy, you’ve got the sweet and you have the tangy.  And, on top of all of that, it’s supposed to look like a mess!  It was the perfect dessert!

DSC_0316

I knew that this was exactly what I wanted to make for my friends for a holiday dinner party I was having (I was so eager back then).  But again, I was too intimidated to make the meringues.  So I bought them, as well as the cream, and the strawberries (I was going to make a little balsamic strawberry compote to make up for the fact that I wasn’t making the meringues.  I thought I was so fancy!  Sigh.).  When dinner plates had been cleared, I proudly got up telling my friends about the dessert I was about to assemble for them.  I got to the tub of meringues I bought, I opened it up, and ta da, I had bought marshmallows instead.

DSC_0319

I can’t express to you the magnitude of my sadness.  Marshmallows?!  People, all I had to do was buy the right type of cookie!  And I failed at that.  This was pretty scarring.  It left me dinner-party-less for many years to come.  You would only understand if you have ever served marshmallow whipped cream sandwiches for dessert.

DSC_0327

It’s been years and I finally felt healed enough to attempt this again.  But this time I made my own meringues, and made a pavlova, instead – you know, the fancier Eton Mess.  Crunchy meringues, topped with a dollop of whipped cream, and to go with the winter holiday theme, some cooked up cranberries.  I even made it look nice!  I feel like I should include some moral and say that it’s always better when you make things homemade, but in truth, just make sure you read the label before buying cookies at your grocery store and your dinner party will be a success!

DSC_0325

Cranberry Pavlova (adapted from Vintage Mixer)

  • 4 large egg whites
  • 1/8 tsp. cream of tartar
  • 1/4 tsp. salt
  • 1 tsp. vanilla extract
  • 1/3 cup sugar
  • 12 oz. bag of fresh cranberries
  • 1 /2 cup sugar
  • 1/2 cup water
  • juice of 1 lemon
  • 1 1/2 cups heavy cream
  • 1/4 cup sugar
  • 1/2 tsp. vanilla extract

Preheat oven to 200 degrees, and lined a baking sheet with parchment paper.  Beat egg whites on medium-low speed until frothy.  Add salt and cream of tartar and continue to beat.  Turn the mixer to a higher speed and slowly sprinkle in the sugar.  You do not want to dump in all of the sugar at one time.  Add vanilla.  Beat on high until the egg whites have tripled in volume, they’re silky and glossy and they can stand up on their own.

Spoon egg whites on the baking sheet.  Shape them with the back of the spoon so they are like inverted domes – with a dip in the center.  Bake for 1.5 – 2 hours.  They should have no color, but will feel firm to the touch.  Let cool on baking sheet for 15 minutes and then transfer to a wire rack.

Meanwhile, make the cranberry compote.  Heat together water and sugar over medium heat until the sugar is dissolved.  Add cranberries and stir together.  Continue to cook and stir until the cranberries just begin to burst and the mixture is syrupy.  Take off the heat and add lemon juice.  Let cool to room temperature.

When everything is cool and ready to assemble, make whipped cream.  Beat cream on low speed until some air has been incorporated.  Turn the speed higher and slowly sprinkle in the sugar and add vanilla.  Continue to beat until the whipped cream is pillowy and soft peaks have formed.

To assemble: take one meringue disc and add a dollop of the whipped cream right in the center.  Spoon cranberry mixture on top of the whipped cream.  Enjoy immediately.

Apple Goat Cheese Galette

December 7, 2013

DSC_0289

Oh, hello!  It’s been a while, hasn’t it?  I just thought that after last week, everyone would need a little break from, well, eating.

DSC_0266

But it’s been over a week now, and after way too many protein shakes and yogurt cups, I’m ready to get back in the game.  And this galette, my friends, is how to kick off Eating Season, Round 2.

DSC_0273

If you think that the sweet/salty trend has long passed us, you have not tried this yet.  It’s an unexpected combination of sweetened and spiced apples cooked in butter with tangy, creamy goat cheese with toasted almonds.  You don’t think it will work together and then you take a bite.  And all of your expectations of anything you ever knew will change.

DSC_0275

Okay.  Fine.  Perhaps this is a little overdramatic.  Maybe this tart isn’t the journey filled with emotions that I’m describing.  But I promise that it is delicious.  And that is reason enough to make this, don’t you think?

DSC_0280

Apple Goat Cheese Galette (adapted from Food Network)

For the Gallette:
2 tablespoons unsalted butter
3 Braeburn apples, peeled, cored, and cut into 1/2-inch wedges
1/8 teaspoon kosher salt
1/4 cup sugar
1/2 teaspoon ground cardamom
1/2 teaspoon ground all spice
1/2 teaspoon cornstarch
1 teaspoon fresh lemon juice
one 8-ounce frozen puff pastry sheet, thawed (either overnight in the refrigerator, or 30 minutes at room temperature)
all-purpose flour, for sprinkling
1 large egg, beaten

For the Topping:
One 4-ounce package chilled soft fresh goat cheese, crumbled into 1/3- to 1/2-inch chunks
1/3 cup sliced almonds, toasted
1/3 cup tart dried cranberries

For the galette: Position a rack in the center and preheat the oven to 375 degrees F.  Melt the butter in a large nonstick skillet over medium-high heat. Add the apples and sprinkle with the salt and lemon juice.  Saute until almost tender, tossing occasionally, about 10 minutes. Remove the skillet from the heat.  Whisk the sugar, spices and cornstarch in a small bowl until no cornstarch lumps remain. Sprinkle the spiced sugar over the apples in skillet, and toss to blend. Cool to lukewarm.

Place a large sheet of parchment paper on the work surface. Unfold the pastry sheet on the parchment and sprinkle both sides lightly with flour. Roll out the pastry to 12-inch square, lifting, turning and sprinkling with more flour to keep from sticking.  Slide the pastry onto a parchment paper lined baking sheet.

Brush the pastry all over with some beaten egg, making sure you get all of the edges.  This will prevent the pastry from getting soggy in the oven.  Starting 2 inches in from the edge (to leave wide border), arrange the apple wedges close together in a circle on the pastry. Arrange the remaining apples in a smaller circle in center.  Fold the pastry border partially over the filling, pleating the pastry in loose folds. Brush the folded-up pastry border with some beaten egg.

Scrape the juices from the skillet over the apples. Bake galette until pastry edge is deep golden brown, 30 to 35 minutes.

Meanwhile, make the topping: Toss the goat cheese, almonds and dried cranberries in a medium bowl until evenly distributed (do not over mix – the cheese should still be in distinct pieces). Chill until ready to use.

Remove the galette from the oven. Sprinkle the topping evenly over the filling. Return the galette to the oven and bake for 5 minutes longer to soften the cheese and cherries. Cool 20 minutes and serve warm.