Archive for the 'Uncategorized' Category

Sticky Toffee Pudding

December 18, 2014

DSC_0380

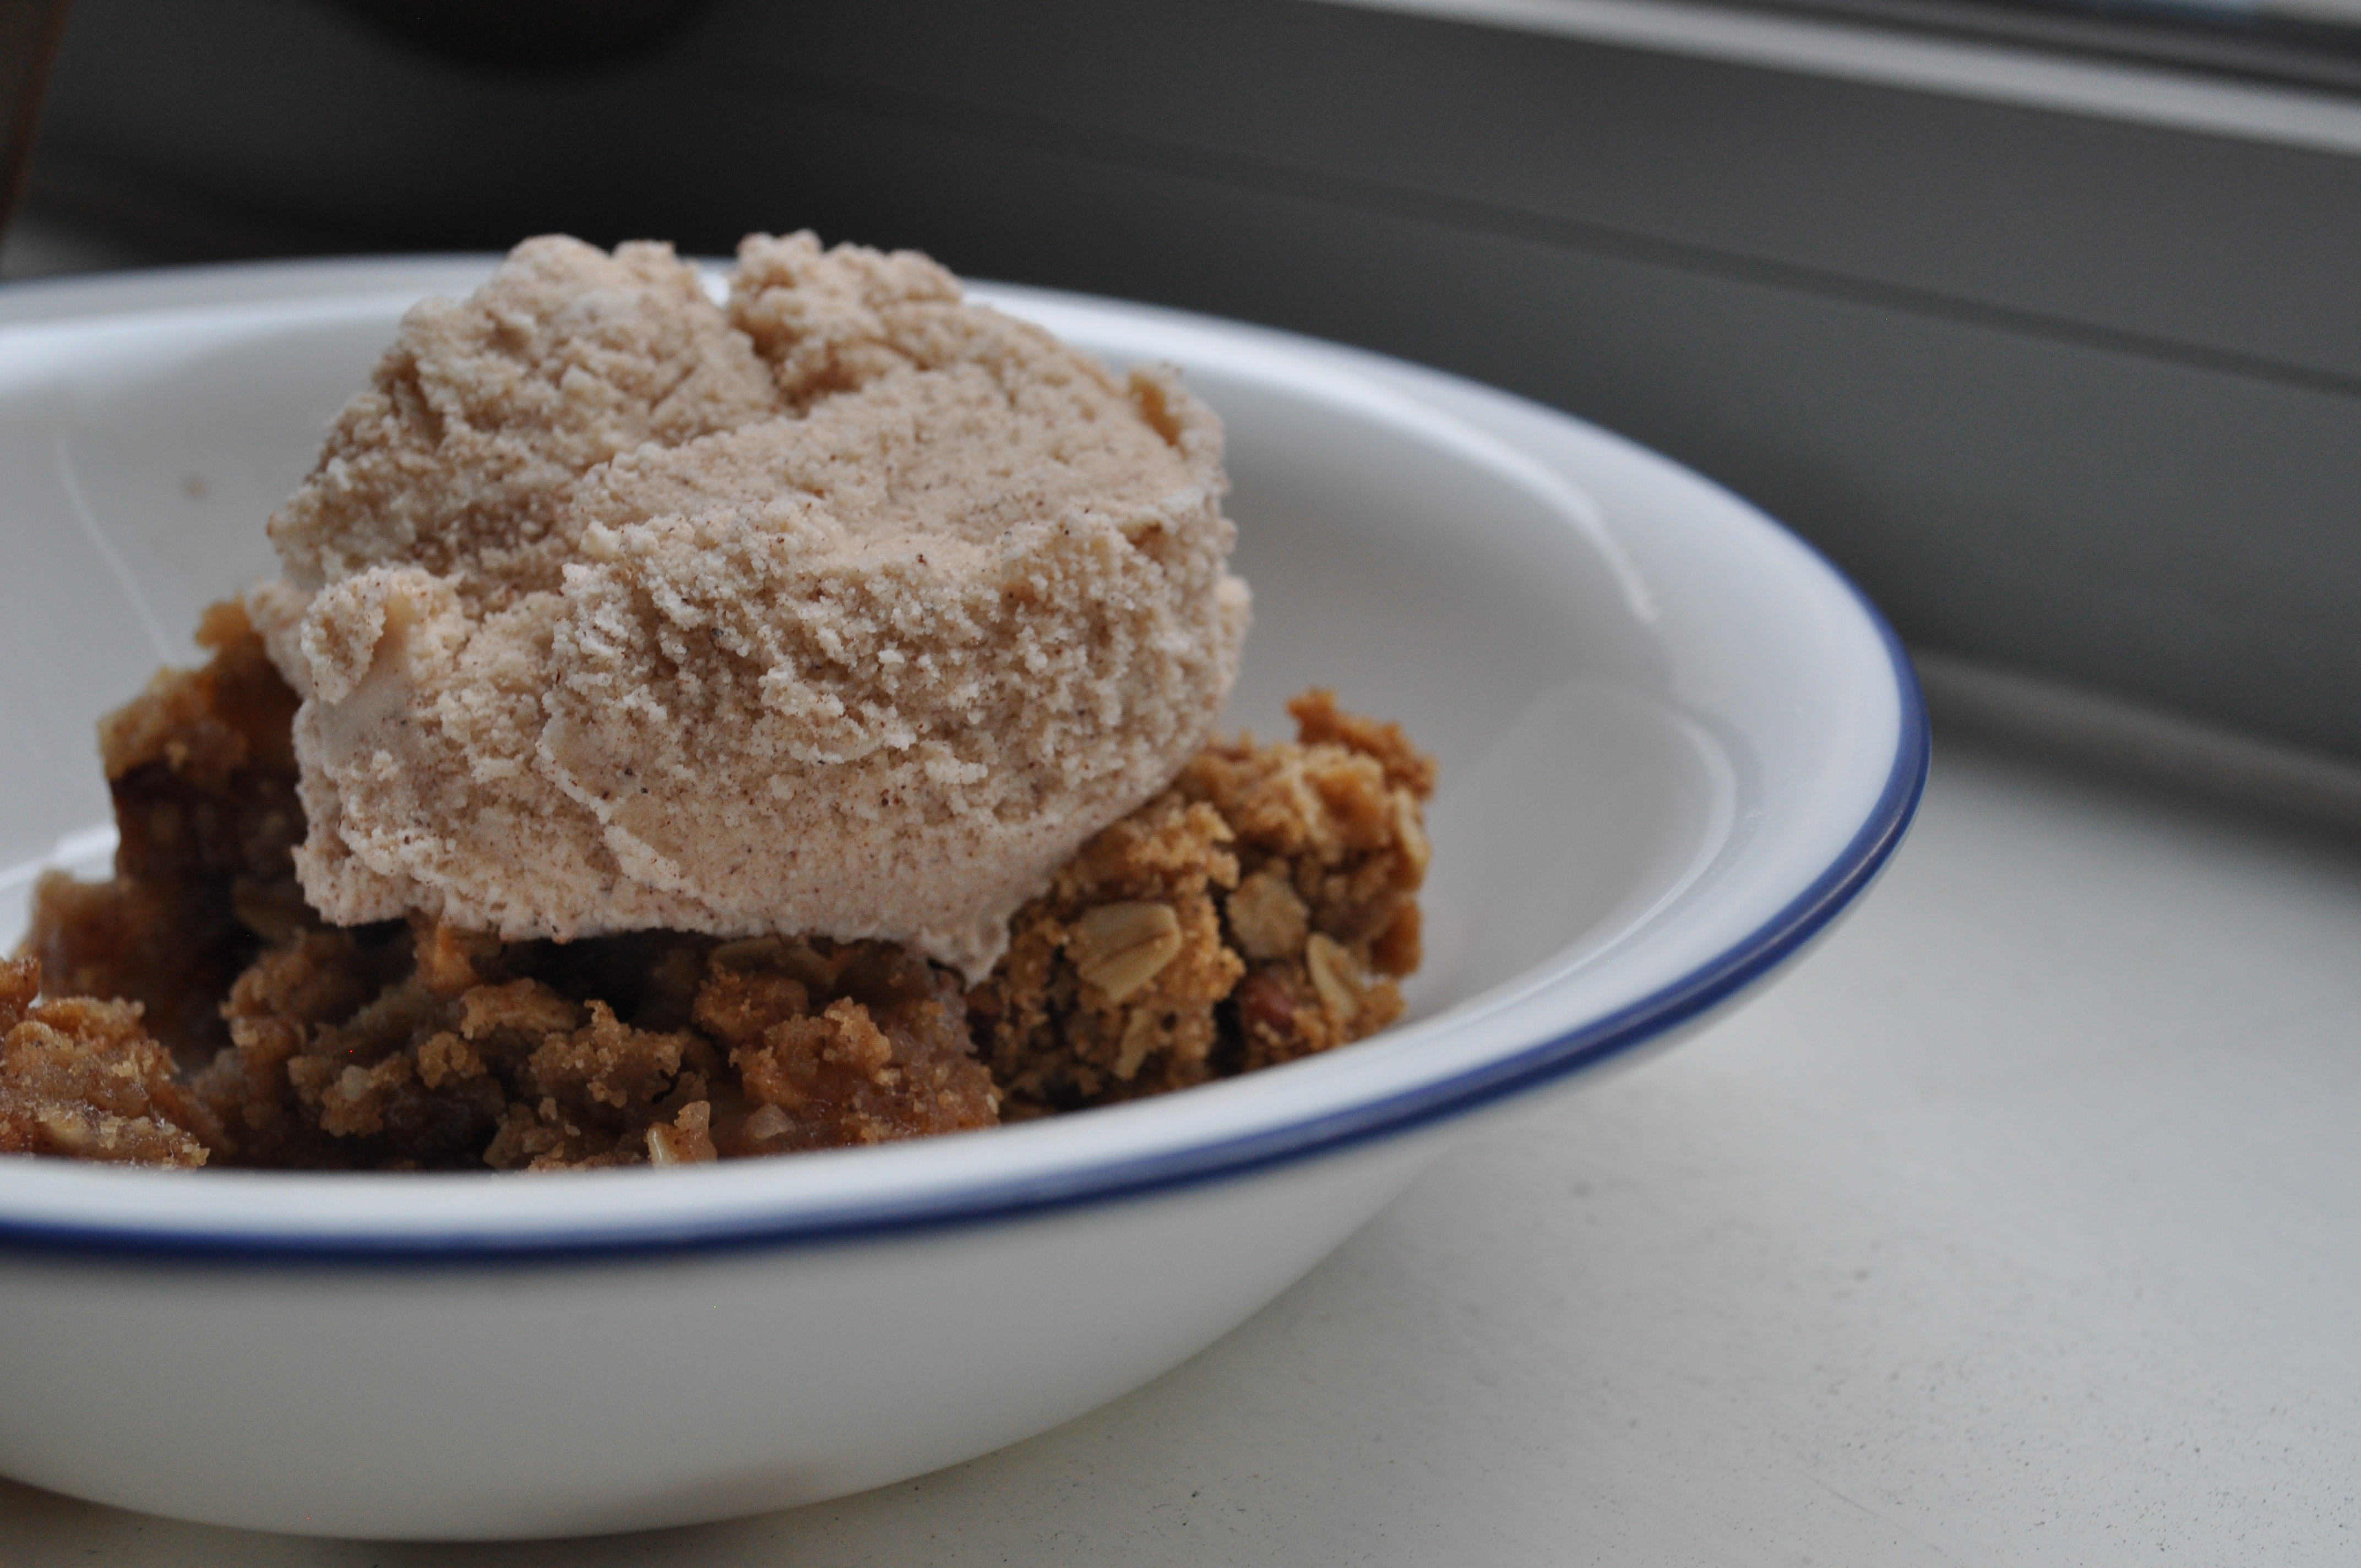
This, my friends, is a winner.  I don’t know how many times I’ve made this dessert, but it never fails to be a show-stopper.  I don’t know whether it’s the cake being served straight out of the oven, the warmth of the spices, or, hello, the over-the-top toffee sauce.  It never fails to amaze people.

DSC_0341

Which is what is so interesting about these ingredients.  I love dates.  They are little gems of wonder to me.  But I never knew how polarizing they were until I made this cake.  When people would ask me what was in the “pudding” part, I would excitedly tell them about the warm date cake.  I got…well…reactions.

DSC_0344

It is quite astonishing how many ways people can contort their faces and say “dates?!” in a semi-disgusted manner.  I don’t know what it is about this fruit.  Maybe it’s the texture?  Maybe it’s the sweetness?  Maybe it’s people pretending to not like them because no one else does.  I haven’t figured it out yet.

DSC_0358

But put that aside, and you’re left with warm, moist cake with pockets of sweet dates and toffee, all served with a smoky, buttery sauce on top.  Everyone went for seconds, even after finding out ingredient information.  This is a star.

DSC_0382

Sticky Toffee Pudding (recipe slightly adapted from David Lebovitz)

For the toffee sauce

  • 2 cups heavy cream
  • 1/3 cup demerara or muscovado sugar (dark brown sugar will also work)
  • 2 1/2 tablespoons golden syrup or molasses (my preference is golden syrup, which most grocery stores carry, but I’ve successfully used honey too)
  • 1 teaspoon of sea salt

For the pudding

  • 6 ounces (180g) pitted dates, snipped or chopped
  • 1 cup (250ml) water
  • 1 teaspoon baking soda
  • 1 1/4 cups (175g) flour
  • 1 teaspoon baking powder
  • 1/2 teaspoon fine sea salt
  • 4 tablespoons (55 grams) unsalted butter, at room temperature
  • 3/4 cup (150g) granulated sugar
  • 2 large eggs, at room temperature
  • 1 teaspoon vanilla extract

1. Preheat the oven to 350F and butter an 8 1/2-inch soufflé dish (or similar-sized baking dish.)

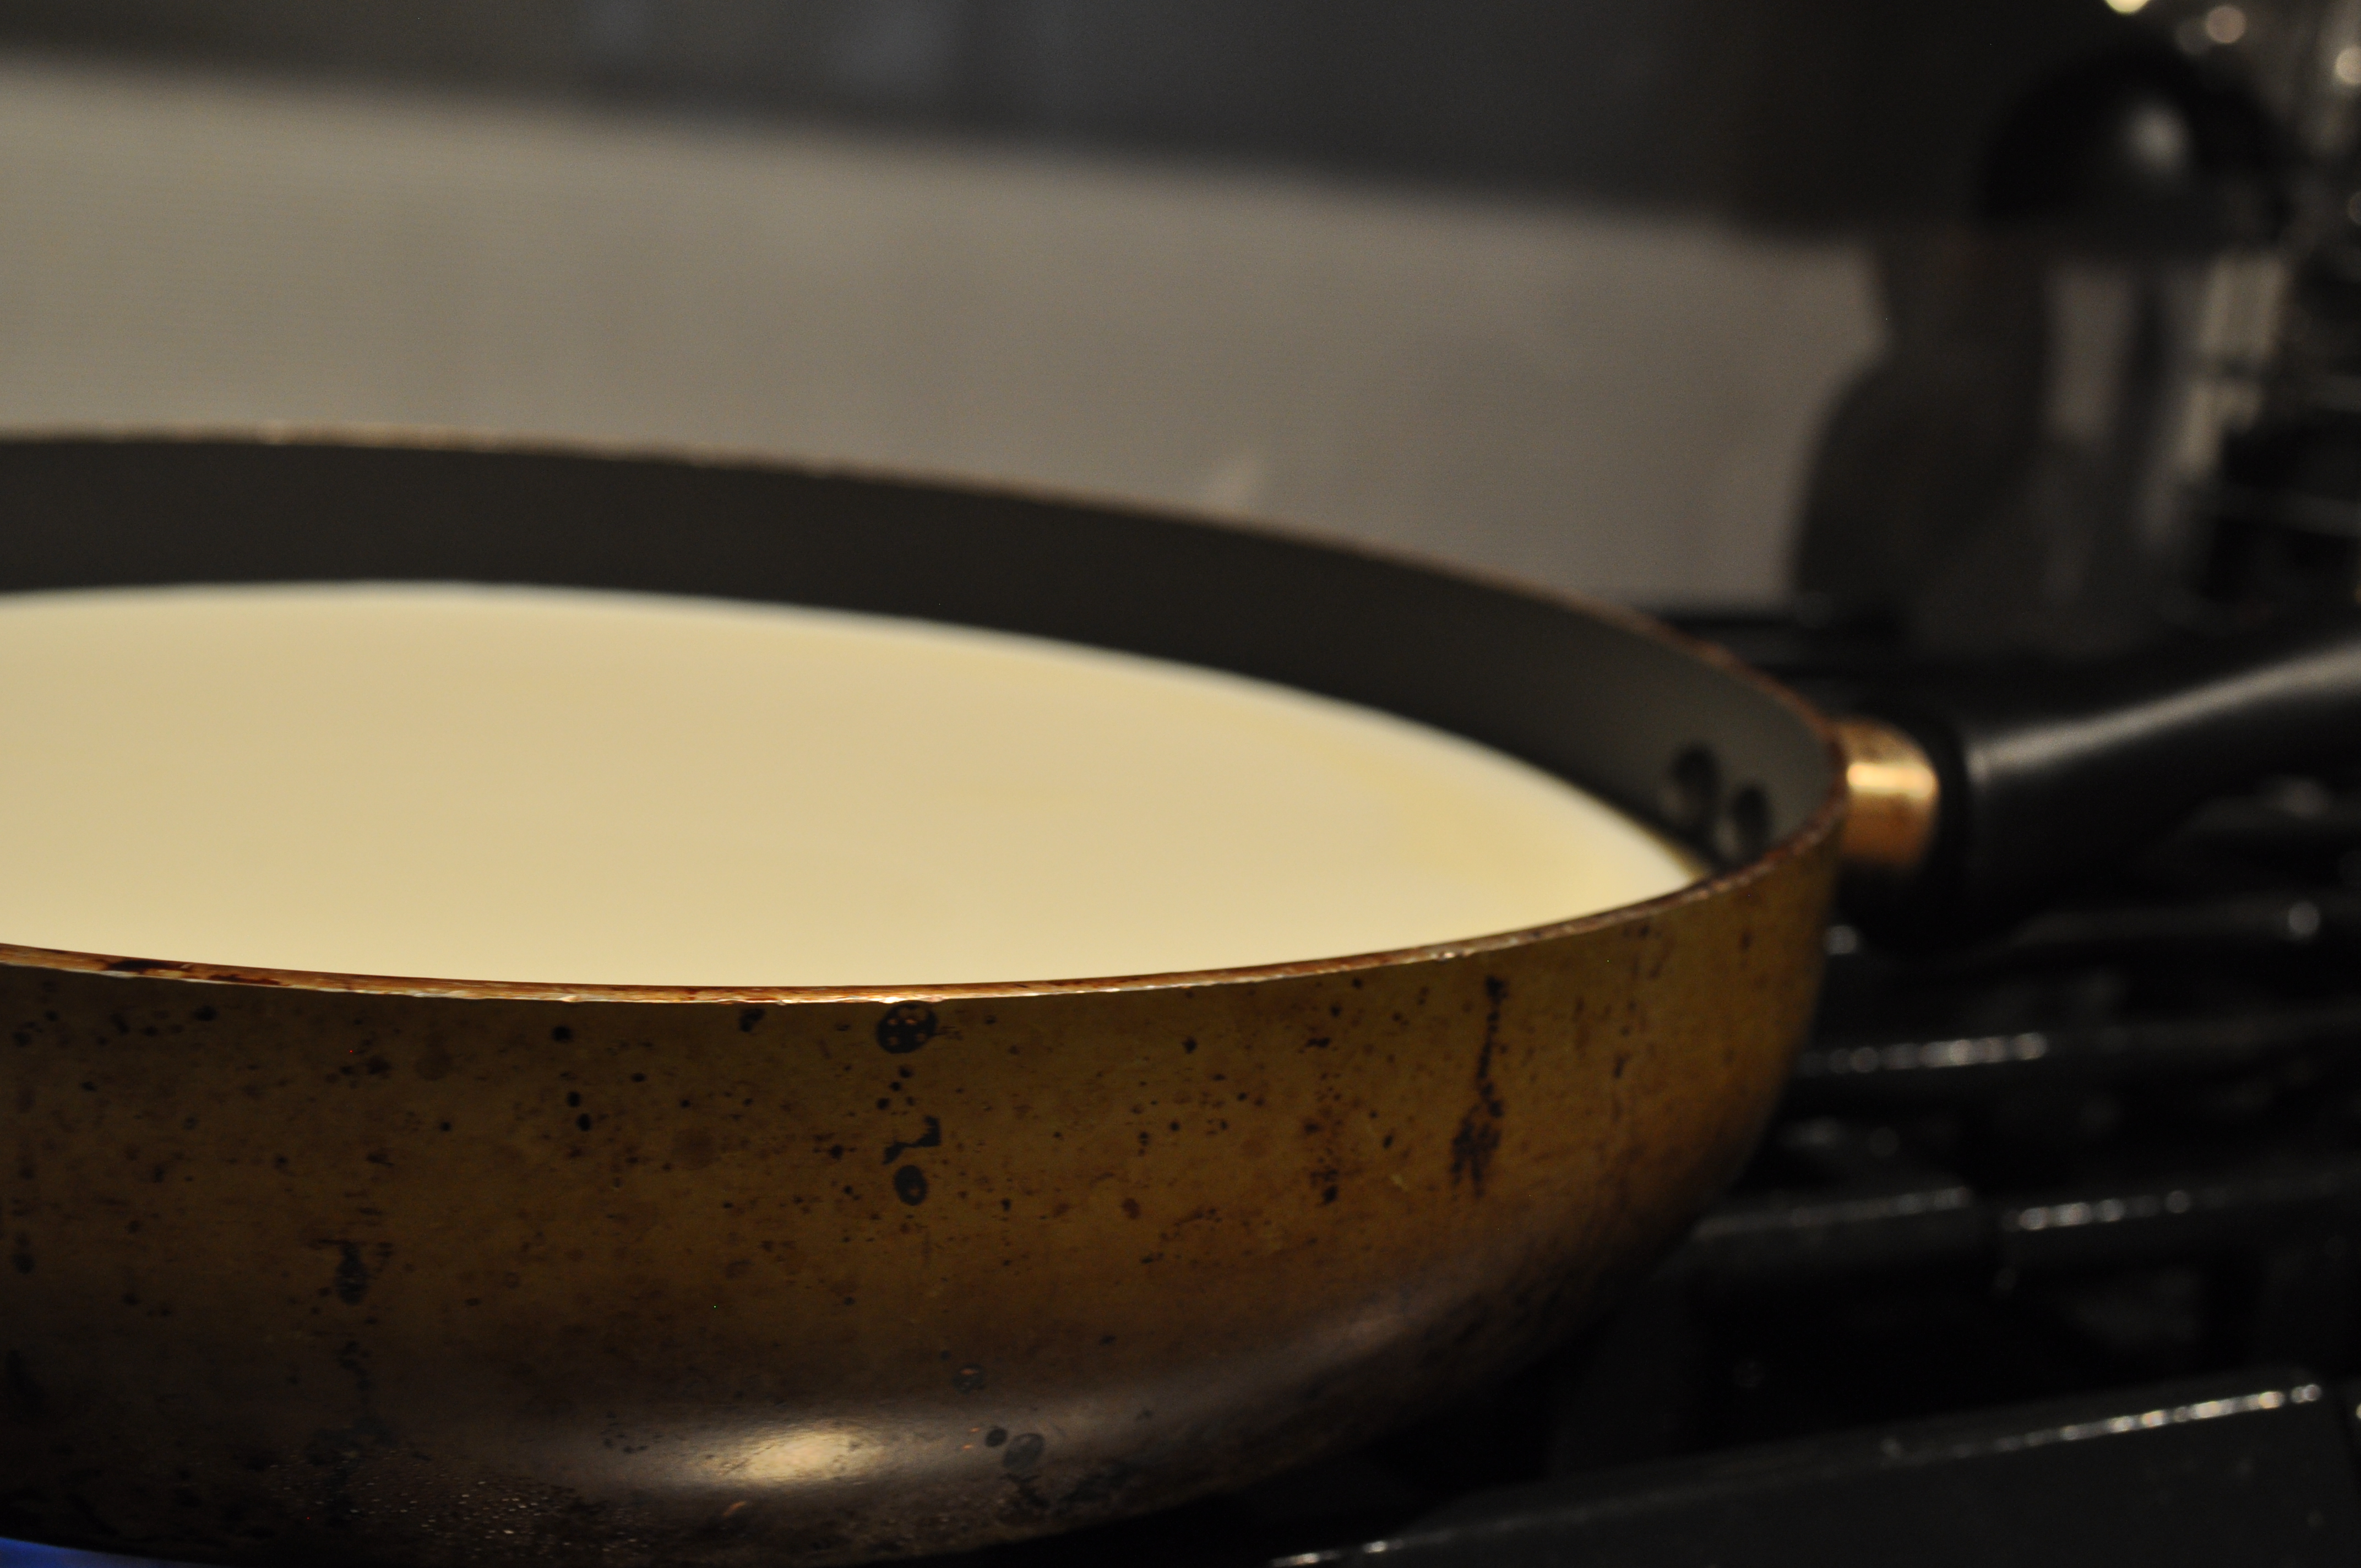
2. Make the toffee sauce by bringing the cream, demerara or turbinado sugar, golden syrup (or molasses/h0ney) and salt to a boil in a medium saucepan, stirring often to melt the sugar.

3. Lower heat and simmer, stirring constantly for about 35 minutes, until the mixture is thick and coats the spoon. Put it aside.

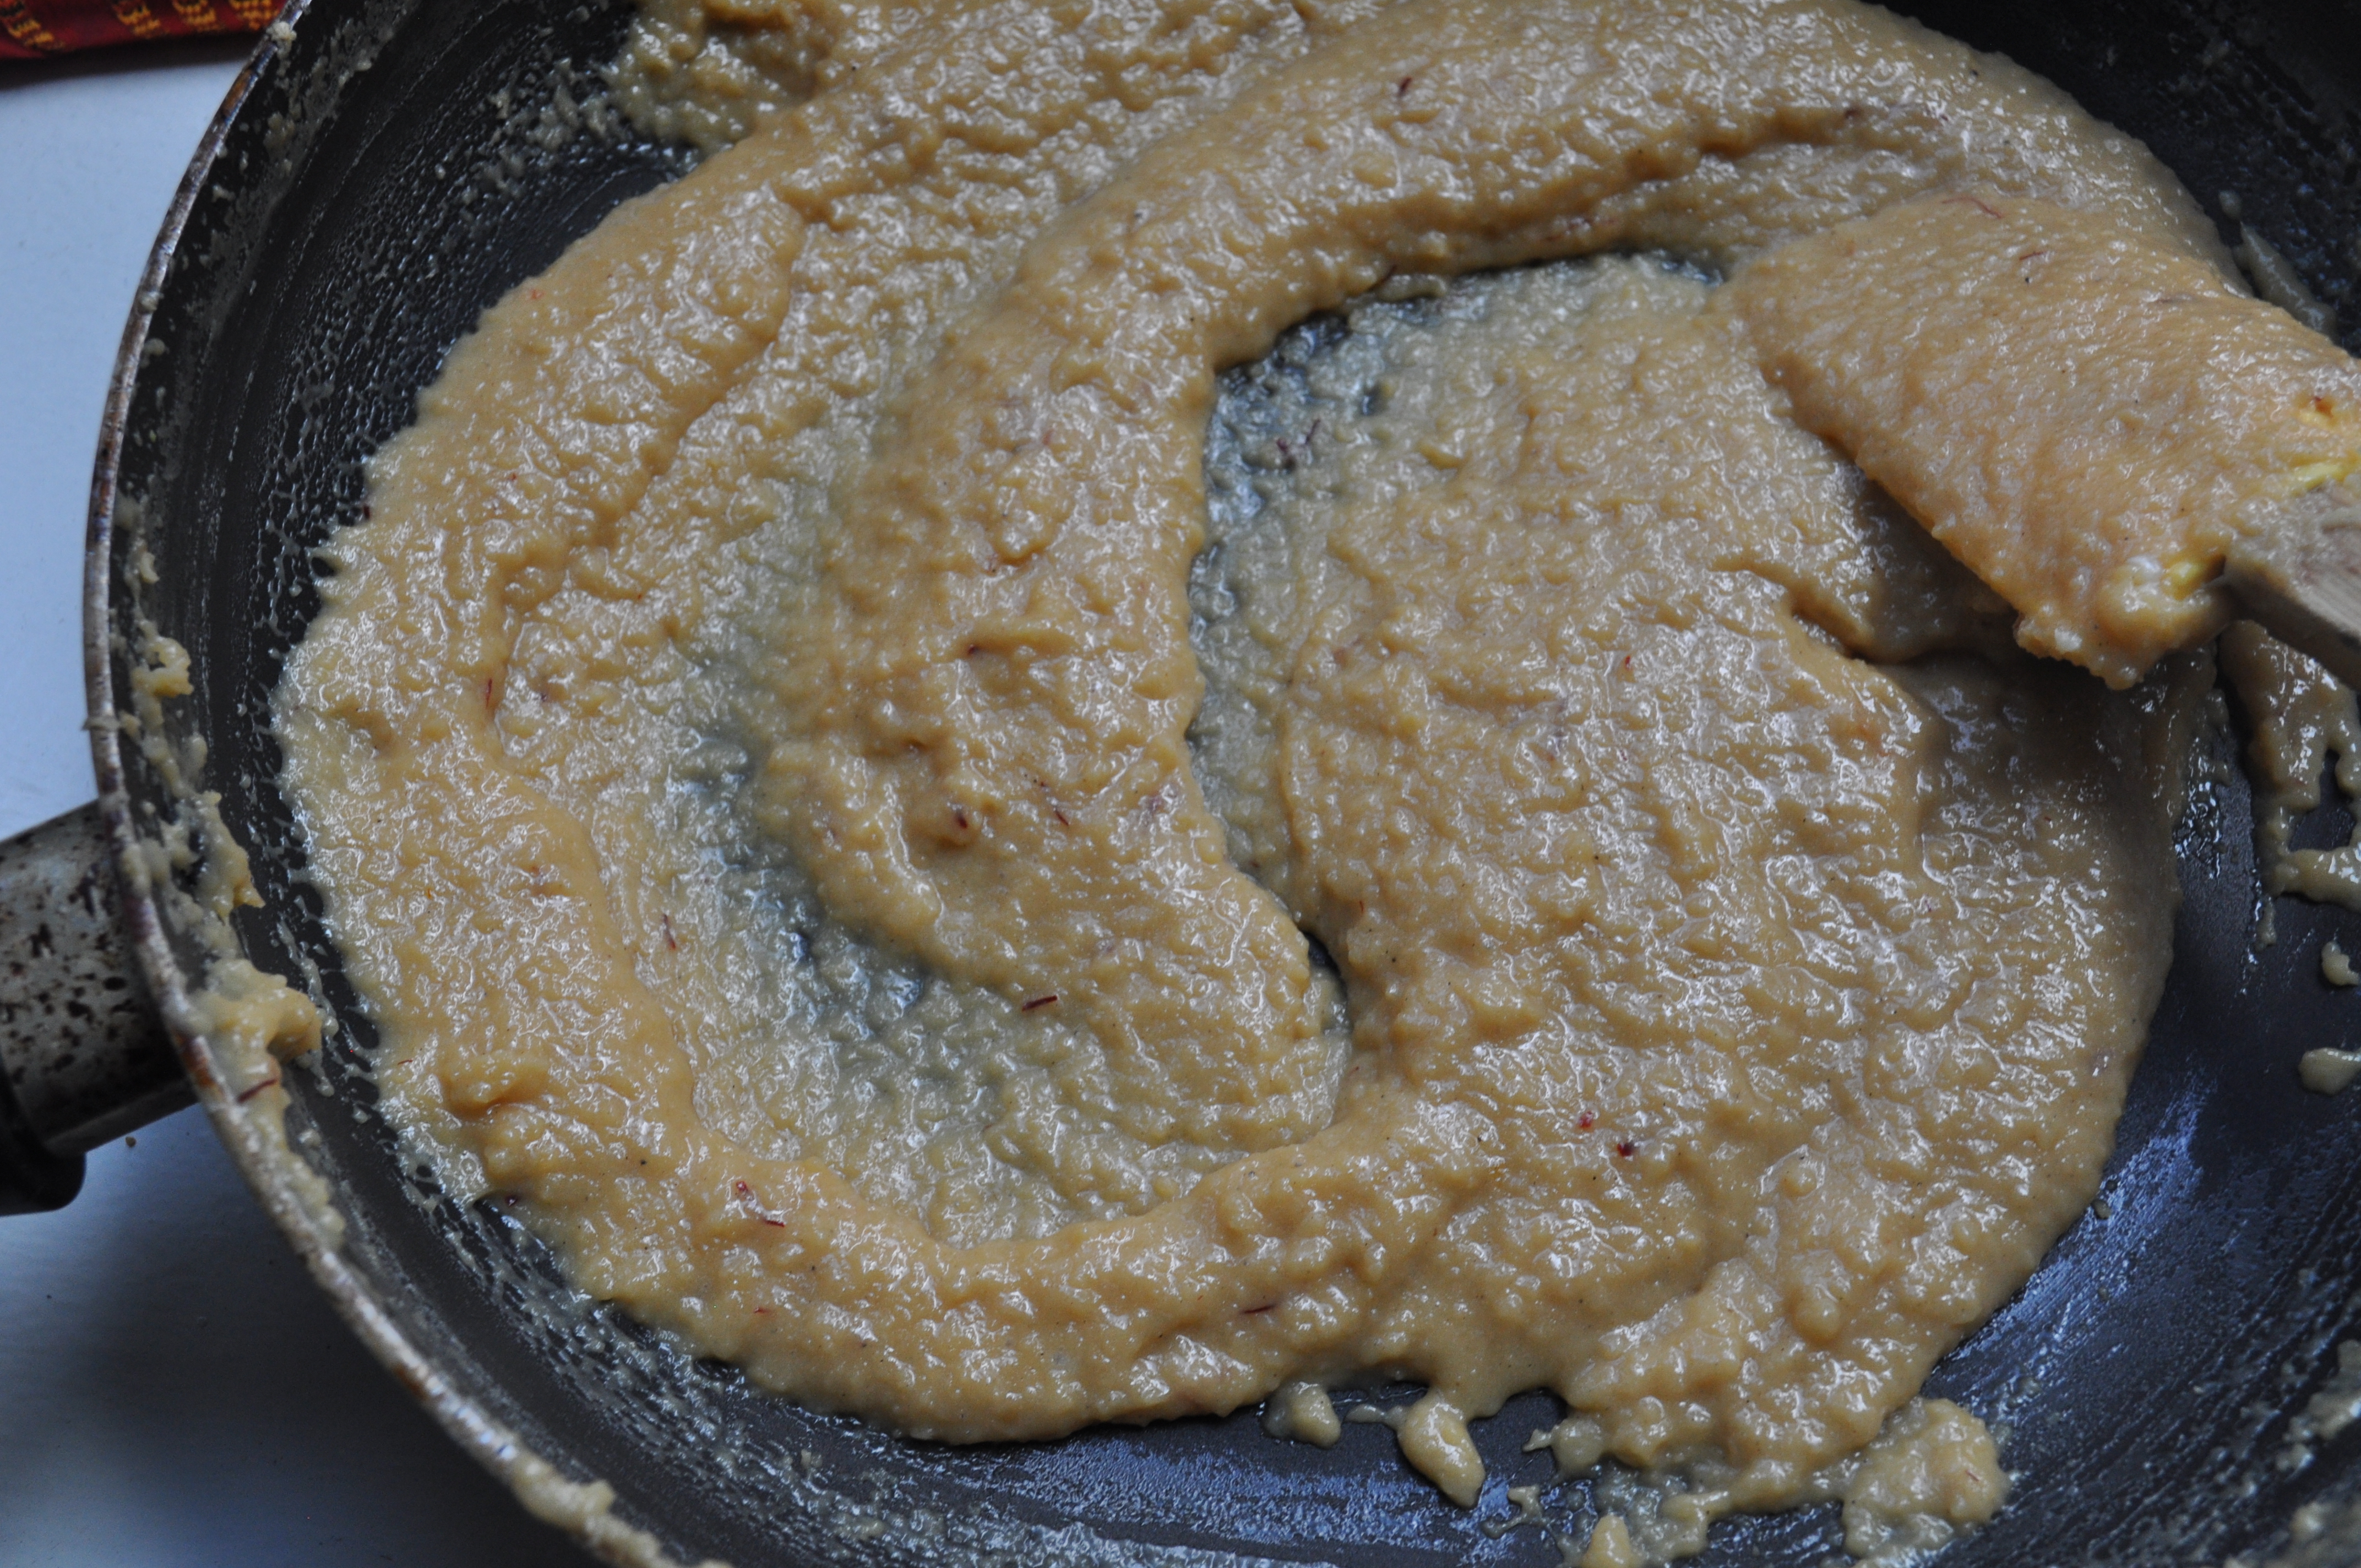
4. To make the pudding, in a medium saucepan, heat the dates and water. Once the water begins to boil, remove from heat and stir in the baking soda.

5. In a small bowl, sift together the flour, baking powder, and salt.

6. In the bowl of a standing electric mixer, or by hand, beat the butter and granulated sugar until light and fluffy. Gradually beat in the eggs, then the vanilla.

7. Stir in half of the flour mixture, then the date mixture, then add the remaining flour mixture until just mixed. Don’t overbeat the batter.

8. Scrape the batter into the soufflé dish and bake for 40-50 minutes, or until a toothpick inserted into the center comes out with moist crumbs attached.

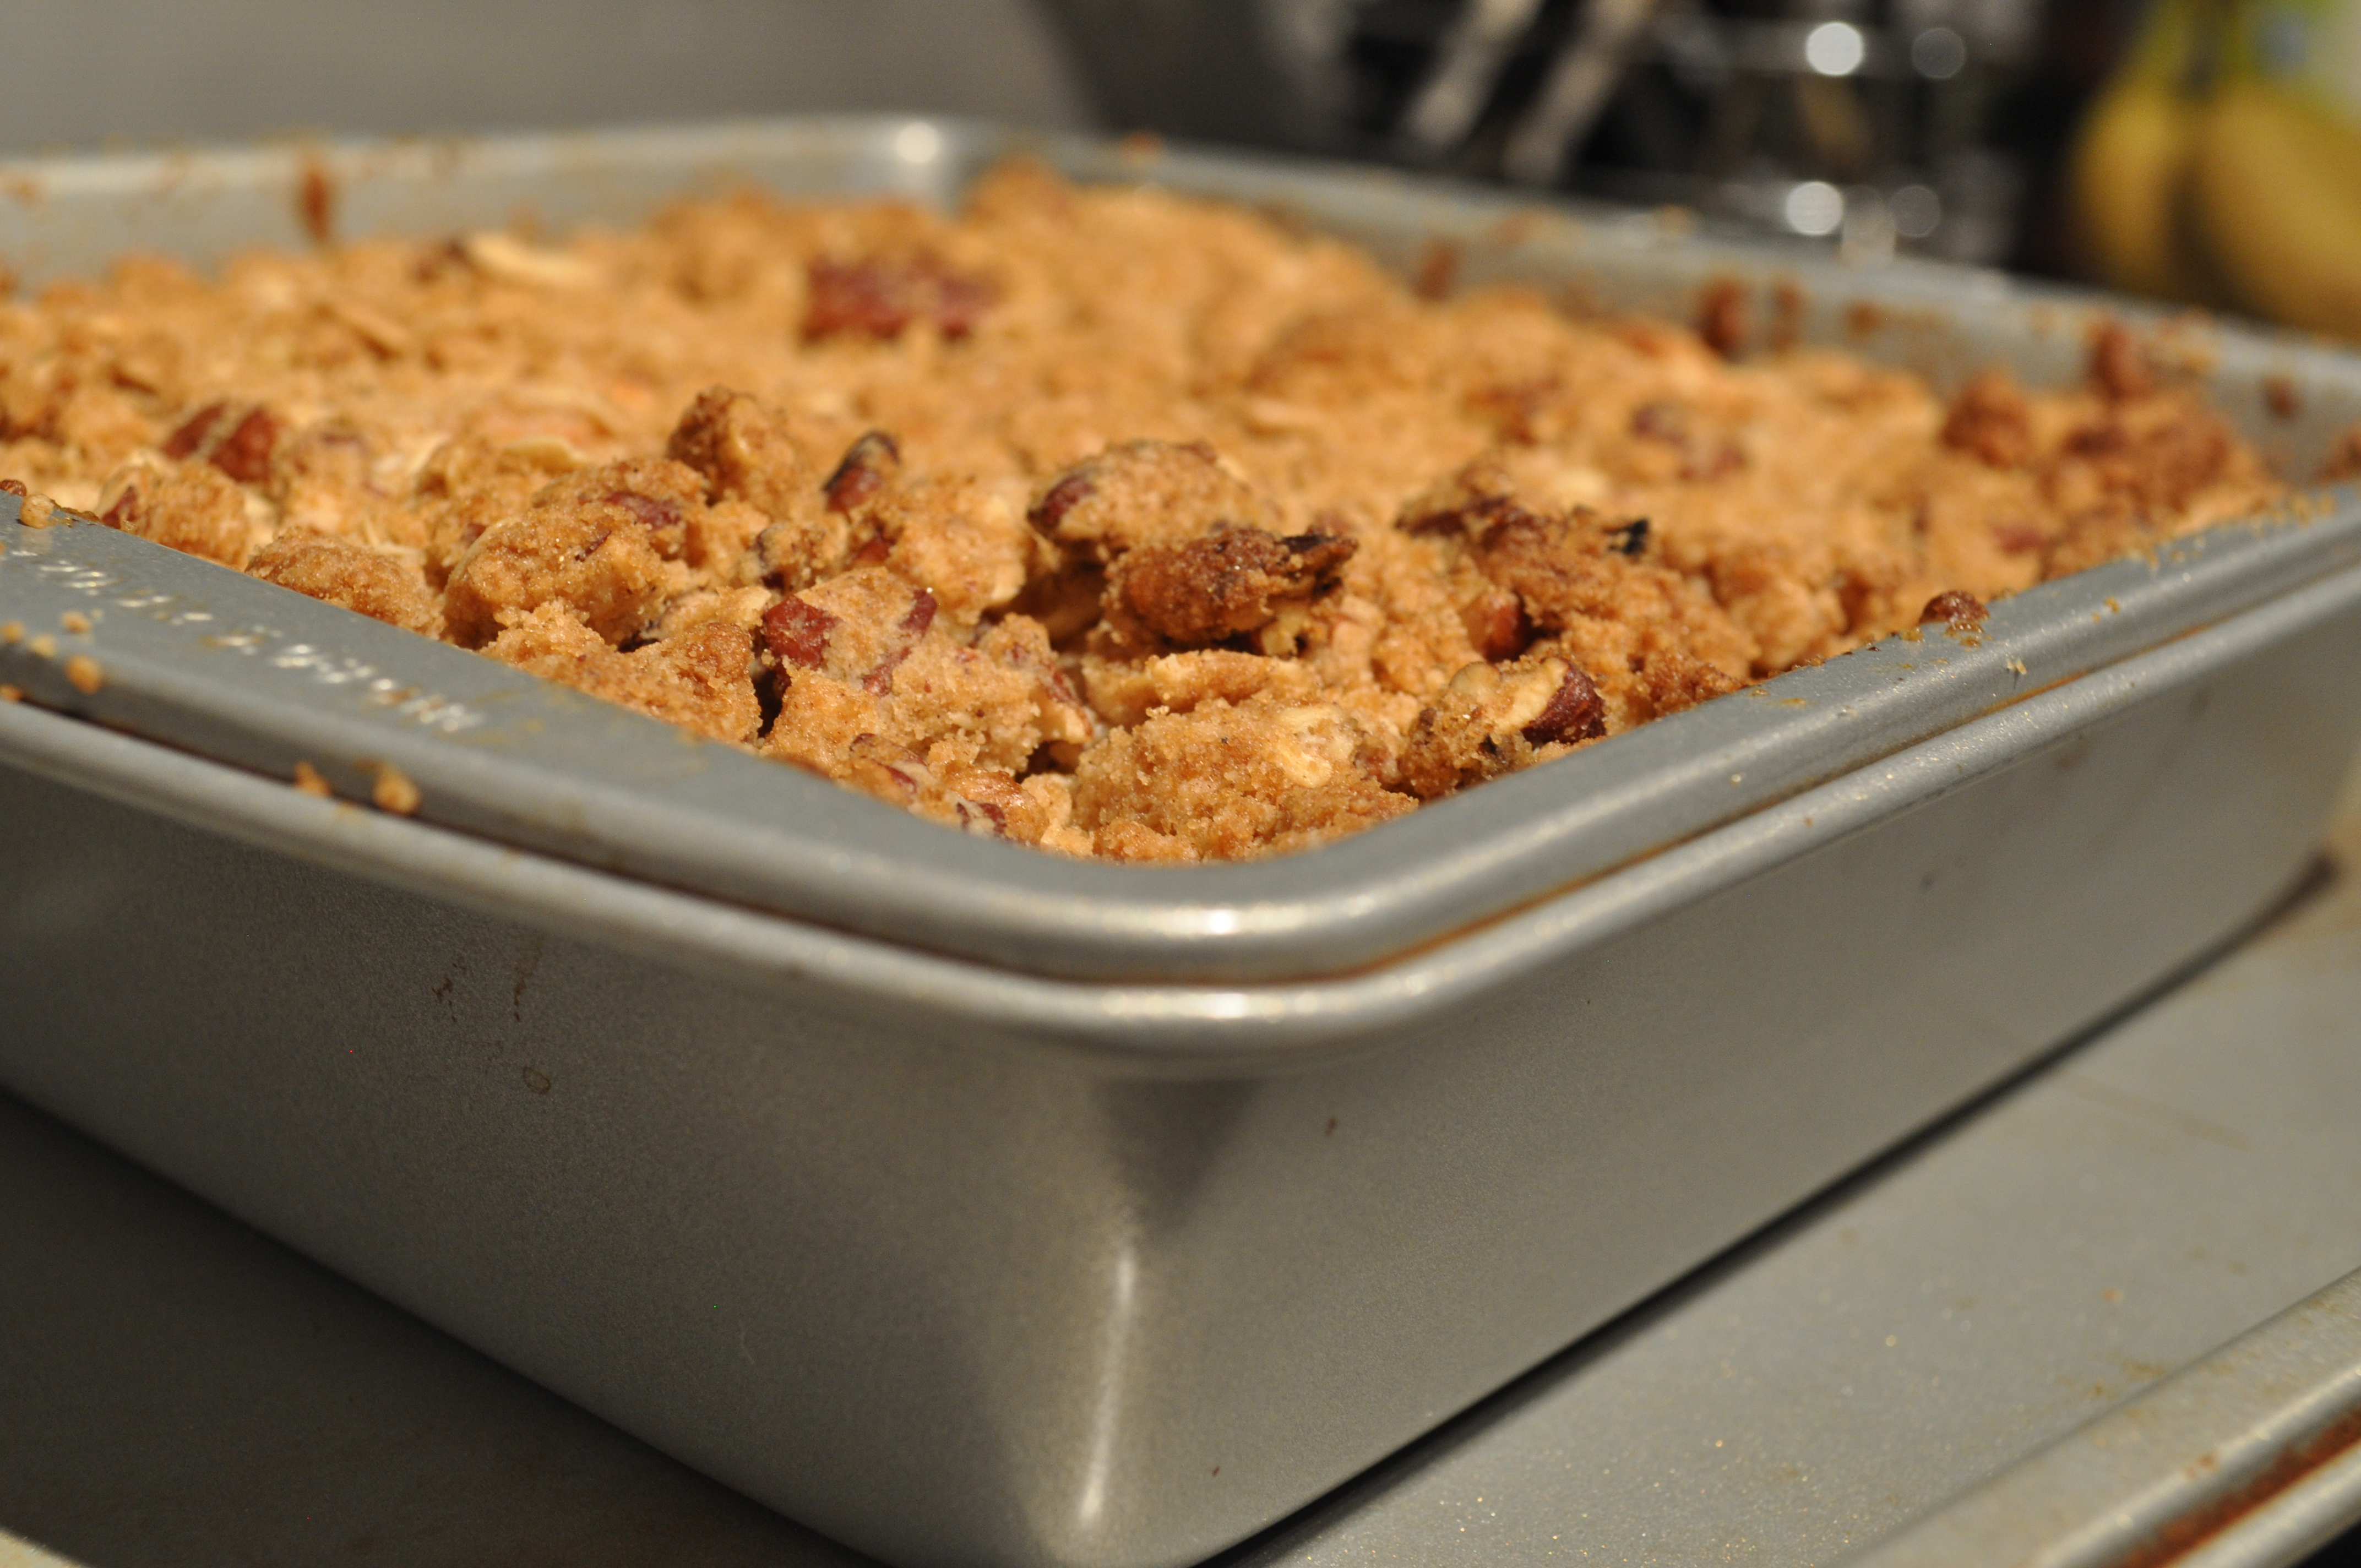
9. Remove the pudding from the oven, and let cool and cover until closer to serving time.  Poke the cake about fifteen times with a chopstick. Distribute half of the sauce over the top, as shown in the photo, cover with foil, then re-warm in a 300F (150C) oven, for 30 minutes.

Serving: Spoon portions of the cake into serving bowls and douse with additional warm toffee sauce.


Advertisement

Fried Cauliflower with White Wine Vinaigrette

December 10, 2014

DSC_0348

There isn’t a time in my life that I did not like cauliflower.  It is actually a pretty sneaky vegetable.  Steam and mash it, and you are rivaling potatoes.  Cut it in half and sear it, and you have yourself an extremely satisfying vegetarian entree.  Roast it with just a bit of salt and pepper and you are fighting with broccoli.  But fry it?  Dress it with a vinaigrette?!  Add some dried fruit and nuts??  You have yourself a show stopper.

DSC_0339

Yep, I said it.  Cauliflower is a show stopper.  You know it’s true.  It’s become such a trendy vegetable!  There is always some kind of cauliflower dish as an appetizer of side dish, and people are thinking of such innovative ways of serving it.  The reason why cauliflower can be so delicious is because it is such a blank slate.  It tastes like whatever flavor you give it, and this, my friends, has very great flavor.

DSC_0337

Think: freshly fried cauliflower, with a sweet tangy sauce poured over so it just seeps into the cauliflower to make these delicious, amazing bites.  It’s special, this cauliflower dish.  You’ll never look at this vegetable the same way again.

DSC_0348

Fried Cauliflower with White Wine Vinaigrette

White Wine Vinaigrette

1/4 cup white wine vinegar
2 tablespoons honey
1 teaspoon Dijon
3 tablespoons extra virgin olive oil
2 teaspoons kosher salt
pinch of freshly ground pepper

Cauliflower

Canola oil, poured to about a half an inch high in a large, straight-sided skillet
1 large head cauliflower, cut into bite sized florets
1 cup all purpose flour
3 teaspoons kosher salt
1 teaspoon freshly ground pepper
1/3 cup dried currants
1/3 cup toasted pine nuts

1. Whisk together the vinegar, honey, and mustard. Slowly drizzle in the olive oil and whisk to emulsify. Add salt and pepper and set aside.

2. Bring a large pot of water to boil. Add cauliflower and boil for 2 minutes. Remove with a slotted spoon and put it on a paper-towel lined plate to dry off.

3. Combine the flour, salt, and pepper in a large resealable bag. Throw in the cauliflower florets, seal, and shake until thoroughly coated.

4. Heat the oil in you large skillet to medium-high.  Test oil by dropping a tiny piece of cauliflower in the oil.  If it immediately sizzles and floats to the top, the oil is ready.  Working in small batches, carefully drop florets into the oil and fry until they are a deep golden brown, 3 to 5 minutes. Using a slotted spoon, transfer to paper towel-lined serving bowl.

5. Transfer the cauliflower to a bowl and pour vinaigrette on top.  Toss cauliflower with vinaigrette, currants, and pine nuts.


Apple Crostada

December 5, 2014

DSC_0377

Is it taboo to post a pie recipe immediately after Thanksgiving?  Is pie even consumed after Thanksgiving, or are we squarely in the cookies and cocktails part of the holiday season?  And then on top of that, it’s an apple recipe, which is obviously an October treat.  We’re out of the cinnamon part of the season, and on to the gingers and caramels.  Right?  Am I reading too much into this?  I’m so off-season with this recipe!

DSC_0354

But I must share.  Because 4 ingredients (+ some water) made the best pie dough I’ve ever had.  So good, in fact, that I made this crostada twice last week.  Once pre-Thanksgiving, and one the day after Thanksgiving, because, quite frankly, I missed it.  It was gone so quickly the first time, that I felt we needed another one, immediately after consuming a Thanksgiving meal.

DSC_0355

That flaky, buttery pie dough combined with the obviously sweet, spicy flavor of softened apples.  I mean, I have nothing else to say but to put aside holiday rules and make this immediately.  If not for a holiday party, then for breakfast tomorrow.  You won’t be able to get enough of it either.

DSC_0366


Apple Crostada (adapted from Epicurious)

Crust:

  • 2 1/2 cups all-purpose flour
  • 1 teaspoon fine sea salt
  • 1 tablespoon sugar
  • 2 sticks chilled unsalted butter, cut into 1/2″ cubes
  • 1/4 to 1/2 cup ice cold water

Filling:

  • 1/2 cup sugar
  • 2 tablespoons cornstarch
  • 1/2 teaspoon ground cinnamon
  • 1/2 teaspoon ground nutmeg
  • 1/4 tsp fine sea salt
  • 4 apples, peeled, halved, cored, cut into 1/4″-thick slices
  • juice of 1 lemon
  • 1 large egg
  • 2 tbsp. cream
  • 3 tablespoons raw sugar

For crust:
Place flour, salt, and sugar in a food processor; pulse to blend.  Add butter; pulse just until coarse meal forms.  Add 1/4 cup ice water; pulse until dough forms clumps, adding more ice water by teaspoonfuls if dough is dry. Gather dough into a ball; flatten into a disk. Wrap dough in plastic and chill 1 hour, or up to 1 day.  If doing it by hand, work the butter into the dry ingredients by hand, or with two forks until the butter is pea-sized, and then gently stir in water with a wooden spoon.

For filling:
While dough rests, place a large sheet of parchment paper on a work surface. Roll out dough disk on parchment paper to 15″ round (some of dough will extend over edges of paper).

Whisk sugar, cornstarch, cinnamon, nutmeg, and salt in a large bowl. Add apples and lemon juice to bowl with sugar mixture; toss to coat apples evenly.  Let the filling sit for about an hour.

Preheat oven to 400°F.  Transfer apples to crust, mounding in center and leaving a 3″ plain border, leaving the juices in the bowl.  Fold crust edges up over outer edges of filling, crimping dough and folding and pleating as needed to fit. Slide crostata and parchment onto a large rimless baking sheet. Crack egg into a small bowl. Using a fork, beat egg with cream, just to blend. Brush crust edges with beaten egg, then sprinkle crust and on top of the apples with the raw sugar.

Place crostata in oven and bake until juices in center are thick and bubbling, about 45 minutes to 1 hour. Let cool for 5 minutes. Run a long, thin knife or offset spatula around edges of crostata to loosen from paper and to prevent it from sticking to the paper.

Transfer baking sheet with crostata to a wire rack. Slice and serve.

Sweet Potato Cornbread with Homemade Butter

November 25, 2014

DSC_0364

The cornbread debate has long been a Thanksgiving tradition.  It always has a place on the table, but do people really like it?  Isn’t it usually dry?  Should it be sweet or salty?  Baked in a cast iron skillet, or as individual muffins?  Should there be any add-ins?  Should I care this much about cornbread?!  So many questions!

DSC_0354

I’ve solved it all, friends.  You should make a cornmeal cake and call that cornbread instead.  Your Thanksgiving is made.  No, I’m being serious.  This “cornbread” is not only sweetened by the usual culprit (sugar), but it also has the added benefit of mashed sweet potatoes.  Add some cinnamon and nutmeg, and seriously, you have yourself a glorious cornmeal cake, which will never be at risk of being at all dry.

DSC_0335

But, people, if you tell people that you made the butter, no one will care about the cornbread they slather it on.  If you show your guests that you cared about Thanksgiving so much that you developed the spread from scratch, you will sure to be the Thanksgiving winner.  It’s creamy and delicious, and is perfect on this cornbread.  A lovely salty contrast to the sweet bread.

DSC_0363

But at the risk of sounding a bit sappy about this, my favorite holiday: it actually doesn’t matter what you make!  If your table looks like this, filled with food and love, no one will remember anything else.  Happy Thanksgiving!

DSC_0367

Looking for some additional inspiration for your meal?  Look here, here and here!

Sweet Potato Cornbread (slightly adapted from New York Times)

  • 2 tablespoons vegetable oil, plus more for the muffin tin
  • 1 large sweet potato, roasted as per these instructions, discarding the skin
  • 2 large eggs, lightly beaten
  • 1 ¼ cups milliliters milk
  • ¾ cup/94 grams all-purpose flour
  • 1 ¼ cup/213 grams finely ground yellow cornmeal
  • 1 tablespoon/14 grams baking powder
  • 1 teaspoon/6 grams salt
  • ½ cup/100 grams sugar
  • ½ teaspoon/1 gram ground cinnamon
  • ½ teaspoon/1 gram ground nutmeg
  1. Heat oven to 450 degrees and lightly brush a 8×8 square pan with oil or melted butter.
  2. Mash roasted sweet potato.  Measure out 1/2 cup and transfer to a large bowl. Add eggs, oil and milk to bowl and whisk well to combine.
  3. Sift together flour, cornmeal, baking powder, salt, sugar, cinnamon and nutmeg in separate large bowl. Add potato mixture and fold into dry ingredients with a rubber spatula until just combined.  Do not overmix. Pour batter into the prepared pan and bake until the cornbread is puffed and golden, about 20 minutes. Check with a tester to make sure that it comes out clean.  If it doesn’t, cover the top of the pan with aluminum foil, lower the temperature to 350, and bake for up to an additional 20 minutes, checking every 5 minutes with a tester.  Let cool 5 minutes, then turn out onto a rack to cool completely.  Serve with homemade butter.

Homemade Butter (recipe from Food Network)

  • 2 1/2 cups heavy cream
  • 1 cup sour cream
  • 1 tsp. coarse sea salt
  1. In a bowl of an electric mixer with the whisk attachment, mix together sour cream and cream on medium low speed.  You may need to cover the bowl with a dish towel to make sure that the contents don’t fly everywhere.
  2. While it’s whisking, prepare a medium size bowl full of ice water.
  3. Continue to whisk, about 20-30 minutes, until the mixture thickens and the cream separates.
  4. Use a rubber spatula to gather up the butter and remove it from the bowl. There will be some liquid, which is the buttermilk. Gather the ball of butter together into a double layer of cheesecloth or a thin kitchen towel, twist the top to hold the contents, and plunge it into the ice bath to wash any buttermilk off the surface.  Transfer to a bowl and sprinkle with salt.  Use immediately or store in the refrigerator.

Zucchini Biscuits

November 20, 2014

DSC_0333

So, first of all, I should tell you: these are not biscuits.  They’re not glorious circles of dough filled with butter that steam into multiple layers that can be separated and slathered with even more butter.  Preferably softened.  Preferably with a bit of honey.

DSC_2751

Nope! That’s not what these are.  Instead, these are patties, filled to the brim with shredded zucchini, flavored with basically the best things that ever flavor zucchini: olive oil, lemon and garlic.  But these are also topped off with some feta and almond flour.

DSC_0326

I mean, c’mon.  These are amazing.  Glorious like the biscuits, if you will.  But who wants a patty?  Who wants a patty at a time of year when there are so many amazing food options that you get to be the most discriminating and picky person about food ever?  So we’re going with biscuits.  Let’s call it marketing.  Done.

DSC_0337

But I will say that these will be such a lovely, unexpected dish at your Thanksgiving table!  They have so much summer like flavor, but formed into something so holiday comforting.  Instead of butter and honey, have it with the sweet and nutty beet dip, and that bite will be so extremely complete that you may not even reach for an actual biscuit.  You let me know.

DSC_0332

Zucchini Biscuits (recipe generously shared by http://beyondtheaubergine.com/)

3 zucchinis, shredded, by hand or in a food processor

1 onion, diced finely

1 large, or 2 small cloves garlic, minced finely

zest of 1 lemon

10-15 leaves of basil, torn

1 egg

100 grams feta cheese, crumbled

100 grams, about 1/2 cup,  almond flour

50 grams, about 1/4 cups, regular bread crumbs or panko

olive oil

1. Preheat oven to 400 degrees.

2. In a medium pan, saute onion in 1 tbsp. of olive oil, until translucent and just starting to brown.  Add garlic and cook for an additional minute.

3. Add the zucchini and stir and cook the zucchini is fully cooked, and there is minimal water left in the pan.  This should take about 10-15 minutes.  Add lemon zest and basil leaves and stir to distribute evenly.  Add salt and pepper to taste.

4. Let mixture cool slightly, until it can be handled.  Transfer mixture to a large bowl.  Add the egg, and crumbled feta and mix into the zucchini.  Add almond flour and panko until well distributed.  If the mixture still seems too loose, and cannot be formed into balls, add a little more panko.

5. Line a baking sheet with parchment paper.  With a tablespoon size spoon, scoop out zucchini mixture, form into a ball shape, and place on the prepared pan.  Repeat until all the zucchini mixture has been used.  Brush the top of all of the biscuits with a little more olive oil.

6. Bake for about 20 to 30 minutes, or until the biscuits are fully cooked through, and they are just starting to brown.

Beet and Walnut Dip

November 13, 2014

DSC_0363

If you think about it, Thanksgiving is really a holiday for vegetarians.  No, really!  Take out that turkey centerpiece, and what are you left with?  A vegetarian’s dream, that’s what.

DSC_0327

Not only can most dishes on the Thanksgiving table be vegetarian, but there is also the willingness to make vegetable dishes that are typically shunned.  Thanksgiving makes people adventurous!  Are brussels sprouts really on everyone’s dinner table on any other day but that certain Thursday in November?  Is cauliflower really that beloved?  Can you even pronounce rutabaga and parsnips in February?  Probably not, I gather (mostly from assumption), so we should all capitalize immediately!

DSC_0349

Including me!  I’m throwing beets into the mix!  Beets can be so intimidating, I know.  It’s the red.  But once an easy roasting is done, you are left with an earthy, root vegetable flavor that can serve as a blank palette for anything.

DSC_0352

Let’s be honest, this dip is perfect for the holiday plate.  It adds such a pop of color, for one.  But it also has an extremely balanced sweet, sour, salty flavor that it tastes amazing on pretty much anything I eat it with.  Especially the zucchini biscuits that I’m planning on posting next week.  Yep, we’re really taking these vegetarian Thanksgiving side dishes making by storm.  This is what I call a Thanksgiving teaser.

DSC_0362

Beet and Walnut Dip (recipe slightly adapted from 101 Cookbooks)

4 small/medium beets, or 3 large beets, washed and trimmed
5 plump Medjool dates
4 garlic cloves, peeled and smashed
juice of 1 lemon
1/2 cup chopped toasted walnuts
salt, to taste
3 tablespoons creme fraiche, plain yogurt, or sour cream

Preheat the oven to 400F with a rack in the center. Scrub the meets thoroughly, and wrap individually in aluminum foil, still wet.  Place all the beets on a baking sheet, and roast for 50-70 minutes, depending on the size of the beets.  You will know that the beets are fully cooked when you can easily stick a fork through the beets.

Place the dates in a glass bowl, and pour about 2 tbsp. of warm water over dates. Jostle around a bit, and soak for at least 10 minutes.

When the beets are cooked and cool enough to peel, remove the skins (they will slide right off) and chop into cubes. Place in a food processor with the dates, walnuts, garlic, and lemon juice. Puree until the texture is to your liking.  Add salt, to taste.

Serve swirled with the creme fraiche, and chill until ready to serve.

Fried Apple Rings

November 3, 2014

DSC_0286

I have always been fascinated by apple fritters.  They are basically chopped up apples that are barely held together with the least amount of batter possible, fried, and then doused in a silky sugar glaze.  They are apple-y fried goodness.  More fruit than dough.  More breakfast than dessert.  More fall than summer.  A beautiful, seasonal doughnut.

DSC_0280

Needless to say, I wanted to make them.  And I almost did!  But as I pored over recipes trying to find the mix of the perfect one, I realized that apple fritters, with all of its virtues, is not a low maintenance morning treat.  There is warming of the milk involved, yeast, kneading, sifting, cooling, waiting…many, many steps.  And even though I’m sure they would be worth it, I wanted something immediately.

DSC_0282

Enter apple fritters’ low maintenance cousin: fried apple rings.  These things are deception at their best!  They’re shaped like doughnuts!  Point for fried apple rings! Plus they have all the properties of apple fritters: crispy fried dough barely surrounding a raw apple that warms and softens, keeping its authentic flavor, with all of the warm flavors of fall.  And the best part of the chiller, dare I say, cooler, treat: they’re ready in minutes, and you can eat them immediately thereafter.

DSC_0290

I’m sure I will make authentic apple fritters at some point during the lifetime of this blog.  And when I do, I will certainly justify my decision to do so.  And hopefully, you will join me!  But for now, I ask you: why wait?

DSC_0284

Fried Apple Rings (adapted from Joy the Baker)

juice of 1 lemon

4 apples

For dry batter:

1 cup flour

2 tablespoons corn starch

For the Milky Batter:

2 tbsp.  granulated sugar

1 teaspoon ground cinnamon

1/2 teaspoon freshly ground nutmeg

1/2 teaspoon baking powder

1/2 teaspoon salt

3/4 cup milk

1 large egg

For topping:

1 cup sugar

1 tbsp. cinnamon

oil for frying

In a medium, wide-rimmed bowl, whisk together the topping of sugar and cinnamon. Set aside.

In an another medium bowl, whisk together flour and cornstarch.  In yet another bowl, whisk together milk, egg, spices, baking powder and salt.

Prepare apples by slicing them into about 1/3-inch thick rings.  Use a small biscuit cutter to cut out the core.  You can also core the apples with an apple corer first, and then slice them.  Soak all of the apple rings in the juice of 1 lemon.

Soak apple slices in milky batter mixture.  Set the panko mixture next to the milky batter.  Heat a heavy bottom sauce pan with 2-inches of oil to 350 degrees F, measuring heat with a candy/fry thermometer.

When oil has reached 350 degrees F, or, when it seems ready when tested with a bit of flour, fry the apples.  Using a pair of tongs to remove a few rings from the milky batter, and coat in the flour mixture.  Once throughly coated in dry mixture, use tongs to carefully place rings in hot oil.  Fry about 4 rings at once.  Fry until golden brown, flip over and fry until golden.  Remove from oil, place on a paper towel and fry the rest of the apple rings.  Then immediately coat with cinnamon sugar mixture, and lay onto a wire rack.  Bring the oil back up to 350 degrees before adding additional apple slices.

Keep the fried apples warm in a 200 degree oven while the others fry.  Serve immediately.


Kesar Peda

October 21, 2014

DSC_0300

I don’t know when my love for milk started.  It was definitely not when I was a child.  Not that I hated it, milk was just not my first choice of beverage.  The “healthy” label that it was given kinda turned me off.  Which, of course, led me to will myself to have lactose intolerance.  Oh, those days.  Those sad milk-less days.

DSC_0282

And then, all of a sudden, I discovered the wonders of dairy.  It is delicious.  So creamy, so satisfying and so, so good.  That is also when I discovered all of these Indian sweets that I had taken for granted and completely dismissed because they were milk based.  I don’t understand my younger self at all.  What was I doing with my life?!

DSC_0287

Kesar peda were sweets that were always in the house growing up.  They were so much a part of the norm that I never really appreciated them…much like milk.  In fact, when I was researching about sweets to make for Diwali this year, I was really surprised at the number of times that this dish came up.  Was this really a dessert that people consider special?  Is this really made for holidays?

DSC_0289

Yes, is the answer for both of those questions.  Because it’s amazing.  It’s whole milk cooked down until it’s thick and glorious, with some sugar, some spices, and basically you have every good thing in one little bite.  It’s basically an Indian spiced milk fudge.  Amazing.  Never again will I shun milk – look at what I almost missed out on!  Happy Diwali!

DSC_0312

Want more Diwali ideas?  Here are some that have been posted before!

Kesar Peda (inspiration from here)

Sigh, no.  I don’t expect you to stand by the stove as your 1/2 gallon of milk boils down to nothing more than a cup.  So here’s a link to a shortcut recipe.  I haven’t tried it (mostly because I was so tired from making it the original way), but I can’t imagine that it’s not delicious.  Especially because when I was researching recipes for this dessert, the shortcut came up far more often than the long way.  Go figure.

1/2 gallon whole milk

1 tsp. ghee or butter

3/4 cup sugar

1/4 tsp. ground cardamom

1 tsp. saffron + 1 additional tbsp.

2 tbsp. cream

chopped pistachios or whole almonds for garnish

Heat a non-stick pan over low heat and add ghee or butter.  Brush it so it covers all of the pan, bottom and up the sides.  Pour in all of the milk.  The next process is a lengthy one.  Over the period of about 3.5 hours, the milk will reduce over low heat until it becomes a thick paste.  You will need to stir it about once every 20 minutes to ensure that it’s not sticking to the bottom of the pan.  At the 2 hour mark, you will be convinced that the all of the milk will evaporate into thin air, and you will be sad.  But keep at it.

Milk solids will start forming at the 3 hour mark, at which point you will want to stir more often.  When it’s very thick, but still has a little bit of liquid left to it, basically at the 3.5 hour mark, add the sugar and carefully stir it in.  You will curse yourself for doing this, because sugar adds liquid, and you wll think that all of that time you spent to get rid of the liquid was all for naught.  At this point, add the cardamom too.  Stir it all together.

It will take about another half hour for the mixture to be really thick.  Take the saffron, and heat it over a gas burner.  This activates it.  Add it to 2 tbsp. cream.  Mix that into the milk/sugar mixture.

Take the mixture off the heat and let it cool until it’s able to be handled.  Line a baking sheet with parchment paper.  Take some of the additional tbsp. of ghee and spread it on your hands to ensure that the mixture won’t stick to you.  Knead the picture until it is smooth.  Taking golf ball size pieces, roll each piece into a smooth ball, flattening it out slightly, and pressing down with your thumb, before placing it on the baking sheet.  Repeat until all the mixture has been used, adding more ghee to your hands, as necessary.

Place the nuts in the indentation and slightly press down to ensure that they have stuck.  I think that peda taste better chilled, but they can also be enjoyed at room temperature!

Warm Apple Crisp

October 13, 2014

DSC_0308

Friends, I haven’t been apple picking this year.  You know, how much I love to go and pick the apples, go overboard, complain about it, and then make delicious things from these apples and look forward to doing it all the next year.  You know this!  And yet, this year, there are no over-ambitious 12 lbs. of apples in sight.  Nope.  There are only grocery store apples that I keep around to remind me that it’s fall.  Because I haven’t been apple picking this year.

DSC_0294

And here’s a little secret I haven’t told you yet: I don’t even like apples!  Raw, that is.  I don’t like raw apples.  They make no sense to me.  You never know when one is ripe!  Will it be sweet, will it be sour, will it be grainy?  These are all questions that run through your mind as you anxiously pick one up and hope for the best.

DSC_0297

I’m helping you avoid all of these things with this apple crisp.  It’s apples at their best – cooked!  And oh, man, the topping.  The crispy, sweet, topping that I love most in any crisps.  Unlike every other crisp that uses a separate thickener to make sure the fruit juices don’t run free, this recipe uses the actual topping mixed in with the fruit.  Which means, that underneath the oaty, brown sugary, nutty crackly topping, are the same flavors mixed with the slight tang of the apples.  They all meld into this almost honey and jam-like bottom that is only complete with a cool ice cream, melting on top.

DSC_0299

Now, seriously – are you still going to eat that apple raw?!

DSC_0304

Warm Apple Crisp (recipe slightly adapted from Joy the Baker)

For Filling:
5 to 6 medium-size apples, peeled, cored and cut into 1/4-inch slices (About 7.5 cups)
2 tbsp fresh lemon juice
1.5 tsp cinnamon
3 tbsp. sugar

For Topping:
1 1/3 cups all-purpose flour
1 cups lightly packed brown sugar
1/2 tsp ground cinnamon
1 stick unsalted butter, well-softened
2/3 cup finely chopped pecans (optional)
1/3 cup old fashioned oats

Preheat the oven to 350. Generously grease an 8×8 baking pan with butter.

In the baking pan, toss the apple mixture with lemon juice, and then with the cinnamon and sugar until evenly coated. The apples should be just about to the top of the pan.

For the topping, place the flour, brown sugar, nuts, cinnamon and oats in a large bowl and stir well.  Mash in the butter into the flour mixture until evenly distributed.

Take one full handful of the topping and toss it into the apple mixture, and mix well.  Spread the rest of the topping evenly over the apples.

Bake the crisp until the topping is crunchy and the apples are bubbling, 55-60 minutes.

Serve hot – serve with with vanilla ice cream.

Cannoli Cake

October 1, 2014

DSC_0317

I know, I know.  What is a cannoli cake??  I actually wanted to name this post “pistachio cake with whipped ricotta and chocolate chip filling, topped with chocolate ganache.”  But that seemed to be a mouthful.  But now you know what a cannoli cake is!  Man, this is a really great start to this post.

DSC_0289

This was yet another installment of my sister’s birthday cake.  I have to say, the cake is becoming harder and harder every year.  Mostly because she has the exact same criteria every year.  Must have some form of chocolate, but not be completely chocolate, must be really, really tasty, must be unique, must not be a repeat of the year before, must not be a repeat of any years before, must be a cake.

DSC_0292

I mean, this doesn’t give me much to work with.  And after going back through the years, and realizing that I’ve already made cakes with a chocolate coconut combo, a chocolate orange combo, a chocolate chip cake, and a multi layered standard yellow cake with chocolate frosting, I felt a little tapped out this year.  I felt old, people.  This is the fifth installment of sister’s grand birthday cake extravaganza, and I needed to rest.

DSC_0297

Per usual, I rested by looking up recipes, and felt that a pistachio cake would throw her for a loop.  It’s not standard (unique!), it has chocolate chips (some, but not all chocolate!), I had never made it before (no repeats!), and, oh man, with the pistachio paste and the pistachio oil, it looked so, so delicious (tasty!).  We ended up with an amazing cake, with so many cannoli flavors happening.  It was a pistachio party!  And, fine, I’ll say it: I can’t wait until next year to do this all again.

DSC_0321

Cannoli Cake

Pistachio Cake (recipe from Tartine and Apron Strings)

  • 2/3 cup (190 grams) pistachio paste
  • 2 tbsp (35 grams) honey
  • 6 egg whites
  • 1¾ cups (280 grams) confectioners’ sugar
  • 1¼ cups(110 grams) blanched almond flour
  • 1/2 cup (75 grams) pistachio oil
  • 1/4 cup (55 grams) heavy cream
  • 1 cup (160 grams) all-purpose flour
  • 1½ tsp baking powder
  • 1½ tsp salt
  • nonstick cooking spray
  1. Preheat the oven to 350F.
  2. Combine the pistachio paste and honey in the bowl of a stand mixer fitted with the paddle attachment and beat on medium-low for 2 to 3 minutes, until the mixture turns into a sticky green paste. Scrape down the side of the bowl with a spatula.
  3. On low speed, add the egg whites one at a time, being careful not to add the next egg white until the previous one is completely incorporated. Stop the mixer and scrape down the side of the bowl after every 2 to 3 egg whites.
  4. Add the confectioners’ sugar and almond flour and, on low speed, paddle them in for 2 to 3 minutes, until the mixture thickens. Stop the mixer and scrape down the side of the bowl.
  5. Stream in the pistachio oil, followed by the heavy cream while paddling on low speed. Mix for 1 minute. Stop the mixer and scrape down the sides again.
  6. Add the flour, baking powder, and salt and paddle on low for 2 to 3 minutes, until the batter is smooth and thick.
  7. Spray an 8 or 9 inch round or springform pan with nonstick cooking spray and line the bottom with parchment paper cut out to fit the bottom of the pan.
  8. Pour and spread the cake batter in an even layer in the pan.  Tap cake pan on counter to knock out any air bubbles.  Bake for 40 – 45 minutes, checking for doneness starting at 35 minutes.
  9. To check for doneness, gently poke the edge of the cake with your finger: the cake should bounce back (like a sponge cake), and it should be golden brown on the sides and pulling away from the sides of the pan slightly.
  10. Take the cake out of the oven and cool in the pan for 15 minutes.  Invert cake to a wire rack and remove the parchment paper at the bottom. Turn right side up on the rack and continue cooling.
  11. Let cake cool completely.  With a sharp, serrated knife, split the cake into 3 even layers.  Assemble cake.

Whipped Ricotta Filling

  • 1 cup fresh ricotta (you can make it yourself, or buy fresh)
  • 1 cup heavy cream
  • 1/3 cup sugar
  • 1 tsp. vanilla
  • 1 cup mini chocolate chips (will use to fill cake when ready to assemble)
  1. In the bowl of a mixer, whip together sugar, vanilla and ricotta until very smooth – about 2 minutes.
  2. Remove ricotta from bowl, place into a separate bowl, and add cream to the mixing bowl (no need to clean it out first).  Whip cream until soft peaks form.
  3. Add the ricotta mixture back to the bowl and whip together until stiff peaks form.
  4. Place in the refrigerator until ready to use.

Chocolate Ganache and Topping

  • 1/2 cup dark chocolate chips
  • 1/2 cup heavy cream
  • 1/3 cup raw shelled pistachios, ground (reserve to top cake after filling and frosting)
  1. Make after the cake has been assembled, and ready to top with chocolate ganache.
  2. In a small pot, scald cream until just about ready to boil.
  3. Pour over chocolate chips and let it sit for 1 minute.  Whisk together until smooth.
  4. Pour right over the top of the cake, letting the ganache drip down the sides of the cake.
  5. While the chocolate is still warm, scatter pistachios right around the edges of the cake.

To assemble the cake:

  1. Put the bottom layer of the cooled cake on a serving tray.
  2. Spread half of the ricotta filling evenly on top of the cake, not spreading all the way to edges of the cake.
  3. Sprinkle with 1/2 cup mini chocolate chips.
  4. Carefully place middle layer on top of the filling.
  5. Spread second half of the ricotta filling on top of the middle layer of the cake.  Sprinkle with with second half of mini chocolate chips.
  6. Top with the last layer of cake.  Pour chocolate ganache over top of the cake and sprinkle with pistachios.
  7. This cake is best when it has had a chance to meld together in the refrigerator.  Let chocolate ganache cool, wrap with plastic wrap and let chill in the refrigerator for several hours.